Seed starting gives children something they can plant, observe and care for. Choose a project that fits your season, space and the child’s interests. A quick radish crop and a season-long pumpkin project teach different lessons; neither needs a promise that every seed will grow.
Five steps for a first seed project
1. Choose a plant and a destination
Decide where the plant will live after germination. A seedling pot is not the final home for a pumpkin vine. Read the packet together for planting season, space, germination time and days to harvest. Let the child choose between a few realistic options.
Use seeds appropriate for a supervised children’s project. Keep seeds and small supplies away from children who may put them in their mouths, and do not treat sowing seeds as snacks.
2. Prepare clean containers
Use clean pots with drainage and a suitable seed-starting mix. An adult should make any holes in reused containers and check for sharp edges. Place pots in a tray that protects the surface but can be emptied after watering.
Maryland Extension’s seed-starting guidance explains why drainage and an appropriate growing medium matter.
3. Sow and label
Follow the packet’s sowing depth; some seeds need only a light covering. Let children fill pots, make labels and place seeds with suitable supervision. Write down the plant name and date before different pots become hard to distinguish.
4. Provide moisture and light
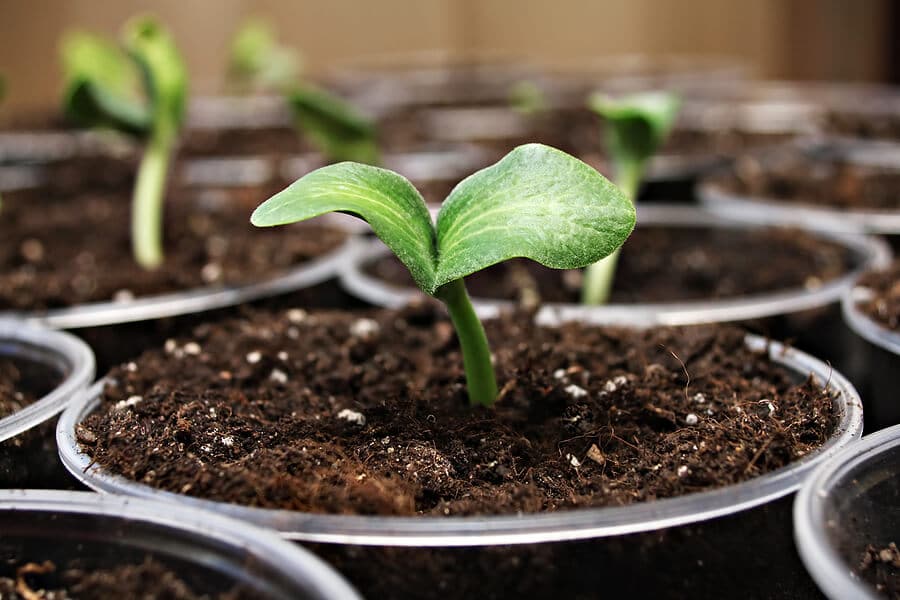
Water gently and check moisture before adding more. Germination conditions vary by seed, and a sunny window is not automatically bright enough for sturdy seedlings. After emergence, use an appropriate light source and avoid overheating pots against hot glass.
The University of Minnesota’s indoor seed guide covers lighting and care. Before moving seedlings outside, acclimate them gradually when conditions suit the crop.
5. Keep an observation journal
Draw the first shoot, count leaves or photograph the same pot each week. Record watering and light changes. A seed that does not germinate is a chance to discuss moisture, temperature and seed condition rather than a failed activity.
Project 1: Radishes for a relatively quick harvest
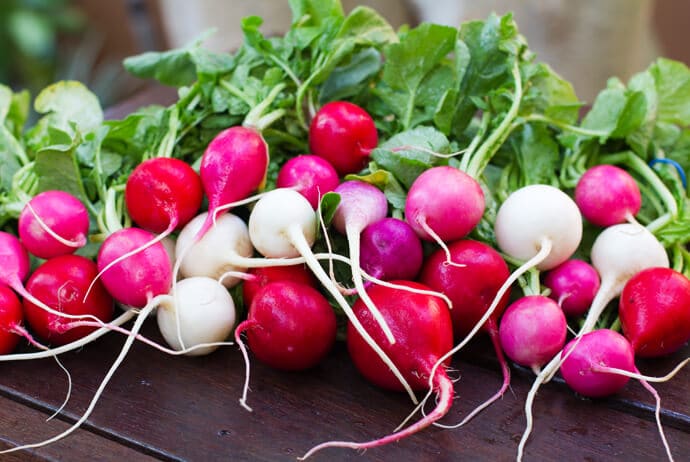
Choose a small garden radish variety for a cool growing period. Sow directly in the final bed or suitable container, using the packet’s depth and spacing. Thin crowded seedlings so roots have room to develop.
Many small garden radishes mature in a few weeks, but winter radishes and other types take longer. Check the root size and variety guidance rather than harvesting because the leaves are four inches long. Minnesota Extension’s radish guide explains harvest timing and heat-related quality problems.
Invite the child to compare one harvested root with another a few days later. Wash the produce before tasting it; there is no need to insist that every child enjoy the flavor.
Project 2: Pumpkins for a season-long project
Choose a variety that fits the space and the time before local frost. Work backward from its maturity information and your local planting guidance. “May in the North” or “June in the South” is too broad to be a reliable schedule.
Pumpkins need warm growing conditions and considerable room, although compact varieties may suit large containers with appropriate care. Plan the final site before starting seeds. Our pumpkin growing guide covers the larger crop.
A pumpkin does not need to ripen exactly on Halloween. Harvest at maturity and handle it carefully; sound fruit can be stored under suitable conditions. Minnesota Extension’s harvest and storage guidance explains maturity and curing. Leave carving tools to an adult or use age-appropriate decoration methods.
Project 3: Hens and chicks, with realistic expectations
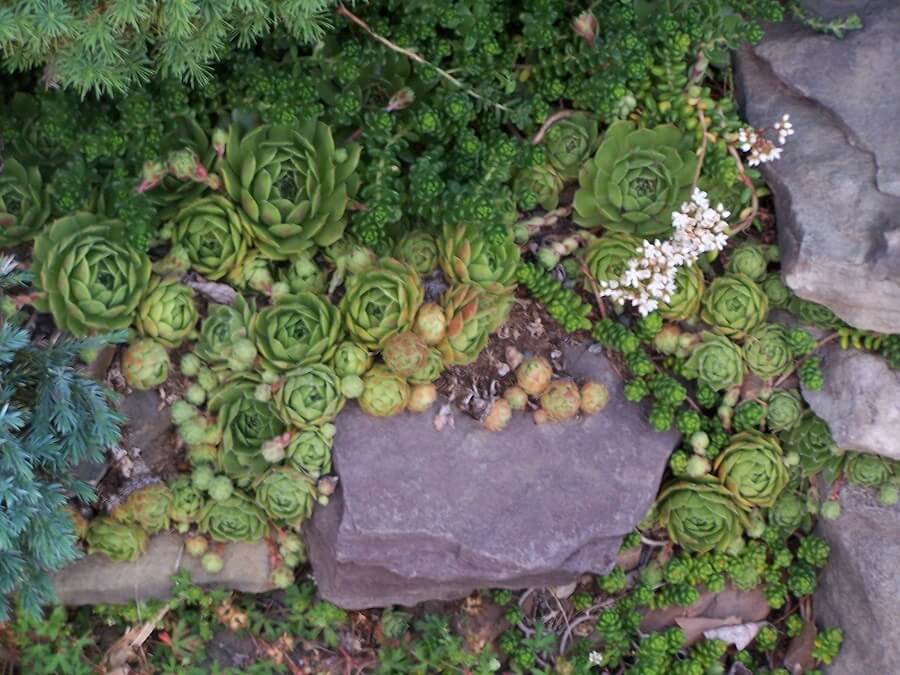
Sempervivum plants form rosettes and offsets, the “chicks.” Seed growing is possible but is a slower, more delicate project than planting a ready-rooted offset. If you choose seeds, use instructions from a reliable supplier for the particular seed lot rather than burying them like a bean.
For a quicker companion activity, plant an offset in a draining pot with a suitable gritty mix. Explain that this is vegetative propagation, not seed starting. Use a bright location and avoid constantly wet conditions. Suitability for outdoor winters depends on the plant and local conditions; an indoor dark shelf is not equivalent to a sunny rock garden.
Children can compare the seed-grown project with the offset and record how each starts. Wash hands after handling mix and keep plant-care products under adult control.