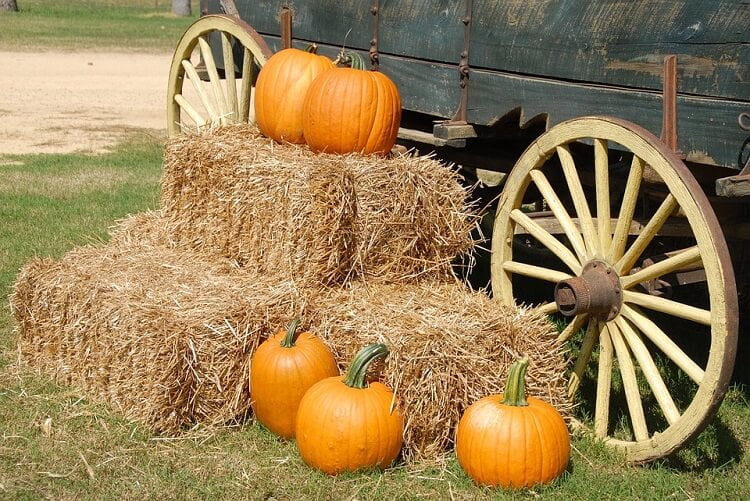
To grow pumpkins for Halloween, choose a suitable variety and work backward from its maturity time and your local frost dates. Late July is not a reliable planting date everywhere. Many varieties need more than one hundred days, and cool weather or poor establishment can extend the wait.
Plan for the crop you want: a carving pumpkin, small decoration or a pumpkin selected for cooking. The seed packet’s mature plant size and days to harvest matter as much as the fruit pictured on the front.
1. Plan the Planting Window
Pumpkins are tender warm-season plants. Sow or transplant when frost risk has passed and the soil is warm enough, using local guidance. For an October display, allow time for fruit to mature before damaging autumn cold rather than counting backward from October 31 alone.
Illinois Extension’s Halloween planting advice shows why many growers start in late spring or early summer. Use dates for your own region; the Northern Hemisphere Halloween schedule is not a universal growing calendar.
2. Choose a Variety for the Job
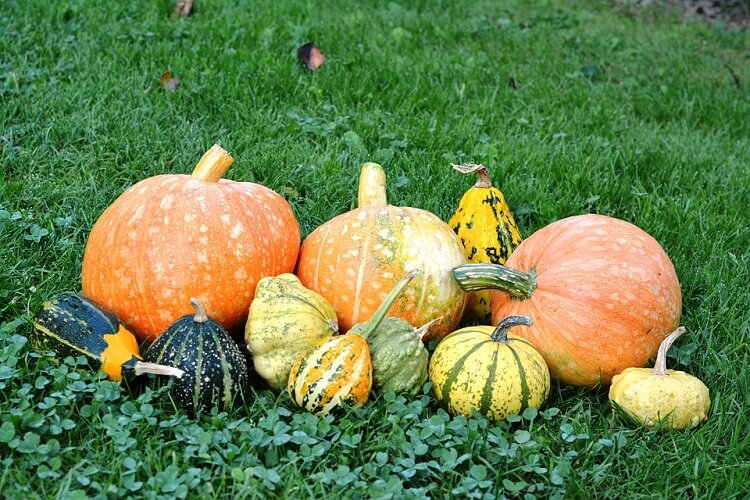
Compare compact or short-vined selections with larger spreading types. Small fruit does not necessarily mean a small plant. For cooking, choose a culinary variety with good flesh quality; a large carving type may be less useful for a recipe.
3. Give the Vines Room and Sun
Choose a sunny site and mark the mature growing area before sowing. Leave access for watering, inspection and harvest. Use the variety’s spacing rather than giving every pumpkin the same twenty- or thirty-foot requirement.
Improve unsuitable drainage before planting. Clay soil is not automatically unusable; its structure and drainage matter. Avoid working wet soil or expecting one addition of compost to solve every soil problem.
4. Prepare the Soil
Use a soil test to guide fertilizer and amendments. Incorporate appropriate organic matter where recommended, and remove weeds before they compete with young plants. A fertilizer branded for pumpkins is not inherently necessary; match nutrients and rate to the crop and soil.
5. Sow or Transplant Carefully
Follow the packet’s sowing depth and spacing. A “hill” can refer to a planting group; a raised mound is not compulsory on every site. Thin seedlings to the intended final spacing rather than leaving all sprouts crowded together.
If using transplants, acclimate them to outdoor conditions and handle the roots gently. Maryland Extension’s growing guide covers establishment, spacing and care, with dates intended for its region.
6. Water the Root Zone
Maintain suitable moisture during establishment, flowering and fruit growth. Check below the surface and account for rain. Seedlings and large vines do not have identical watering needs, and there is no universal rule to stop irrigation a week before harvest.
Water at the base where practical and avoid unnecessary prolonged leaf wetness. However, a splash on a leaf does not itself cause powdery mildew; the disease involves a fungal pathogen and favorable conditions.
7. Manage Weeds and Feeding
Control weeds while small and avoid injuring shallow roots or vines. Mulch can help once the soil and plants are ready for it, but do not bury emerging seedlings under a thick layer.
Follow soil-test and local crop recommendations for feeding. Excess fertilizer does not guarantee larger or more numerous pumpkins. Record what you apply so a later diagnosis is not guesswork.
8. Understand the Flowers
Pumpkins produce separate male and female flowers on the plant. Male flowers can appear first; a female flower has a small developing fruit behind it. Pollination is needed for that fruit to develop normally.
Watch for bee activity and weather during flowering. Failed fruit set is not automatically a nutrient deficiency. Protect pollinators when making pest-management decisions, following any product’s label restrictions.
9. Identify Pests and Diseases
Inspect leaves, stems and developing fruit regularly. Cucumber beetles, squash bugs and vine borers are different problems and should not be treated as one generic “beetle” issue. Photograph symptoms and obtain local advice when the cause is unclear.
Minnesota Extension’s powdery mildew guidance explains the disease and management considerations. “Organic” on a pesticide label does not mean harmless to bees or suitable for every pest.
10. Check Maturity, Not Just Color
Look for the expected mature color for your variety, a firm rind and a stem becoming woody. Not all pumpkins turn orange. Declining vines alone are not enough: disease can also cause early decline.
Use the maturity guidance for the cultivar and the weather forecast together. Avoid harvesting immature fruit merely because Halloween is approaching, but protect the crop from damaging freezes.
11. Harvest Without Damaging the Fruit
Cut the stem with suitable shears or a knife and leave a short stem attached. Support the pumpkin from underneath rather than carrying it by the stem. Avoid punctures, scrapes and bruising that can shorten storage life.

12. Cure and Store Appropriately
Follow variety-appropriate curing advice for sound mature fruit, then store in a cool, dry, ventilated place protected from freezing. Keep fruit off damp ground and inspect it regularly. Separate damaged or deteriorating pumpkins rather than expecting every harvest to last for months.
Minnesota Extension’s harvest and storage guidance explains maturity and handling. Do not improvise a household bleach bath for food pumpkins; use appropriate food-handling guidance and keep carving decorations separate from food preparation.
13. Save the Food Pumpkin for the Kitchen
Use sound pumpkins grown and handled as food. Wash before cutting and prepare with clean equipment. A carved pumpkin that has sat outside as a decoration is not the same as an intact food pumpkin stored for cooking.
Cooking and Preserving the Harvest
Roasted pumpkin, soup, bread and cookies are useful ways to use a culinary variety. Use a complete recipe with clear quantities rather than guessing missing ingredients. For example, Massachusetts SNAP-Ed’s pumpkin cookies provides a full ingredient list and method using cooked pumpkin puree.
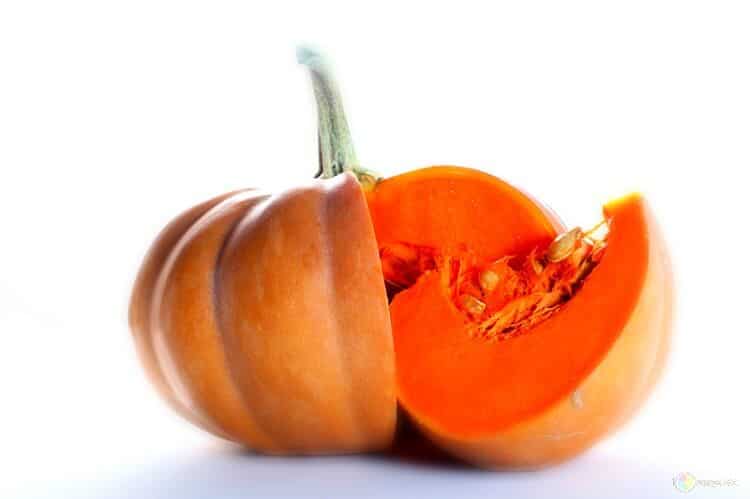
For surplus puree, follow the National Center for Home Food Preservation’s freezing method, including cooling and packaging. A recipe for immediate eating is not a canning procedure.
Keep notes on the variety, sowing date and actual harvest. Those details will give you a more useful Halloween plan next year than a single planting date copied from another climate.
Image source: 1