

A DIY concrete patio requires a site-specific plan before excavation or ordering materials. The main stages are layout, drainage and base preparation, formwork, placement, finishing, joints and curing. A small ground-level patio may suit an experienced DIY team; a slab supporting a structure, hot tub, vehicle or retaining wall needs the appropriate design and professional input.
This guide explains the work sequence and the decisions to settle at each stage. It is not a universal slab specification. Soil, climate, loads, drainage and local requirements determine details such as thickness, reinforcement and base construction.
1. Define the patio and its drainage
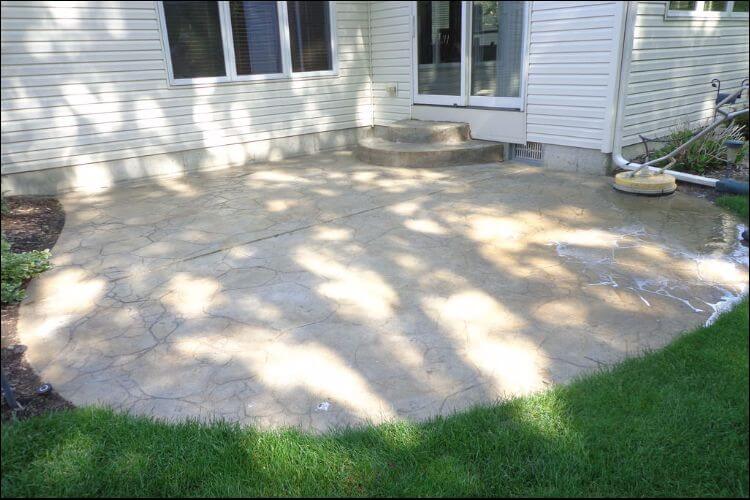
Draw the finished dimensions, adjacent doors, walls, paving and the intended furniture layout. Establish finished elevations and where rainwater will go. A surface can be flat while sloping for drainage; making every form perfectly horizontal may create ponding or direct water toward a building.
Confirm permits, property restrictions and any requirements affecting drainage. Before excavation in the United States, use 811’s local utility-location process, follow the required notice and marking rules, and identify private services that may need separate locating. Do not assume an apparently empty yard has no buried lines.
2. Decide who will do the work
List the preparation, delivery, placement, finishing and curing tasks. Concrete has a limited working period, so one person learning each step as the truck arrives is not a dependable plan. Arrange suitable tools, competent help and access before committing to a pour.
Ask a concrete professional about unstable fill, expansive soil, drainage conflicts, complex shapes or heavy loads. Compare the full DIY cost—including equipment, materials, disposal and potential rework—with a written contractor quote. The separate concrete backyard cost guide helps compare those scopes.
3. Prepare a stable base
Remove unsuitable organic material and prepare the subgrade and base to the project specification. Excavation depth follows the finished elevation, slab and base design; it is not determined simply by whether someone calls the patio raised or level.
Do not use loose fill to conceal a soft area and proceed as if it were compacted support. Verify the preparation before forming. Protect adjacent roots, services and structures, and keep excavated material out of drains.
4. Set forms and plan joints before pouring
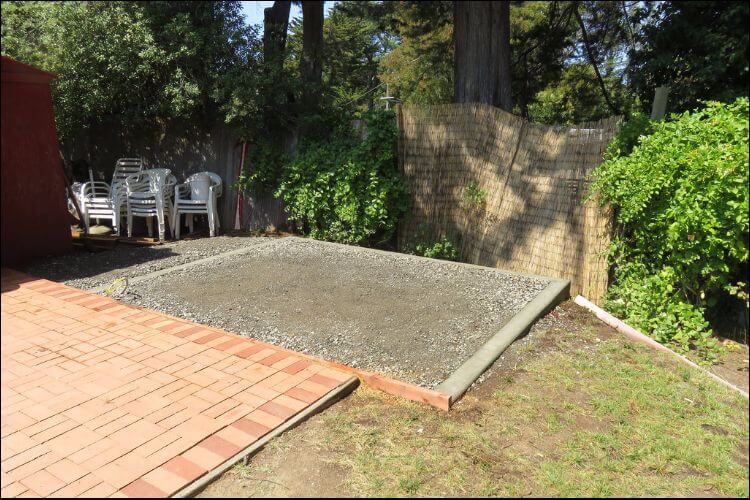
Forms must hold their position under placement loads and establish the specified dimensions and drainage elevations. Check measurements and diagonals where appropriate, then verify access for placing and finishing. Use a suitable release product as directed.
Plan isolation, contraction and construction joints for the actual slab. They have different purposes; a generic eight-foot spacing does not solve every layout. NRMCA’s Concrete in Practice resources include dedicated guidance on slab joints and curing. Confirm the joint plan with the designer or contractor rather than inventing it after the surface begins to harden.
5. Calculate volume with consistent units
For a rectangular slab, multiply length by width by thickness using the same units. If length and width are in feet and thickness is in inches, divide thickness by 12 first. Divide cubic feet by 27 to obtain cubic yards.
For example, a 10-by-12-foot area at an illustrative 4-inch thickness is 10 × 12 × (4/12) = 40 cubic feet, or about 1.48 cubic yards before any allowance. This is arithmetic, not a recommendation that four inches suits your project. Discuss ordering allowances and delivery with the supplier; for bags, use the product’s stated yield.
6. Mix and place under a prepared plan
Use the specified mix and follow its water limits and mixing instructions. Do not add water merely to make finishing easier without the supplier’s approval. Place and consolidate appropriately so the material reaches corners and surrounds any specified reinforcement without displacing it.
Wet cement can cause serious chemical burns. Follow OSHA’s wet-cement precautions, avoid skin and eye contact, and keep cement out of protective clothing and boots. Do not kneel in wet concrete or treat waterproof boots as permission to ignore exposure. Follow the safety data sheet and obtain medical help for suspected burns.
7. Finish and cure as the mix requires
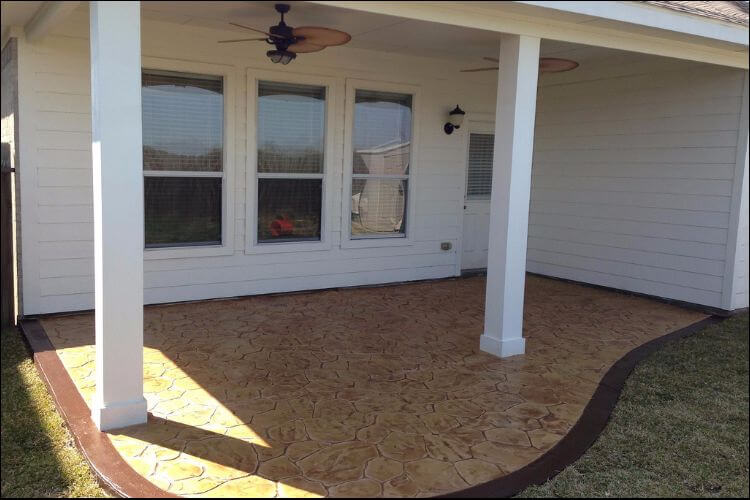
The QUIKRETE patio guide describes placement and finishing as part of a coordinated process. Surface finishing, bleed water, joint timing and curing must be handled appropriately for the product and conditions. Choose a finish suitable for outdoor footing rather than assuming the smoothest surface is best.
Curing is controlled moisture and temperature management while concrete develops strength; it is not simply waiting until it looks dry. Follow the specification for curing method, duration, form removal and loading. Two days does not establish full cure or permission for every load. Protect the work from unsuitable weather and keep people and animals away until access is permitted.
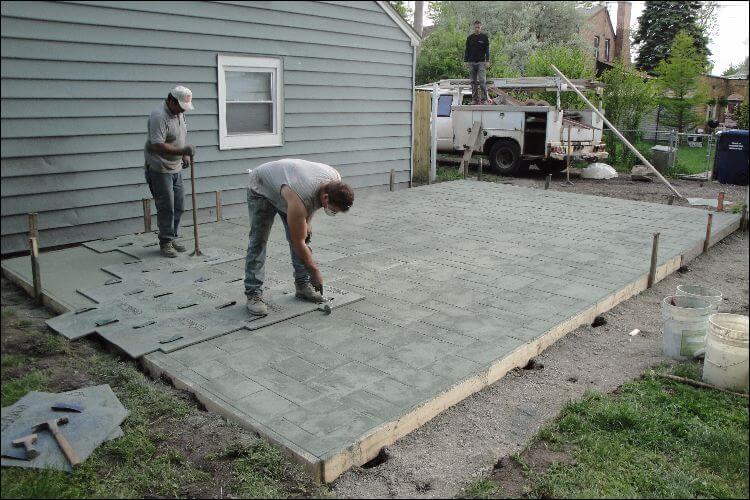
8. Inspect before putting the patio into service
Check the completed surface, drainage, joints and surrounding ground with the responsible installer. Keep the mix, delivery and care information. Resolve ponding, movement or other concerns through an appropriate assessment rather than hiding them under furniture or coating the surface immediately.
Image source: 1