Quick Summary
- Proper grading and preparation of the area is essential for a successful installation of concrete pavers over dirt.
- Choose pavers that complement the overall design and consider style and color options.
- Use a paver sealer to protect the pavers from stains, weathering, and fading.
- Regularly inspect, clean, and maintain the paver surface to ensure longevity.
Measure and Prepare the Area
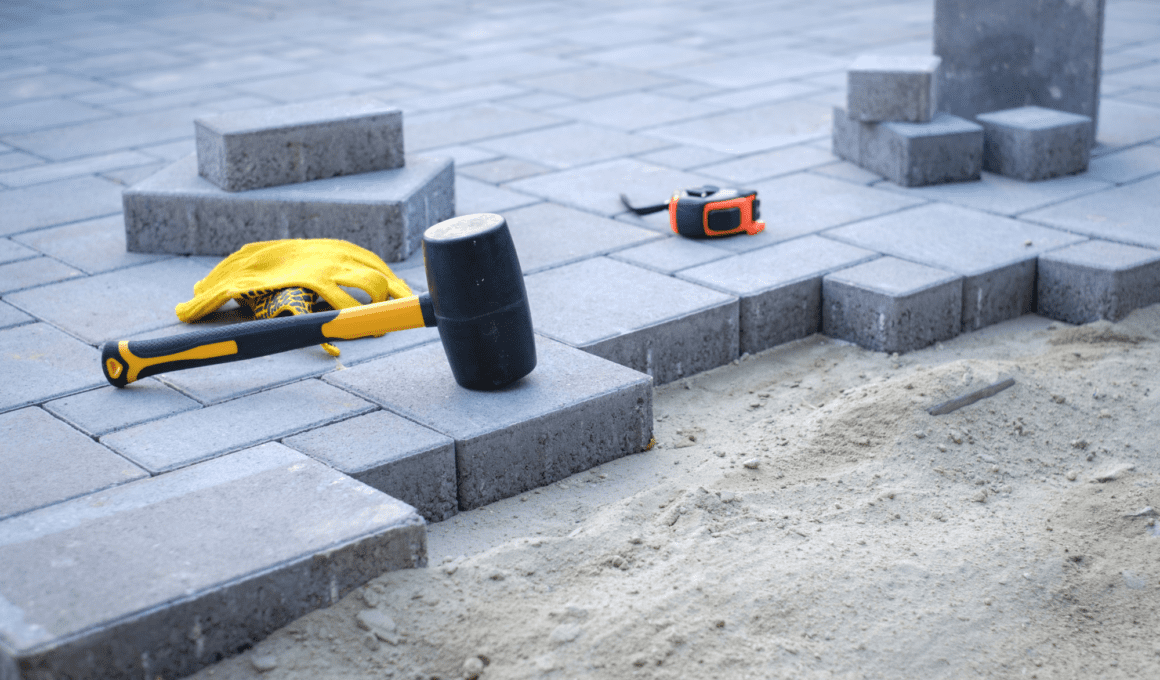
Now that you’ve measured the area and prepared the space, it’s time to start laying the concrete pavers. Safety is important, so let’s make sure you follow the necessary steps. First, make sure the area is properly graded. This means ensuring that the ground is level and free from any slopes or unevenness. This will help prevent any water pooling or erosion issues in the future. Next, take a moment to remove any obstacles in the area. This includes rocks, roots, or any other debris that may interfere with the installation process. You don’t want any uneven surfaces or bumps under your pavers, as this could lead to tripping hazards. Once you’ve graded the area and cleared any obstacles, it’s time to start laying the concrete pavers. Remember to start from one corner and work your way outwards, placing each paver tightly against the next one. This will ensure a secure and stable surface. As you go along, periodically check the levelness of your pavers using a level tool. Adjust as needed to maintain a smooth and even surface. It’s also a good idea to periodically sweep away any dirt or debris that may accumulate during the installation process. By following these steps, you’ll be well on your way to installing concrete pavers over dirt safely and effectively.Choose and Purchase the Pavers
When choosing and purchasing the pavers for your project, it’s important to consider the style and color options that will complement your overall design. Take the time to browse through different options and envision how they’ll look in your space. Once you’ve decided on the style, make sure to calculate the quantity needed accurately before making your purchase. This will ensure that you have enough pavers to complete the project without any delays or additional trips to the store.Consider the style and color options
To truly personalize your outdoor space, envision the multitude of style and color options available for your concrete pavers installation over dirt. When choosing the style of your pavers, consider the overall aesthetic you want to achieve. Whether you prefer a traditional, contemporary, or rustic look, there are pavers available to suit your taste. Additionally, take into account the architectural style of your home and the surrounding landscape. The color selection of your pavers is equally important in creating a cohesive and visually appealing outdoor space. Opt for colors that complement the existing elements in your yard, such as the exterior of your home, plants, or furniture. By carefully considering the style and color options, you can create a stunning and safe outdoor area that reflects your personal style.| Style Options | Color Selection | Safety Tips | ||||
|---|---|---|---|---|---|---|
| Traditional | Earth tones | Choose slip-resistant pavers | ||||
| Contemporary | Neutral shades | Install proper drainage systems | ||||
| Rustic | Natural hues | Use non-toxic sealants for longevity | ||||
| Regularly inspect for cracks or damage | ||||||
| Follow installation guidelines for stability | Modern | Bold colors and geometric shapes | Incorporate lighting for added visual appeal |
Calculate the quantity needed and make your purchase
Make sure you calculate the quantity needed and make your purchase to ensure a successful and efficient outdoor project. Estimating the cost of your concrete pavers is crucial to avoid any unexpected expenses. Measure the area where you plan to install the pavers and calculate the square footage. Consider adding an extra 5-10% to account for any breakage or mistakes during installation. Once you have the square footage, check with your local supplier to determine the number of pavers you need. Additionally, don’t forget to calculate the amount of base material and sand required for the project. Preparing the surface is equally important to ensure the longevity of your installation. Clear the area of any debris, level the ground, and compact it properly. By carefully estimating the cost and preparing the surface, you can create a safe and durable outdoor space with your concrete pavers.Prepare the Base
First, you’ll need to clear the dirt and level the area before installing the concrete pavers. Preparing the soil is an essential step to ensure a stable and long-lasting base for your pavers. Start by removing any rocks, debris, or vegetation from the area. Use a shovel or a rake to clear the dirt and make sure the surface is clean and free of any obstacles.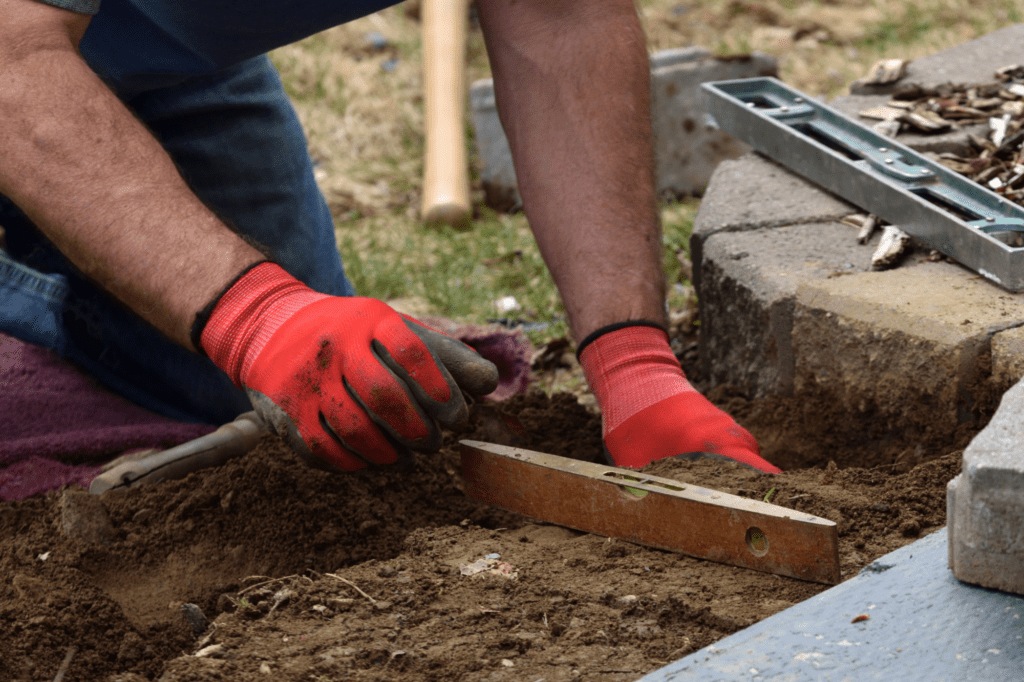 After clearing the area, the next step is to level the ground. This is crucial to prevent any unevenness or sinking of the pavers over time. Use a long, straight board or a level to check the surface and make adjustments as needed. You can add or remove dirt to even out any low or high spots. It’s important to take your time with this step to achieve a flat and even base.
Once the ground is cleared and leveled, you are ready to move on to the next step in installing the concrete pavers over dirt. Remember to wear appropriate safety gear, such as gloves and eye protection, throughout the process to protect yourself from any potential injuries.
Taking the time to properly prepare the base will ensure a sturdy and durable foundation for your concrete pavers.
After clearing the area, the next step is to level the ground. This is crucial to prevent any unevenness or sinking of the pavers over time. Use a long, straight board or a level to check the surface and make adjustments as needed. You can add or remove dirt to even out any low or high spots. It’s important to take your time with this step to achieve a flat and even base.
Once the ground is cleared and leveled, you are ready to move on to the next step in installing the concrete pavers over dirt. Remember to wear appropriate safety gear, such as gloves and eye protection, throughout the process to protect yourself from any potential injuries.
Taking the time to properly prepare the base will ensure a sturdy and durable foundation for your concrete pavers.
Install Edging and Borders
Once you’ve got the base all set up, it’s time to get creative and add some edging and borders to give your project that extra touch of style. But before you dive in, let’s talk about some important safety measures. To ensure a long-lasting and stable installation, it’s crucial to install landscape fabric along the edges of your project area. This will help prevent weeds from growing and ensure that your pavers stay in place. To begin, lay the landscape fabric along the edges of your project, making sure to overlap the pieces by a few inches. Secure it in place using landscape staples or pins. This will create a barrier that will keep unwanted vegetation from penetrating your paver installation. Next, consider using a paver sealer to enhance the durability and appearance of your project. A good quality paver sealer will protect your pavers from stains, weathering, and fading. It will also make cleaning and maintenance much easier. To apply the sealer, make sure your pavers are clean and dry. Follow the manufacturer’s instructions for application, using a brush or roller. Allow the sealer to dry completely before walking or driving on the pavers. By installing landscape fabric and using a paver sealer, you’ll not only improve the safety and longevity of your project but also add that extra touch of style and elegance. So go ahead, get creative, and make your concrete paver installation stand out!Lay the Pavers
To start the process, it’s time to lay down the beautiful pavers and bring your project to life!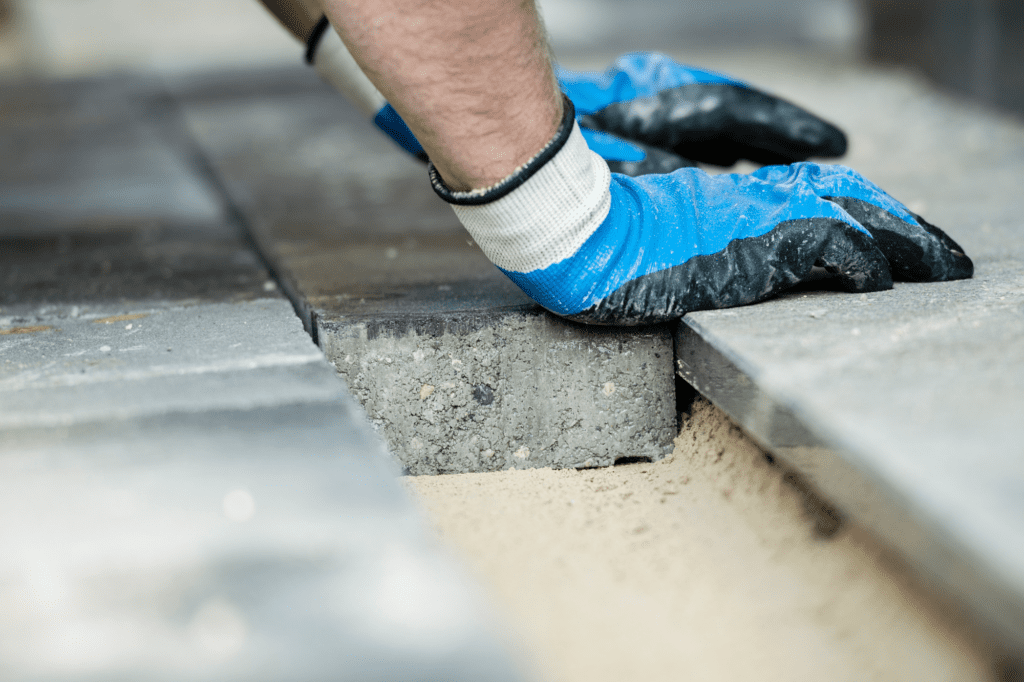 Here’s a step-by-step guide to help you with the paver layout and leveling process:
- Begin by placing the first paver in one corner of your project area. Make sure it’s aligned with the edging or border you installed earlier.
- Use a level to ensure the paver is sitting evenly. Adjust the dirt underneath if needed, so the paver is level in all directions. This will ensure a smooth and sturdy surface.
- Once the first paver is level, continue laying the remaining pavers, working your way across the project area. Remember to leave a small gap, about 1/8 inch, between each paver for sand or gravel to be added later.
- Periodically check the level of the pavers as you go. This’ll help you catch any inconsistencies and make adjustments as necessary.
Can I Plant Grass Seed on Top of Concrete Pavers?
Planting grass seed on top of concrete pavers can pose challenges. The lack of soil beneath the pavers limits root development, affecting the seed’s ability to establish and thrive. It’s best to create a suitable environment for grass growth in areas without an existing lawn. Consider removing the pavers, preparing the soil underneath, and then sowing the plant grass seed existing lawn for favorable results.
Fill the Joints
Now that you’ve laid the pavers, it’s time to fill the joints and give your project that finished look. Filling the joints not only enhances the aesthetic appeal, but also helps to stabilize the pavers and prevent weed growth. To fill the joints, you’ll need to choose the right material. Polymeric sand is a popular choice as it hardens when wet, creating a solid and durable joint. Simply pour the sand over the pavers and use a broom to sweep it into the joints. Make sure to fill the joints completely and evenly. Once the joints are filled, it’s time to seal the pavers. Sealing not only enhances the color of the pavers, but also protects them from stains and weather damage. There are different sealing techniques available, such as using a brush or a sprayer. Follow the manufacturer’s instructions for the best results. To maintain your newly paved area, it’s important to regularly inspect and clean the surface. Remove any debris or dirt using a broom or a leaf blower. Additionally, periodically reapply a fresh coat of sealer to keep your pavers looking their best. By following these simple sealing techniques and maintenance tips, you can ensure that your concrete pavers over dirt will not only be safe but also visually stunning for years to come.Compact and Finish
Get ready to experience the satisfying feeling of compacting and finishing your project, creating a smooth and inviting surface that’ll make you proud. When it comes to compacting techniques, safety should be your top priority. Before starting, make sure you’re wearing protective gear, including gloves and safety glasses, to prevent any injuries. To begin, use a plate compactor or a hand tamper to compact the pavers into the dirt. This will help ensure that they’re securely set in place and minimize any movement. Start at one end of the project and work your way towards the other, applying even pressure as you go. Pay extra attention to the edges and corners to ensure they’re properly compacted. Once you’ve finished compacting, it’s time to add the finishing touches. Begin by sweeping sand or fine gravel into the joints between the pavers. This’ll help stabilize them and prevent shifting. Next, use a broom to remove any excess sand or gravel from the surface of the pavers. Lastly, give your project a final inspection to make sure everything’s in place and looking great. Take a step back and admire your hard work. With proper compacting techniques and finishing touches, you’ve created a beautiful and durable surface that’ll stand the test of time.Enjoy Your New Concrete Paver Space
Experience the satisfaction of enjoying your new, inviting concrete paver space. After all the hard work you’ve put into installing the pavers, it’s time to reap the rewards and make the most of your outdoor area. Here are some tips to help you fully enjoy the benefits of your new concrete paver space:- Create a cozy seating area: Arrange some comfortable outdoor furniture on your paver space and add cushions and throws for extra comfort. This will create a welcoming atmosphere where you can relax and unwind.
- Add some greenery: Plant some flowers, shrubs, or even small trees around your paver space to bring life and color to the area. Not only will it enhance the aesthetics, but it’ll also provide a refreshing and calming environment.
- Host outdoor gatherings: Invite friends and family over for barbecues, picnics, or simply a get-together. Your new paver space is perfect for entertaining guests and creating lasting memories.
- Safety first: Ensure that your paver space is well-lit, especially if you plan to use it in the evenings. Install outdoor lighting fixtures or solar-powered lights to illuminate the area and prevent accidents.