Building a backyard putting green means choosing between a living turf surface that needs specialist care and a synthetic system that needs a properly built base. Both can provide useful practice space. Neither is simply a patch of ordinary lawn cut shorter.
The ten steps below organize a natural-grass project. They are a planning sequence, not a universal drainage or construction specification. Discuss the site with a local turf specialist before buying materials, especially where drainage, grading or difficult summer conditions are involved.
1. Decide how you will use the green
Measure the space and sketch the putting lines you want. Start with a manageable area rather than filling every available corner. Include access for mowing, irrigation and maintenance. If you intend to chip balls toward it, consider where missed shots could travel and whether that use is appropriate on your property.
2. Choose a suitable location
Look for sun, air movement and a location outside a low spot where water collects. Purdue’s backyard green guidance emphasizes those conditions. Observe the site after rain and through the day rather than judging it from one dry afternoon.
Check buried utilities and any local grading or drainage requirements before excavation. Tree roots and existing structures may restrict what can be built. Do not damage a tree’s root system just to fit a preferred outline.
3. Assess soil and drainage together
A soil test helps establish pH and nutrient needs. It does not, by itself, design drainage. Likewise, timing how quickly a hole empties does not prove a green will perform well.
A lightly used home green and a sand-based golf-course green can use different construction approaches. Purdue describes an option using suitable native soil; more demanding projects may need an engineered root zone. Decide which approach fits the site and expectations before ordering sand or drainage pipe.
4. Plan the finished contours
The surface needs to shed water without unwanted pockets. Completely flat ground is not automatically well drained. Keep slopes suitable for putting and for the mower, and plan an appropriate drainage outlet.
If subsurface drains are needed, their layout, depth and outlet must fit the chosen construction. There is no universal instruction to place pipes just under the grass at fixed intervals. Obtain a site-specific plan and account for where discharged water will go.
5. Select a suitable turf cultivar
Choose turf specifically suited to putting surfaces and your climate. Creeping bentgrass is used in cooler regions; suitable bermudagrass cultivars are used in warmer ones. They are different grasses, not a hybrid you create by mixing them. Some cultivars are established vegetatively rather than from seed.
Ask a regional turf adviser or supplier about summer stress, winter survival, establishment method and maintenance needs. A generic lawn-seed listing is not enough information for this choice.
6. Prepare and establish the surface
Remove unwanted vegetation and construct the selected base or root zone to its specification. Settle and smooth it before planting so later depressions do not spoil ball roll. Use the supplier’s cultivar-specific seed or planting rate and establishment instructions.
Do not treat one seed rate as correct for every grass. Keep traffic off the establishing surface and correct erosion or uneven coverage promptly with advice suited to the turf. Avoid burying an impermeable plastic sheet under living grass.
7. Manage establishment water and nutrients
Keep the seedbed suitably moist without washing seed away or leaving it saturated. Adjust irrigation to weather, root-zone conditions and the establishment stage; heavy watering twice daily is not a universal prescription. Once rooted, the surface needs a different watering routine from newly germinating seed.
Base fertilization on the soil test and a regional turf program. More fertilizer does not automatically produce a better putting surface. Record applications so you can review growth and avoid overlapping treatments.
8. Obtain the right mowing equipment
A standard rotary lawn mower is unsuitable for a fine putting surface. The USGA’s explanation of backyard greens describes the specialized reel mower, precise adjustment and sharpening needed at low cutting heights. Include servicing and setup in your budget.
Begin mowing only when the turf is ready, at the height advised for the cultivar and stage of growth. Do not suddenly scalp it to match a professional course. Purdue’s home-green example uses a higher cut than many tournament greens and still requires frequent mowing.
9. Fit the cup to the finished surface
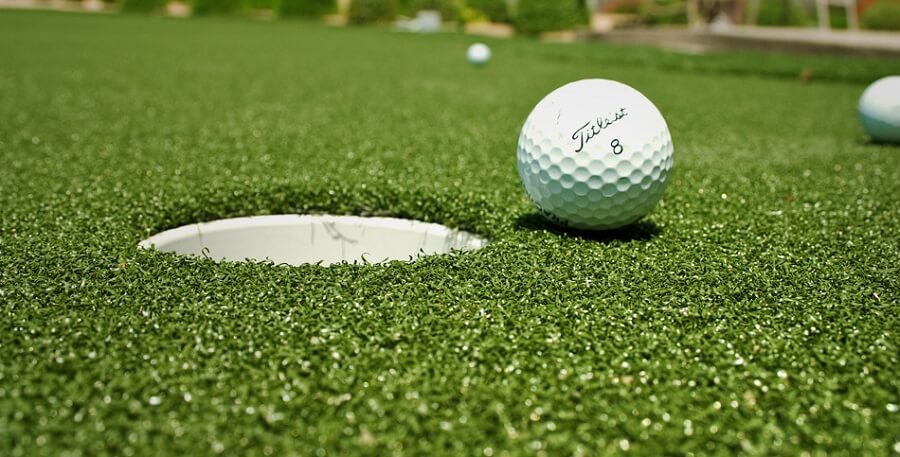
Use a proper putting cup and matching hole cutter, following their dimensions and installation instructions. A hole only slightly larger than a golf ball is not a normal putting target. Avoid making a raised rim or a depression around the cup, and protect the surrounding turf during installation.
Choose a location that offers usable putting lines and avoids steep or poorly drained sections. A flag can make the target visible, but cannot tell you whether the surrounding surface is correctly graded.
10. Keep a maintenance plan
Plan for mowing, irrigation checks, nutrition, topdressing and pest diagnosis. The timing and materials depend on the turf and construction. Keep compatible materials on hand and get advice before treating a problem that could be disease, drought or mechanical damage.
Track the hours and costs during the first growing season. A green is an ongoing gardening commitment, not a guaranteed saving on golf expenses.
Alternative: a synthetic putting green
Synthetic putting turf avoids mowing and fertilizing, but still needs drainage, a stable compacted base and periodic cleaning. Choose material intended for putting, then follow that system’s requirements for seams, grain direction, edging, cups and infill.
Ask the supplier for the full installation and care specification before comparing quotes. A sample helps you assess the feel and ball roll; an attractive photograph does not establish those qualities. If the maintenance of natural turf is the part you would least enjoy, this alternative deserves consideration before excavation begins.