A plant rack can form the basis of a small indoor growing enclosure, but its structure, lights and cover must work together. Start with the plants and equipment you intend to use. Do not wrap an arbitrary shelf in plastic, add four lights and assume that cutting ventilation slits later will make it suitable.
This approach is for a modest indoor rack serving seedlings or compact plants. It is not a weather-rated greenhouse, a structural design for hanging heavy equipment or a guide to electrical wiring. If the cover’s suitability or equipment clearances cannot be established, an open grow-light rack or a purpose-built enclosure is a better starting point.
Plan the rack before buying materials
Measure the trays, containers and expected plant height for each shelf. Add the light’s dimensions and its required clearance above the plants and from surrounding materials. A shelf can fit a seed tray yet provide too little height for its light and growing seedlings.
Choose a stable rack with documented load ratings. Count wet growing medium, trays, water and equipment. A shelf rating does not automatically authorize suspending a light from an unrelated crosspiece or hanging a filter from the top.
Choose an indoor location with access for watering, cleaning and equipment checks. Keep doors and walking routes clear. Protect the floor from routine spills without treating a liner as guaranteed containment of every possible leak.
Gather compatible components
- A rack suited to the full intended load and assembled with its specified supports.
- Trays or containers sized for the shelves, with a practical way to remove excess water.
- Plant lights and mounting hardware approved for the installation and environment.
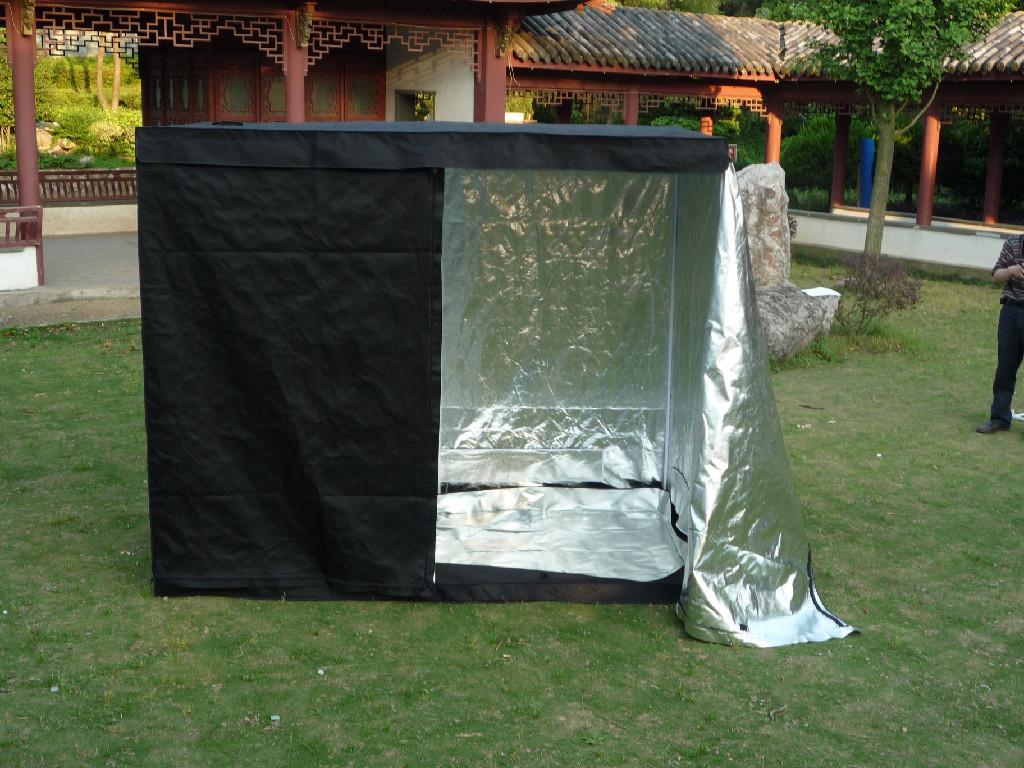
- A cover or reflective panel material with documented suitability for the planned use and temperature.
- Appropriate ventilation equipment where the enclosure requires it.
- A thermometer and humidity meter to check actual growing conditions.
Panda film is a product category, not a universal specification. Check the exact film’s thickness, permitted use and clearances. Do not confuse mils with millimeters or treat a reflective percentage as proof of fire performance. Tape can help position suitable cover material, but it is not a structural hanger for lights or fans.
1. Assemble and check the empty rack
Follow the rack instructions, including leveling or anchoring requirements. Install shelves at the planned heights. Check for loose joints and make sure each tray can be removed without forcing it past a support.
Do not substitute improvised PVC or timber dimensions for a documented load-bearing design. Material names alone do not establish strength or compatibility with the equipment.
2. Mount lights with the correct hardware
Install fixtures at approved mounting points and maintain the manufacturer’s clearances. Route intact equipment cords so they cannot be pinched, pulled into a fan or trapped under a tray. Cable ties or hook-and-loop straps organize cords; they do not change their electrical rating.
There is no universal requirement for four LED lights. Choose coverage and output for the shelf and crop. University of Minnesota Extension’s lighting guide explains why plant requirements, intensity and duration matter. Follow the fixture’s placement instructions rather than guessing from wattage alone.
3. Provide access and a planned air path
If using a compatible cover, keep it clear of equipment as directed and leave a practical opening for maintenance. Design air intake and exhaust before closing the rack in. A fan circulating air inside is not necessarily exchanging warm, humid air with the room.
Mount a fan only where its instructions permit, away from likely spills. Leave controls accessible. Do not rely on random cuts in the cover as a tested solution to excessive heat.
4. Check the installation before adding plants
Run equipment according to its instructions and observe the enclosure during both light-on and light-off periods. Check temperature and humidity where plants will grow, along with condensation, loose cover material and restricted airflow. Correct problems before loading the shelves.
Keep electrical connections away from water and use equipment suitable for the conditions. Do not overload outlets or extension cords. The CPSC’s extension-cord guidance is a useful reference; obtain a qualified electrician’s assessment if the circuit or wet-location protection is uncertain.
5. Add plants and keep access workable
Start with a manageable number of trays. Check moisture, growth and equipment clearance as the plants increase in size. Clean spills promptly and inspect supports and cords during routine care. Disconnect equipment as its instructions require before cleaning or adjustment.
Budget for the complete setup and running costs, not an old estimate for film and tape. A DIY enclosure is not automatically cheaper than a documented kit. For broader planning, see what to consider when using a grow tent.