A grow tent is an enclosure around a growing area. It can help organize lights, plants and ventilation, but it does not automatically supply those systems or maintain the right conditions. Before buying one, decide what you want to grow, how much space the complete setup needs and how you will monitor it.
What a tent does—and what must be supplied separately
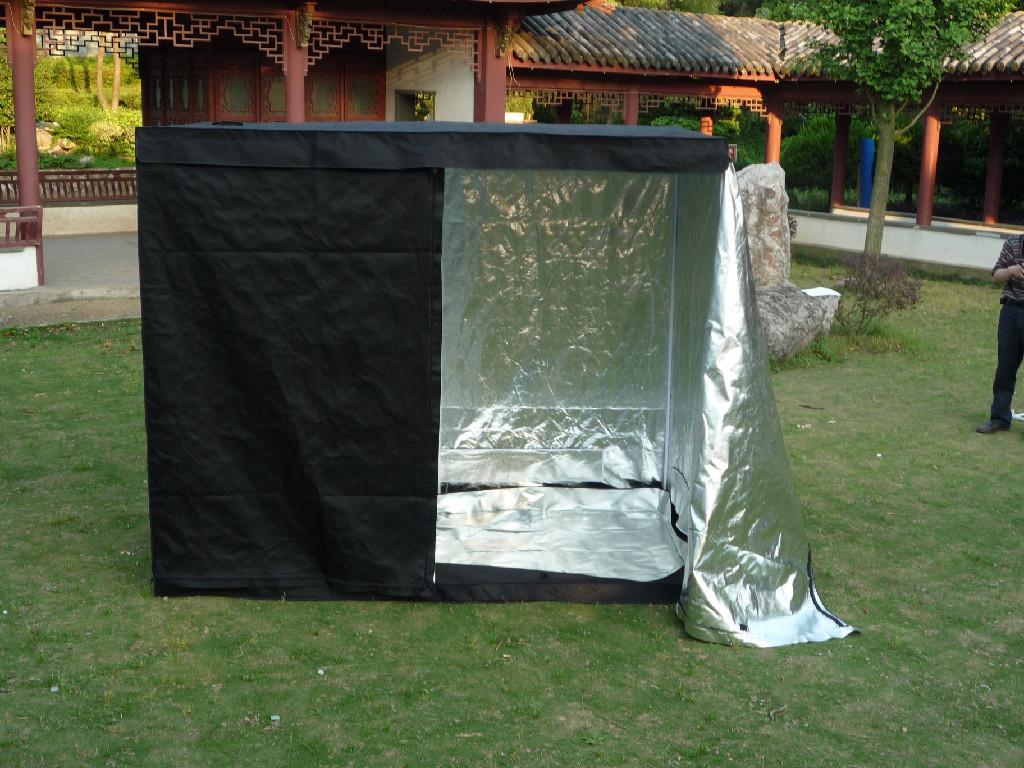
A typical tent uses a frame and cover, with doors and openings for equipment. Reflective lining can form part of the lighting arrangement. The exact materials, support limits, port layout and included components depend on the model.
A bare tent is different from a kit. Some kits include lights, fans or controls; others omit equipment essential to your plan. A timer does not mean irrigation is included, and a carbon filter is not itself a cooling system. Read the component list rather than assuming a photograph shows everything in the box.
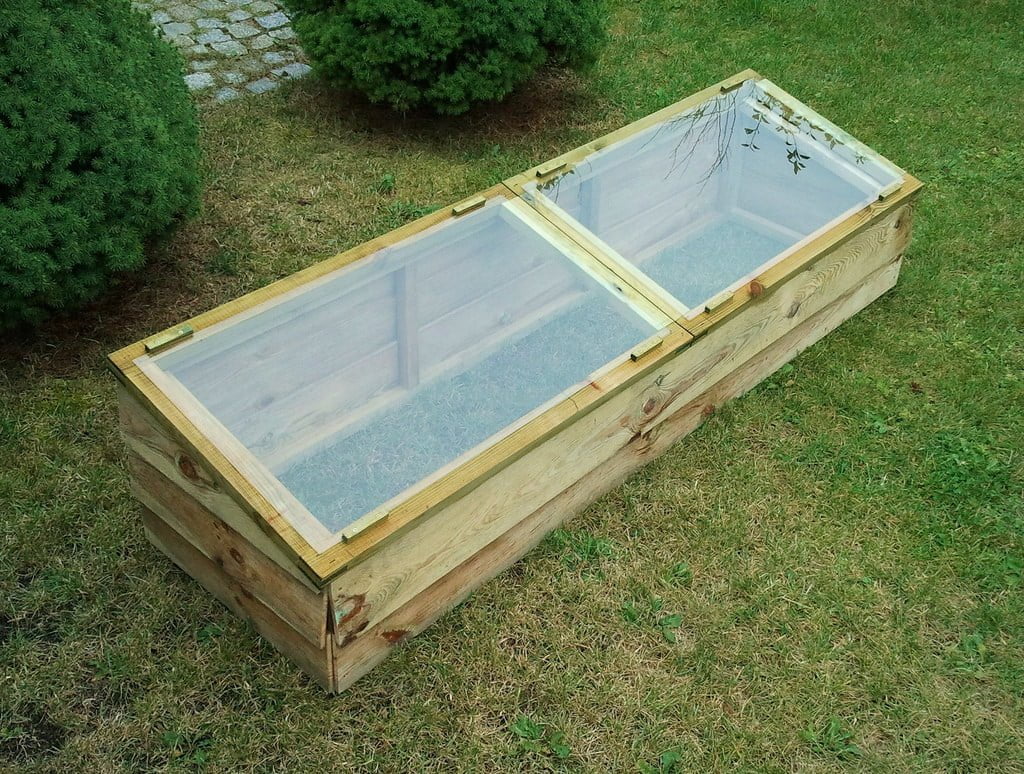
Grow boxes and tents also vary in construction. Choose between them using the specific dimensions, access, equipment support and maintenance requirements rather than assuming every box is fixed and every loaded tent is easy to move.
Choose the crop and its mature size first

Image source: Grozine.
Starting seedlings for an outdoor garden is a different project from taking a fruiting crop through its entire season indoors. Plan the tent around the stage you intend to grow, including container size, mature spread and working access.
- Tomatoes: allow for mature height, support, light requirements and access for crop care. Raising transplants needs less long-term space than keeping mature vines.
- Peppers: select an appropriate variety and lighting plan. A fixed six-to-eight-hour lighting rule does not establish adequate daily light under every fixture.
- Cauliflower and broccoli: match the crop’s temperature and space needs. Water and airflow alone do not guarantee a large harvest.
- Beans: distinguish compact bush types from climbing varieties. Provide a suitable support where needed and keep growth clear of lights and equipment.
- Strawberries: account for the cultivar, container spread and pollination needs. Small plants should not be packed so closely that you cannot inspect or maintain them.
For a first setup, choose fewer plants that you can manage comfortably. Adding every available container is not a useful capacity test.
Soil-based containers and hydroponics are different systems
Putting pots of soil inside a tent does not make the arrangement hydroponic. Hydroponics supplies nutrients through water without soil, sometimes using a supporting substrate. It requires a plan for the particular system’s nutrient solution, roots and maintenance.
University of Minnesota Extension’s small-scale hydroponics guide describes several systems. Choose the growing method separately from the enclosure, and make sure you can reach reservoirs or remove containers for cleaning. Different crops need not share the same nutrient or irrigation settings.
Measure the whole installation
Check assembled dimensions, usable interior clearance and the door opening. Include room outside for ducting, controls and access. Within the tent, subtract container and equipment height before deciding whether a crop will fit.
Obtain the model’s frame and hanging-bar ratings. Pole thickness alone does not prove capacity, even in a small tent. Use the designated supports and account for the combined equipment load.
Choose a location suited to the tent’s stated use. An indoor tent is not automatically an outdoor structure capable of handling rain, wind and weather exposure. Empty and dismantle equipment as instructed when relocating it rather than assuming portability applies to a loaded installation.
Plan light, airflow and temperature together
Specify lighting for the crop and growing area, then follow the light manufacturer’s mounting and clearance instructions. Reflective walls do not compensate for an unsuitable fixture or poor coverage. Keep a practical way to adjust the setup as plants grow.
A circulation fan moves air inside; ventilation exchanges it with the surrounding space. Plan where warm, humid exhaust will go and where replacement air will come from. The room itself must be part of that plan.
A zipped tent can overheat or become too cold. Vents do not guarantee temperature control. Measure temperature and humidity near the crop through the operating cycle, including when lights are off, and respond to the readings. Do not assume a heater, fan or humidifier is appropriate without checking its permitted installation conditions.
Inspect plants, closures and spills
A closed tent is not pest-proof. Inspect incoming plants and growing materials, then check leaves and the growing area regularly. Good access makes these checks easier. Identify a problem before choosing a treatment.
Keep zipper paths clear and avoid forcing a cover that fits poorly. Inspect seams and frame connections during routine care. A high purchase price does not guarantee freedom from faults, and a liner does not eliminate the consequences of spilled water.
Keep electrical connections away from spills and follow equipment cleaning and disconnection instructions. Arrange trays and reservoirs so they can be serviced without straining cords or moving suspended lights.
Compare total cost and maintenance
Include lights, ventilation, controls, containers, growing supplies and electricity in your budget. Ask about replacement parts and written return terms. Decide who will water and check the setup when you are away.
A tent is useful when its documented features fit a realistic growing plan. If an open rack will do the job, that may be simpler. If you prefer to assemble a rack enclosure, see the separate DIY grow-tent assembly guide for the component and installation checks.