Choose a few DIY Valentine’s Day decorations that suit the space and materials you already have. A paper garland, a small floral arrangement and a handmade message can create a coordinated display without decorating every surface. Decide on a color palette first, then repeat it across the projects you like.
Set aside a clear work area and protect the table from glue, paint and water. Use age-appropriate tools for shared crafts. Keep small pieces, sharp wire and long cords away from young children and pets, and keep paper, fabric and flowers away from flames and hot lights.
1. A floral heart wreath
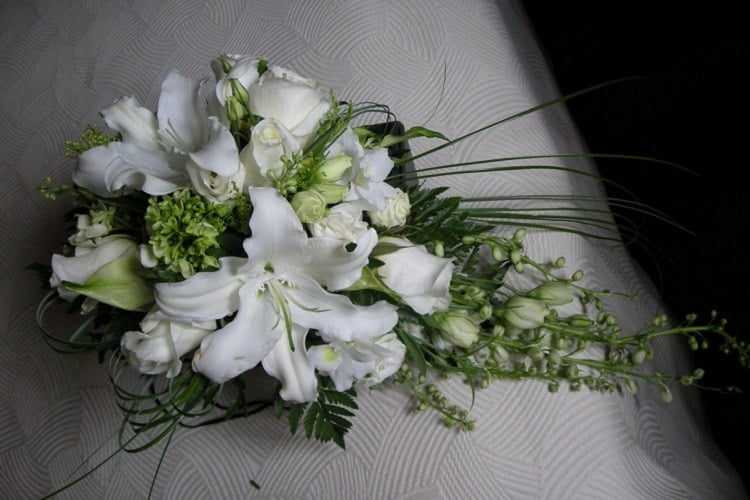
Start with a ready-made heart frame or cut a lightweight heart-shaped ring from firm cardboard. Cover it with artificial flowers or paper flowers using an adhesive suitable for the materials. Arrange the flowers before fixing them so the outline remains recognizable.
If you use fresh stems, plan a suitable water source or make the wreath shortly before display after testing how the flowers hold up. A bare wire frame does not keep flowers hydrated. Fold or cover exposed wire ends and choose a hanging point that can hold the finished weight.
2. A message wreath
Use a circular frame with a small cluster of flowers or greenery on one side, leaving room for a short message. Write or paint the words on a lightweight tag, allow it to dry and attach it securely. A brief message will usually be easier to read from across the room than a long sentence.
Test the balance before hanging. If the tag makes the wreath rotate or lean, reposition the attachment rather than adding heavy decorations to the opposite side. Keep the message personal: initials, a date or a shared phrase can work as well as a holiday greeting.
3. A decorated heart-shaped gift box
For a reliable small box, begin with a plain heart-shaped box or a tested cardstock template. Make a paper trial before cutting expensive card. Decorate the lid with a cut-paper border, a name tag or a single paper flower, and check that it still opens cleanly.
Do not rely on vague folding and trimming to create a fitted lid. If the gift is heavy or fragile, use a properly constructed box. For unwrapped food, keep craft glue, paint and non-food-safe paper away from direct contact and use suitable food packaging inside.
4. A photo puzzle display
Choose a photograph that remains clear when cropped into a heart. Use a blank craft puzzle and follow the supplier’s method for transferring or attaching the image. Another simple option is to print the photo on card, draw a few large puzzle pieces on the reverse and cut them with appropriate tools.
Keep the number of pieces manageable and place them in an envelope with a note. This is a personal craft gift, not a toy for small children. Save a digital copy of the photograph before cutting or gluing anything.
5. A tabletop heart tree

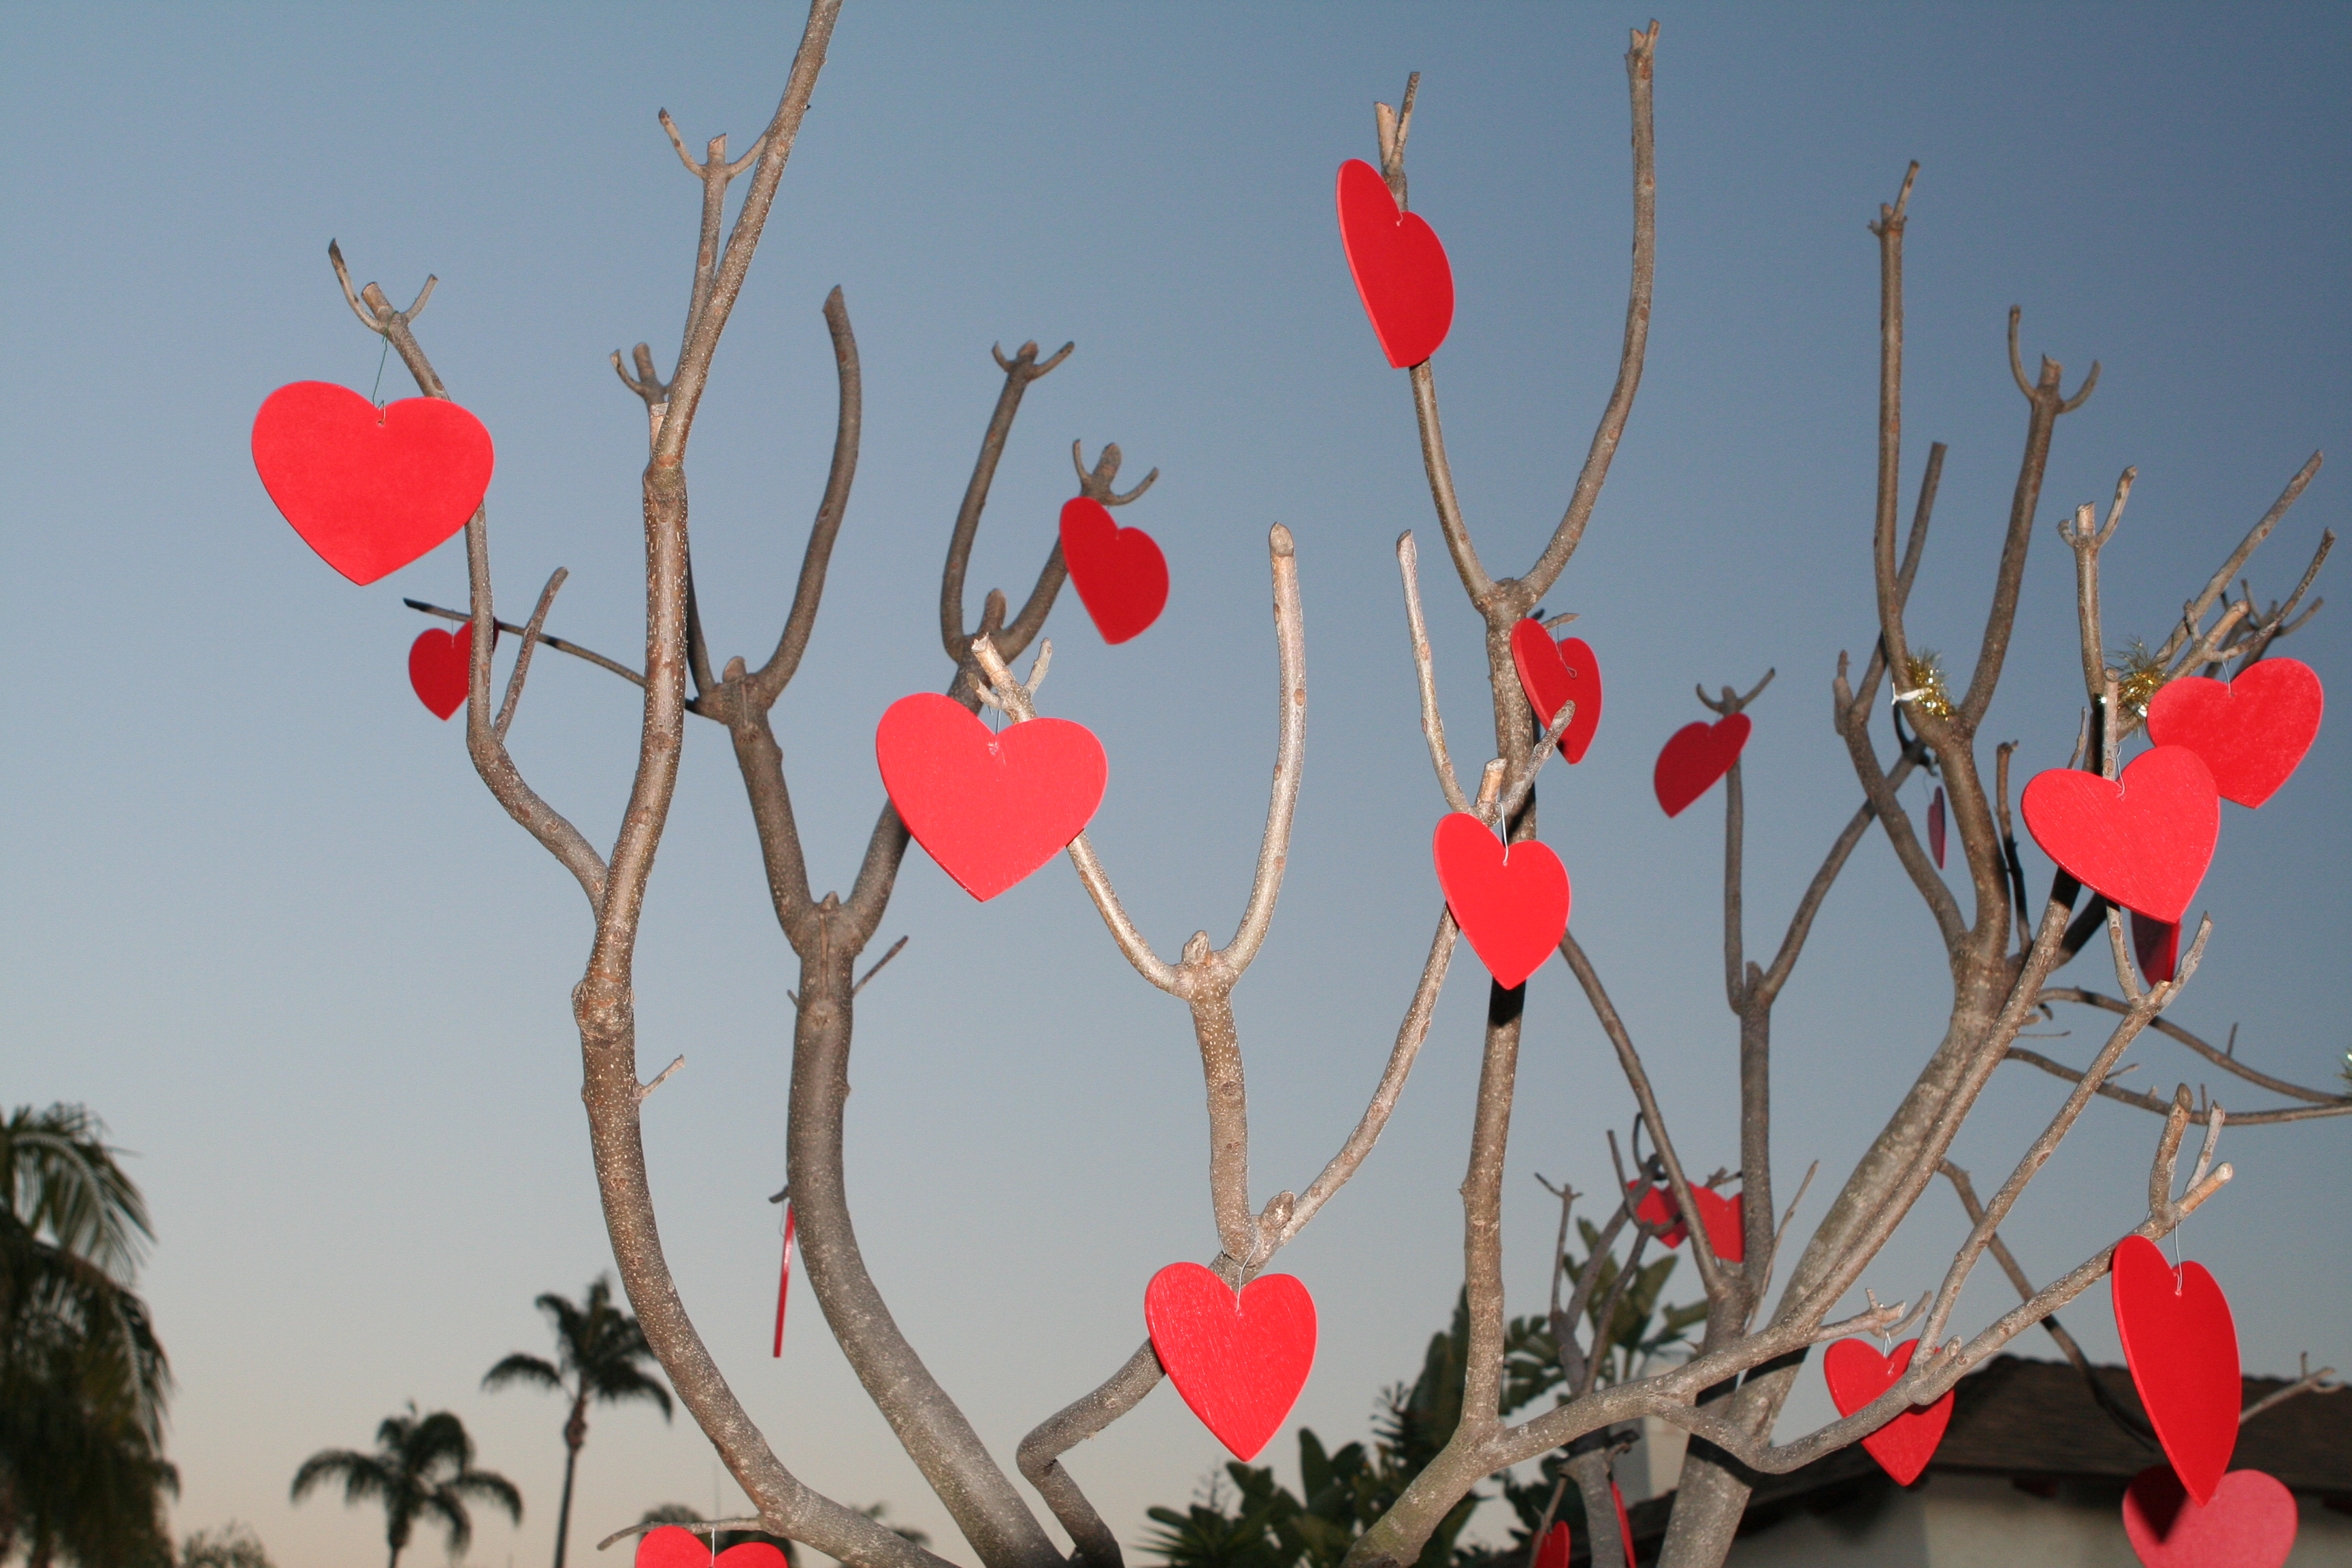
Use a small decorative branch display in a stable container, then hang lightweight paper hearts from short loops. Write a memory or message on each heart if you want the decoration to become part of the gift.
Keep the arrangement proportionate to its base and avoid sharp projecting branches at eye level. You do not need a complicated wire tree or loose mesh to achieve the effect. A ready-made tabletop display stand is another reusable option.
6. A flower-and-candy centerpiece
Keep the flowers and sweets physically separate. Place flowers in a stable, watertight inner vase and display wrapped candy in a separate surrounding dish, with no contact between the stems, vase water and food. An even simpler version uses artificial flowers beside a sealed jar of sweets.
Do not replace flower water with loose candy and insert florist stems into food. Leave enough room for plates and serving dishes, and choose a low arrangement so people can see each other across the table.
7. A handmade cushion cover
Decorate a removable cushion cover with fabric paint, stitched shapes or securely attached fabric appliqué. Check the care instructions and test the method on spare fabric first. Let paint or adhesive cure fully before putting the cover over the cushion.
A small motif can be easier to finish neatly than a large slogan. Coordinate it with plain cushions already in the room. Avoid loose buttons, beads or pins on items that children or pets may handle.
8. Floral initials
Cut large initials from sturdy cardboard or use ready-made craft letters. Cover the surface with paper flowers, fabric or a painted pattern. Lay the design out before attaching it, and add a backing if the letter needs more support.
Keep this as a non-electrical craft. Do not wrap a cardboard letter tightly in light strings or conceal batteries and wiring inside improvised enclosures. If you want illumination, place an unmodified, suitable commercial light separately and follow its instructions.
9. A heart-shaped flower display
Reuse a clean chocolate box as an outer decorative container for artificial flowers. Fresh flowers need a separate watertight vessel that fits securely inside, so the box cannot soften or leak. Check the arrangement on a protected surface before placing it on furniture.
For living succulents, keep plants in appropriate pots with drainage rather than planting directly into cardboard. Decorate around the pots temporarily and remove the outer wrapping for normal watering and care.
10. A painted wooden heart

A precut wooden heart makes this project accessible without woodworking equipment. Smooth any rough edges, apply a finish appropriate to the surface and decorate it with initials or a design. Allow each layer to dry as directed.
If you want to cut your own shape, use a suitable plan, workholding and tools you know how to operate. Tying loose boards together is not adequate preparation for sawing a shape. For outdoor display, choose materials and coatings suited to weather and hang the finished piece securely.
11. A paper-heart garland
Fold a sheet of paper to make a symmetrical heart template, then trace and cut several hearts from colored card. Attach them to a cord with evenly spaced tabs of tape or another suitable craft fastening. Check the hanging length before adding all the pieces.
Hang the garland where it cannot catch on a door or form an accessible loop near a child’s bed. Keep it separate from lamps and light strings. The CPSC’s decorating guidance recommends keeping candles away from other decorations and using lights according to their intended use.
Finish with a simple setup
Group a few finished pieces instead of crowding every shelf. Check hanging points, protect surfaces beneath flowers and put tools away before the celebration. Store reusable frames and templates afterward so next year’s decorations need less work.