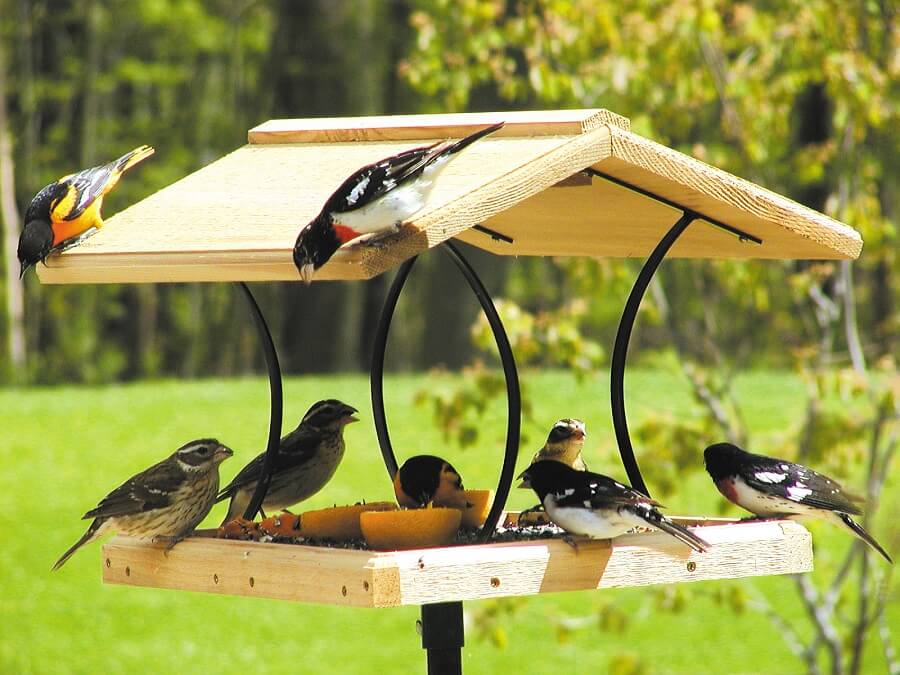
A homemade bird feeder needs to do more than look attractive: it should hold food securely, drain or shelter it from rain, and come apart for cleaning. The seven ideas below use familiar craft materials, with adaptations for weight, hygiene and weather. Adults should handle cutting, drilling and hot glue; children can help choose colors, fill a finished feeder and record visiting birds.
Before making a feeder
Use clean containers that previously held food or drink, not chemicals. Keep paint, glue and loose decorations away from feeding surfaces. Avoid sharp cut edges and dangling loops that could trap birds. Choose a location where spilled seed can be removed and birds have a clear approach.
Make small batches of food available and check them frequently. Wet, moldy or spoiled food should be discarded. Cornell’s feeder-cleaning guidance recommends cleaning seed feeders about every two weeks, more often in wet weather, heavy use or when sick birds are seen. Wash, rinse and dry thoroughly using its instructions. Follow local wildlife advice if feeding should be suspended during a disease outbreak.
1. A teacup-and-saucer feeding station
A sound ceramic cup and saucer can make an attractive small feeding station, but avoid hanging the entire assembly from a handle with glue supporting the saucer. Ceramic is heavy and breaks if it falls.
Instead, set a shallow saucer securely on a stable, supported platform in a sheltered position, using the cup as decoration beside it. Offer only a little seed and bring it in after use. The shallow dish should lift out for cleaning. Do not use chipped pottery or leave a deep cup full of rain-soaked seed.
2. A mason-jar feeder with a compatible base
Use a jar only with a feeder base designed to fit it, checking that the attachment closes properly and that the assembled feeder can be emptied and washed. A poultry-feeder part is not automatically suitable for hanging outdoors for wild birds.
Support the assembly on a stable surface or with the purpose-made hanger specified for it. Do not glue an extra lid to the bottom and rely on that glue joint to carry the glass. Keep the food protected from rain and inspect for bridging or damp seed inside the neck.
3. A bottle feeder with proper feeding ports
A clean drinks bottle can be paired with a purpose-made bird-feeder adapter. This is more predictable than cutting oversized holes around wooden spoons, which can let seed spill and expose sharp edges.
An adult should fit the adapter and inspect the finished openings and hanging point. Keep decoration minimal and outside the food area. Start with a small quantity of seed to check that it flows without pouring out. Replace the bottle if it becomes brittle, cracked or difficult to clean.
4. A teapot-inspired platform
For a decorative teapot project, keep the teapot on a secure shelf and put a removable feeding dish beside it. Do not glue a heavy teapot to a wall and use its opening as both a feeder and a nest.
Feeding and nesting are different functions. A nest box needs suitable dimensions, ventilation, drainage and access for cleaning; an ornamental teapot does not supply those features simply because a bird can enter it. Use the pottery for the appearance and a separate cleanable dish for the food.
5. A cool-weather pine-cone feeder

The RSPB provides a pine-cone feeder activity using softened suet or lard and bird-food ingredients. Follow its recipe and allergy advice. Use an untreated cone, prepare the mixture without melting the fat, press it into the cone and chill it to set.
This is a short-lived food craft, not a feeder to leave indefinitely. Hang it securely without loose trailing string, monitor it and remove it if the food becomes wet, rancid or moldy. Do not use the activity with nut-allergic participants when the ingredients contain nuts. Bird food is not for children to taste.
6. A shaped bird-food treat
For a star or heart shape, use a bird-food recipe from a wildlife organization with its stated ingredients and setting method. A random mixture of gelatin, water and seed does not establish storage life or weather resistance.
Press the prepared mixture into a washable mold and follow the recipe’s chilling instructions. Offer the finished treat in an appropriate holder rather than leaving long ribbon loops. Keep portions small and select a product or recipe suited to the weather. In warm conditions, a small cleanable seed feeder can be easier to manage than a soft fat-based shape.
7. A temporary juice-carton feeder
A washed and fully dried juice carton can be a short-term craft project. An adult should cut a feeding opening, remove sharp edges and make drainage openings. Keep enough of the carton intact to shelter a small amount of seed, and attach it securely.
Children can draw an owl or another design on the outside. Skip glued-on bottle caps, loose eyes and glitter that could detach. Check the carton daily; if it softens, delaminates or cannot be cleaned properly, discard it and use a washable feeder instead. Paper-based packaging is not a permanent weatherproof structure.
Turn the project into birdwatching
Keep a notebook of the birds that visit, the foods they use and how quickly rain affects the feeder. That record can help you improve the design. A craft that is difficult to empty or keep dry should become an ornament rather than remain a feeding station.
Wash hands after handling feeders and keep their cleaning equipment separate from food-preparation equipment. Choose the project you can maintain regularly; reliable cleaning and fresh food matter more than elaborate decoration.
Image source: pine-cone feeder.