A deck, porch, or patio can be a relaxing place to be. It is a place to relax, have gatherings, and much more. But without the proper care, your deck can become a safety hazard. A damaged deck can also make your house not look as good. To help make your home safer, as well as boost your curb appeal, I’ll be going over deck repair tips to help get your deck looking new again. Let’s get started.
How to Tell If Your Deck Needs to Be Repaired
The first step to repairing a deck is to know if it needs to be fixed. If your deck is still in good shape, there is no need for repairing your deck. It is very easy to find out if your deck needs repaired or not. Make sure you inspect your whole deck for damages. Signs your deck needs repaired include if it is rotted, broken, loose, stained, or moldy. Here are some tips for finding out if your deck needs repair.
Stains and Blemishes
Stains and blemishes develop due to everyday use. While stains and blemishes may not seem like a problem, it can cause the paint on your deck to be removed, which can lead to rotting. Stains and blemishes do not look good either. Small stains can be removed with a simple solution of water and mild detergent. Other stains can be removed by rubbing lightly with mineral solvents and a soft brush. Remember to rinse your deck after using detergents so that it doesn’t damage your deck more.
Broken Boards
A common reason for deck repair is because of broken boards. Boards can become damaged because of people constantly walking on it, as well as rot. You can easily find out if your boards are broken by checking for splits in the wood, as these pieces will break soon if pressure continues to be applied. If you notice any broken boards, you should replace them right away to prevent further damage and injuries.
Dry Rot
Dry rot occurs when moisture comes in contact with the wood. Signs of dry rot include shrinking boards with dark stains, fungal growth, and a damp, musty odor. It is common for untreated boards to get dry rot because they are not protected by any sealant. If you have any boards that do not have a sealant on them, now is a great time to add some paint or stain to them.
Loose Nails and Screws
Loose nails and screws can result in injuries if you tripped on them. They can also cause boards to fall off. If you notice any loose nails, either replace them with new ones or pound them back in. If the nails look rusty, it is best to replace them with new ones.

How to Repair Your Deck
How to repair a deck depends on how and where your deck is damaged. If you plan on rebuilding a deck, there are a lot more steps than if you have to replace a few boards. Here are the steps to repairing a deck.
How to Fix the Joists
Remove Nails or Screws
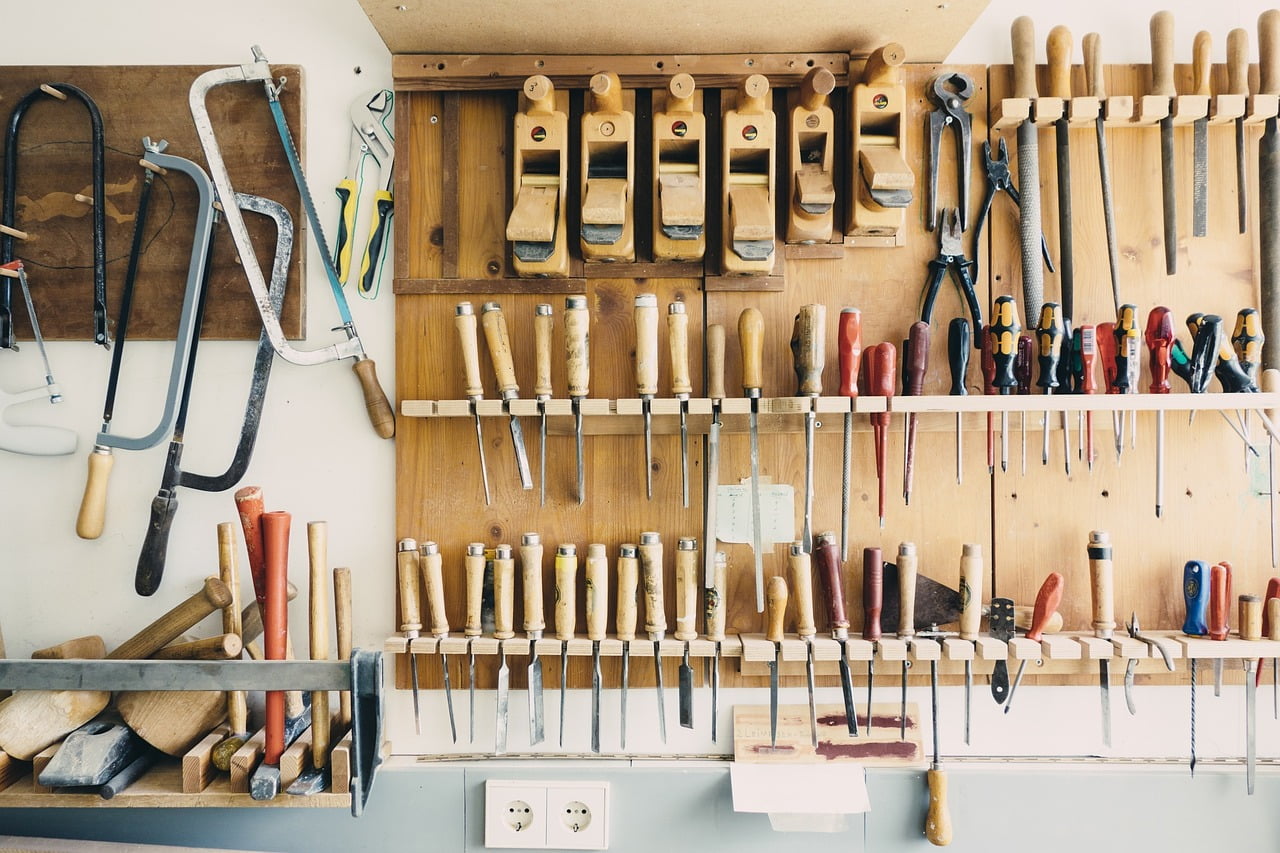
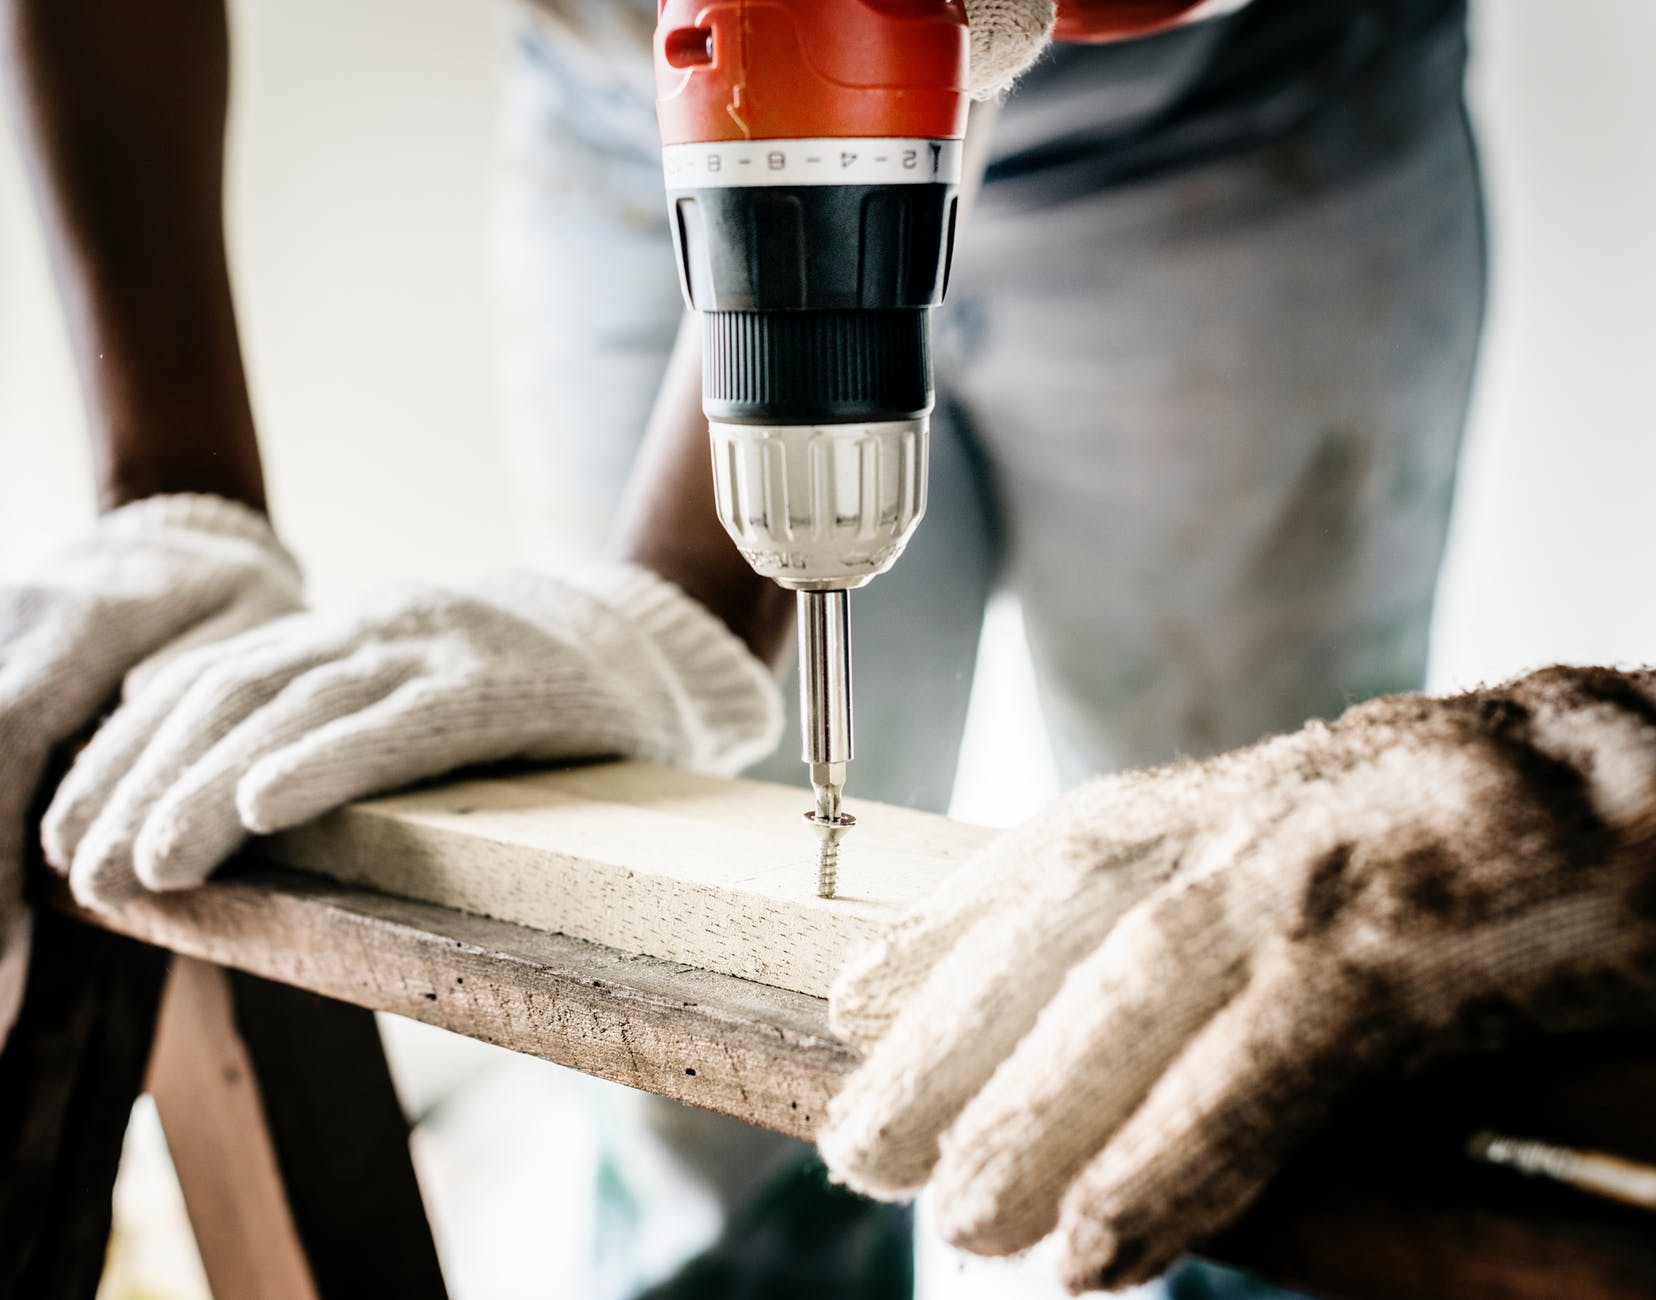
Start by removing the nails or screws. To remove the nails or screws from the damaged decking board, you’ll need to use a pry bar, screwdriver or drill. You can save the nails if they’re good, or you can replace them. If they are rusty, bent, or broken, you should replace them with new screws.
Check and Fix the Joists
Next, inspect the joists underneath for signs of rotted wood. Use a hammer and chisel to remove any rotted portions of joists. Repair joists that have soft, discolored areas with rotted wood putty. After repairing the joist, apply a thick coat of clear sealer to the damaged joist. Let it dry, and then apply a second coat of sealer.
Reinforce the Joists
Treat all sides of the reinforcing joist with a clear sealer and let it dry. Position the reinforcing joist tightly against the damaged joist, and attach it with galvanized nails or screws driven every two feet.
Clean the Other Deck Boards
If you are replacing all of your deck boards, you can skip this step. But if you only fixed a couple boards, you’ll want to clean the surrounding boards. Clean it with a detergent, and then rinse it. Now is a great time to see if any other boards need to be replaced. Add stain to all the boards, including the old and new ones.
Add on the Boards
Once you have fixed the joist, you can add on the boards. As I’ve already mentioned, only use nails or screws that are in good shape. Do not attempt to use old nails that are rusty, bent, or broken. After you put on the new wood boards, you are done!

How to Replace Broken Boards
Cut the Board
You usually don’t have to replace an entire board in deck repair work unless the entire board is damaged. If only a section of the board is damaged, cut off that part of it with a jigsaw. Be careful to make clean cuts. Pull out any nails that you need to with a pry bar.
Add Cleats to Support the Board
Pre-drill three holes in two 16-inch treated wood cleats so they pull tight to the joists. Apply construction adhesive, hold each cleat tight to neighboring deck boards, and screw one to the joists at each end of the deck repair.
Add the New Board
Cut the new board so that it fits into the gap where the old board used to be. Make sure it is the same type of wood so that it matches your other deck boards. If you want everything to match, stain or paint your entire deck.

How to Replace a Deck
If you’re wondering how to replace a deck, you should first know that replacing a deck doesn’t mean you have to tear down your entire deck. Sometimes all you have to do is replace the railing and floorboards. Here is how to replace a deck.
Remove Old Decking
Unscrew all of the old board on your deck. If the boards are nailed onto your deck, cut the boards with a saw and then pull them off.
Inspect the Joists
Now that the frame is exposed, now is the perfect time to check the joists to make sure they are in good shape. Replace any of the joists if needed. Follow the instructions I gave earlier on how to fix your deck joists.
Add New Boards
Measure the width of the deck and cut the first deck board to this measurement. Because the fascia boards and railing are not being removed, it is important to take exact measurements for cutting the deck boards so that they fit together perfectly. Lay the first board parallel with the outside fascia board and screw the board with two 2 1/2-inch deck screws to each joist that it overlaps. Predrill holes at the ends of the boards prior to screwing them down to avoid splitting the ends. Lay the second board down next to the first, and then continue adding boards until you are done.

Deck Repair Tips
Inspect Your Deck Regularly
To prevent major damage on your deck, inspect it regularly. Check for nails that are sticking up, paint that is chipping, and boards that are rotting. If you notice anything wrong with your deck, be sure to fix it right away before it gets any worse.
Regularly Clean Your Deck
Every once in a while, clean your deck with a mild detergent and water. Scrub the deck so that all dirt comes off, and then rinse it thoroughly. Remember to clean your deck before you repaint it. That way there won’t be dirt under the paint and your deck will look better.
Paint Your Deck Every Other Year
Every other year, repaint or stain your deck so that the wood always stays protected from the weather. If you are using an oil-based semitransparent stain, you may be able to go three to four years before you need to re-stain it.

Final Thoughts
Repairing a deck is fairly easy when you do it properly. You should be able to easily find out if your deck needs repaired. Signs that your deck needs repaired include stains and blemishes, broken pieces, loose nails, and rotting. Other minor issues include chipping paint and loose boards. Whatever problem your deck has, it is easy to repair a deck. Today, I went over the instructions for repairing joists, replacing broken boards, and replacing a deck. Replacing a deck doesn’t mean that you have to replace your entire deck. All this means is replacing the wood boards.
Make sure to inspect your deck regularly to find out if it needs to be repaired or replaced. You should also clean your deck regularly. To clean your deck, all you need to use is detergent, water, and something to scrub the deck with. Remember to rinse your deck after cleaning it. I hope this article has answered all your questions when it comes to deck repair. Hopefully, now you will be able to repair your deck so it is back in good shape. Your hard work will definitely be worth it.