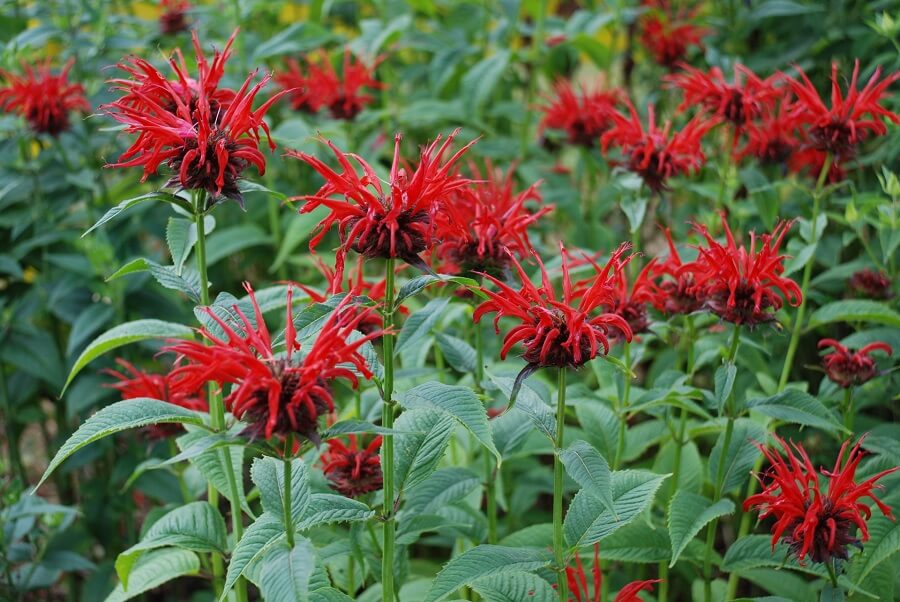
Is Using Homemade Potting Soil Essential for Planting a Vegetable Garden in Your Backyard?
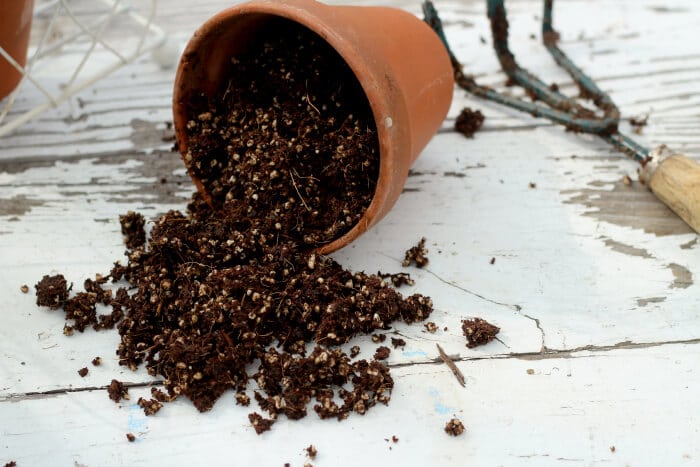
Using homemade potting soil for planting a vegetable garden at home can be beneficial. Homemade soil allows you to control the ingredients and ensure it is free from harmful chemicals. It can also be cost-effective and environmentally friendly. However, using store-bought soil may be more convenient for some gardeners. Ultimately, the decision depends on your preferences and the specific needs of your plants.
Make Your Own Potting Soil: Full Guide
1. Solarize the Soil
Since potting soil isn’t only made of soil, you’ll have to go through each step carefully in order to make the best soil for your plants. Naturally, the first step implies getting the soil ready. If you thought you can just use soil freshly taken from the garden, you’ll be surprised to find out you need to solarize the soil beforehand. First, choose an area in your garden from which you’re going to take the soil you need to make your own potting soil. Then, clean that entire area, making sure it’s free of dead leaves, weeds, plant trimmings, and anything that can be considered debris. Use a rake to smooth out the soil and remember that the area you choose should be one on which you haven’t used any chemicals. In order to make sure the solarizing process is successful, the next step should be to water the soil you’ve just prepped. Water heats the soil up and ensures heat will conduct through the soil much better. The water should seep about 12 inches into the soil for best results. Now that you’ve watered the soil thoroughly, take a clear plastic sheet and cover it. In order to make sure the sheet will stay in place, put rocks along its edges. The soil should sit under the plastic sheet for about 6 weeks. The heat that the sheet helps generate and preserve will solarize the soil. As a result, all pathogens, pests, and weeds will disappear. If you want to give the solarizing process a boost, do it in summer when the weather is extremely hot. Doing it in winter is completely out of the question since this will only warm up the cold soil and encourage the growth of weeds. As an alternative to the process we’ve just detailed above, you can also solarize the soil by placing it in the oven in a metal or glass baking pan. The pan should be covered with a tin foil and left there for 30 minutes at a temperature of 200 degrees Fahrenheit. The good thing about this method is that it’s fast, so you don’t have to wait for 6 weeks. The bad thing about it is that it will spread an earthy smell in your home, which some people really can’t stand.2. Make the Compost
The second most important ingredient in potting soil is the compost. You can make you own compost very easily since you’re free to use grass clippings, kitchen scraps, leaves, weeds, coffee grounds, and other types of compostable material. The reason why a good potting soil needs compost is that this is what provides all the beneficial microbes and nutrients. Even if there are many materials you can use to make compost, you have to pay attention to the measurements. For best results, you’re going to need 1 part “greens” and 3 parts “browns”. “Greens” are materials such as coffee grounds, kitchen scraps, grass trimmings, weeds, and so on. They produce nitrogen. “Browns” are cornstalks, straw, leaves, and the like. They produce carbon. Whatever you do, stay away from materials such as dairy products, animal meats, biosolids, or feces. They could become a health hazard.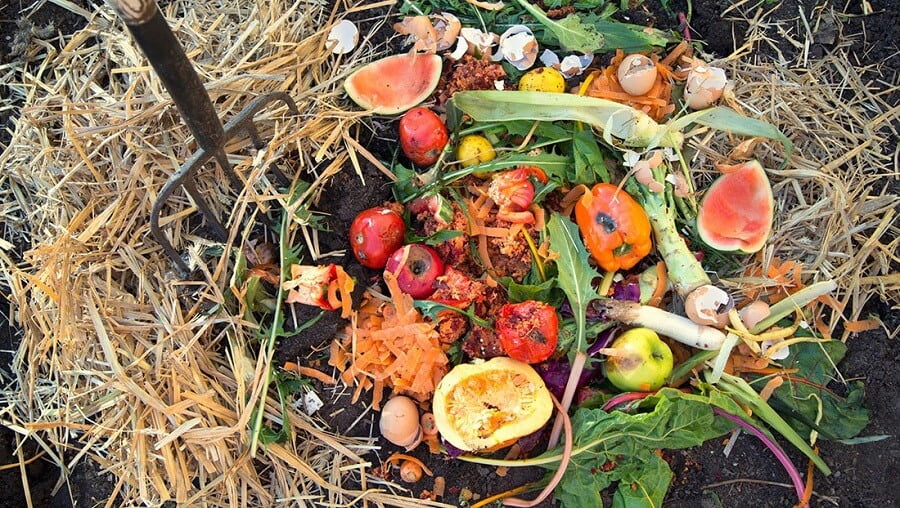 The next step involves placing all the materials you’ve gathered in a composting bin. You can buy one here. The materials will turn into compost in about 3 months, during which you’ll have to turn them constantly. The reason for this is to ensure that all the materials in the bin are composting, not just those at the bottom or at the surface. If you want to speed up the process a little bit, add some worms into the bin as well.
After those 3 months, your compost is almost ready to be used. All you have to do now is process it through a screen. This will leave you with compost particles of the same size. Moreover, it will ensure the particles aren’t too big since you need them to be small and easy to mix with the soil in order to create the potting soil. If there are large particles left after you screen the compost, place them back into the bin and they’ll continue the composting process.
The next step involves placing all the materials you’ve gathered in a composting bin. You can buy one here. The materials will turn into compost in about 3 months, during which you’ll have to turn them constantly. The reason for this is to ensure that all the materials in the bin are composting, not just those at the bottom or at the surface. If you want to speed up the process a little bit, add some worms into the bin as well.
After those 3 months, your compost is almost ready to be used. All you have to do now is process it through a screen. This will leave you with compost particles of the same size. Moreover, it will ensure the particles aren’t too big since you need them to be small and easy to mix with the soil in order to create the potting soil. If there are large particles left after you screen the compost, place them back into the bin and they’ll continue the composting process.
3. Collect the Rest of the Ingredients
Now that we’ve taught you how to prepare the two most important ingredients for making potting soil, it’s time to talk about the rest of the (less important) ingredients as well.a. Sand
One of the first such ingredients is sand. Sand improve the drainage of the potting soil by adding air space. We recommend going for builder’s sand because it’s coarser. Too fine of a sand will make the texture of the soil too dense, which is not something you want. If you’re looking for a sand substitute, you can try perlite. It also improves drainage, but it’s lighter than sand. Moreover, it has a neutral pH.b. Peat Moss
Peat moss is another ingredient indispensable for the making of a really good potting soil. Since it improves the retention of water in the soil, it’s great for plants that are in need of large quantities of water constantly. You can order peat moss right here. When adding peat moss to your potting soil, make sure to check its acidity. It usually has high acidity, which means you’re going to have to counterbalance it in order to keep the pH at a desirable level. When it comes to things that can substitute peat moss, you have several options. You can use ground-up newspaper instead, or buy some coir fiber that improves the retention of water. Yet another option is bark, but this is only a partial substitute, since its ability to retain water isn’t as good as that of peat moss. However, it does add air space to the potting soil.c. Vermiculite
Vermiculite is another ingredient that helps with the retention of water. It’s also coarse and it looks like miniature pebbles. If you decide to use vermiculite as well, be careful when handling it, because it could lose its capacity to hold air.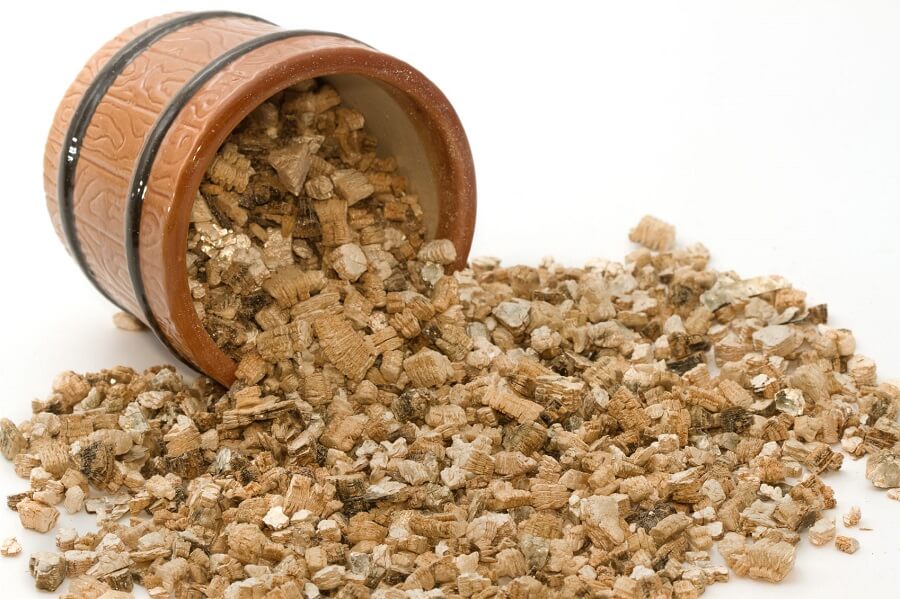
d. Nutrients and Fertilizers
Finally, the last ingredients you need to make your own potting soil are nutrients and fertilizers. They’ll provide your plants with food and keep them healthy and strong. There are different types of nutrients and fertilizers you can use, like bone meal, blood meal, limestone, or greensand. They all contain a different type of nutrient or fertilizer. One thing we must mention is that if you’re going to use the potting soil to start seeds, and especially if you know the seedlings are sensitive, you should skip this step.4. Put Everything Together
The final step in today’s guide involves putting together all the ingredients you’ve made or collected. Before doing that, grab a pair of gardening gloves and a face mask to keep you protected. Here are the rest of the supplies you’ll need:- Large bucket in which to mix everything.
- Measuring container for adding small amounts.
- Trowel for mixing the compost.
- Shovel for adding large quantities of peat, soil, and compost.
- Water in a watering can and a hose.
- Hardware cloth through which to push the materials and only keep the small pieces.
- 1 part peat moss
- 1 part vermiculite
- 2 parts compost
- 1 part sterilized garden soil
- 1 part sand or perlite