
A DIY Adirondack chair needs a complete, consistent plan: the reclined seat, back supports, legs and arm braces must work together. Start with a plan that includes drawings, a cut list and a fastener schedule, then use the workflow below to organize the build. A photograph or an isolated list of board lengths is not enough to establish a safe assembly.
Choose the chair plan before buying lumber
This Old House’s Adirondack-chair project shows Tom Silva and Kevin O’Connor building a chair and provides a downloadable cut list. Read the whole project and study its drawings before deciding whether it suits your tools and experience. Keep all dimensions and connection details within that one design; do not combine its legs with another chair’s seat or back.
Consider how the chair will be used. A deeply reclined, low seat can be difficult to get out of. Check the finished seat height, width and footprint against the intended user and patio space. If those need changing, choose a better-fitting plan rather than altering structural dimensions by guesswork.
1. Make a materials and tools checklist
Transfer the selected plan’s quantities, actual board dimensions, screws, bolts, washers and adhesive requirements to a shopping list. Use lumber suitable for outdoor furniture, sound at every connection. Reject boards with rot, splits or large defects where fasteners will go. Match exterior fasteners to the lumber and its treatment, following the fastener manufacturer’s guidance.
Account for saw cuts and waste before ordering. Have the specified saws, drill bits, clamps, measuring tools and sanding equipment ready. Eye and hearing protection, secure work support and the tool manufacturer’s operating instructions belong in the setup too.
2. Lay out and label the parts
Mark each component with the name used in the plan. Identify left and right pieces, the upper surface of each seat support and the locations of pilot holes. For curved components, use the supplied template at its intended scale. Check any printed scale marker before tracing it onto valuable lumber.
Compare paired components before cutting. This is the time to catch a mirrored part, an omitted brace or a measurement taken from the wrong edge.
3. Cut and smooth the components
Secure each workpiece and make the cuts specified in the plan. Keep hands out of the cutting path, and disconnect power before blade changes or adjustments. Smooth sharp corners and rough edges that will touch hands, legs or clothing. Preserve the designed joint surfaces and dimensions while sanding.
4. Dry-fit the seat frame
Arrange the supports and crosspieces on a flat surface before fastening them. Check the plan’s spacing and alignment, and confirm that the seat slats have the intended supports. Mark pilot holes accurately; forcing a screw near an unprepared board end can split it.
5. Assemble the legs and seat
Follow the plan’s assembly order and specified connections. Use clamps to hold alignment while fastening. Fit the seat slats with the gaps shown in the drawing so that the finished seat follows the intended curve. Do not substitute an unspecified number of small screws for a bolted connection.
6. Fit the back, arms and braces
Install every back support and arm brace called for by the plan. The arms should not merely appear level: their attachment points must match the design. Check the back slat arrangement before final tightening, especially if the top forms a curve. Stop and resolve any mismatch instead of pulling parts together with fasteners.
7. Apply an appropriate outdoor finish
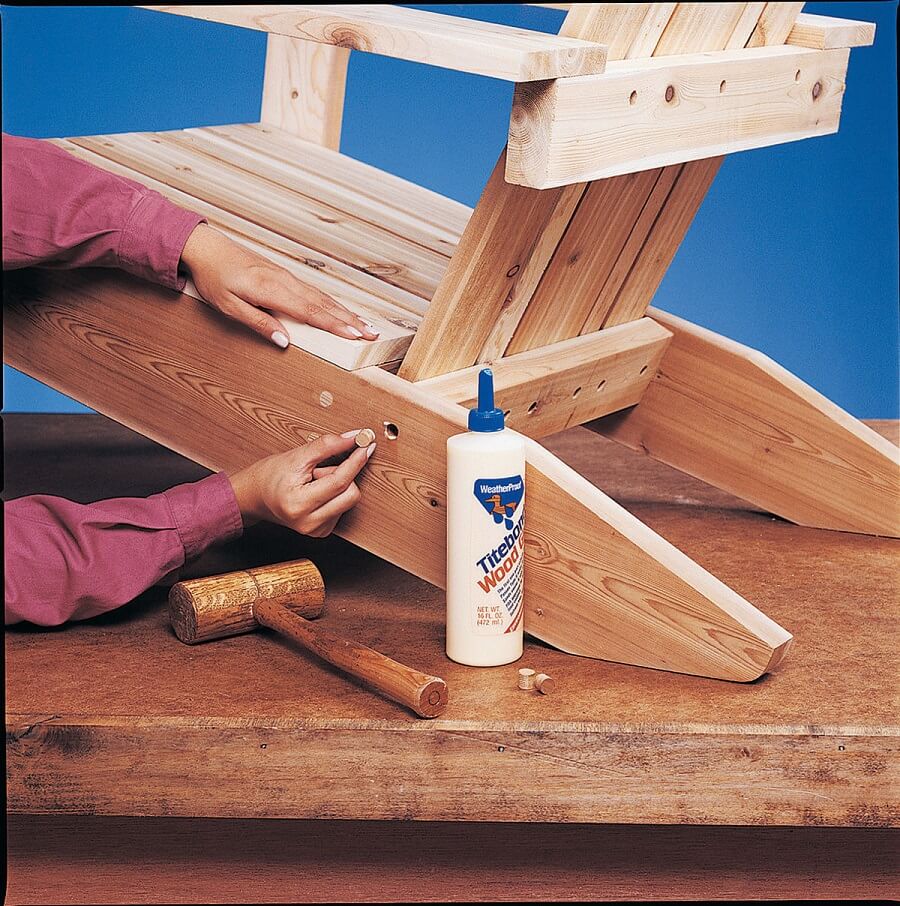
Remove sanding dust and apply a finish compatible with the wood and outdoor use, following its preparation, ventilation and drying instructions. Finish hard-to-reach surfaces when the chosen assembly sequence allows. Let the finish cure before using the chair; a dry-looking surface is not necessarily ready for contact.
8. Inspect the completed chair
Check for protruding fasteners, splinters, loose joints, missing braces and rocking on a level surface. Confirm that all connections match the plan. If anything moves unexpectedly, take the chair out of use and correct the fault. Inspect it again during the season and after storage, and keep it out of standing water.
A completed DIY chair has no automatically established load rating. If you need a stated capacity or cannot verify the plan’s construction details, select furniture with documented specifications instead.
Image credits: 3.