To build outdoor furniture, start with a complete plan for the specific piece, then choose compatible exterior materials, make an accurate cut list, assemble the joints as designed and finish for outdoor exposure. A photograph or a few lines about screwing boards together is not a construction plan, particularly for seating or suspended furniture.
This guide helps you choose and organize a build. It does not assign load ratings to improvised frames. If you are still choosing a style, browse our outdoor furniture ideas first, then return here to turn one suitable design into a materials and work plan.
Start with one achievable project
A small freestanding side table is often a more manageable first woodworking project than a folding chair or porch swing. Compare the drawings with your tools and experience. Look for dimensions, a cut list, joint details, fastener specifications and instructions for the particular material thickness.
Decide where the piece will stand, how it will be used and whether it must move through a door for storage. Measure the space with chairs pulled out, not just tucked beneath a table. Plan access around it and clearance for lids, drawers or a fold-down surface.
Do not enlarge a bench or replace specified lumber with thinner scraps without having the design checked. Changes to spans, joints and attachment points can change how a piece carries weight. For seating, use a credible, fully specified design or a rated kit.
Choose materials before making the cut list
Select lumber suitable for the exposure and the intended furniture use. Inspect for splits, severe warping, rot and damaged edges. Reclaimed timber needs a known history and careful inspection for hidden metal and contamination; a pallet stamp alone does not establish suitability for a seat or food-contact surface.
Match screws, bolts, brackets and adhesive to the wood, treatment and exterior conditions. Follow the material and hardware manufacturers’ compatibility guidance. Interior screws, indoor fabric and an unspecified construction adhesive are not interchangeable with the parts in an outdoor plan.
Make a shopping list that includes abrasives, the chosen finish, replacement blades if needed and protective equipment. Count the full cost before calling a project cheaper than purchased furniture. Tool hire, delivery, finishing and failed cuts can matter more than the initial timber price.
Lay out, cut and assemble in order
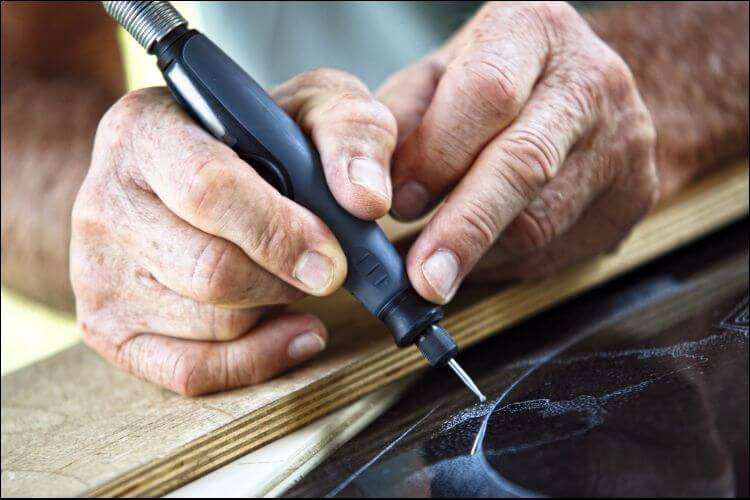
Prepare a stable work surface and follow the manuals for every power tool. Secure workpieces rather than holding them close to a blade. Locate old fasteners before cutting reclaimed material. Use suitable eye, hearing and dust protection for the operation and material.
Mark components from the drawing and label matching parts. Account for the saw cut when planning how pieces fit on a board. Check the first component before cutting a whole group to the same incorrect length.
Dry-fit manageable assemblies, checking their dimensions and squareness. Drill pilot or clearance holes where the plan and hardware require them. Assemble with the specified joints and fastening sequence; do not treat extra nails as a substitute for missing bracing. Respect adhesive curing times before moving or loading the piece.
Check that the completed item stands evenly, that hardware does not project into contact areas and that moving parts cannot pinch unexpectedly. A quick sit-test does not establish a safe load rating. Resolve rocking, loose joints or visible cracking before use.
Fifteen project concepts and the extra planning each needs
1. Canvas hammock: use a rated hammock and compatible stand or professionally assessed anchors. Fabric, grommets and a guessed number of ropes do not establish capacity.
2. Pallet-style table: retain the rustic appearance with a designed frame and secured top. Loose upright pallets are not stable table legs.

3. Adirondack chair: choose a detailed chair plan; seat angles, supports and arm connections deserve more attention than the paint color.

4. Cooler enclosure: measure the actual cooler, preserve access to its drain and lid, and design the enclosure for its filled weight.
5. Fold-down wall bar: specify hinges, supports and attachment to the actual wall structure. Decorative rope is not a rated support system.
6. Milk-can accent table: assess corrosion and secure an appropriately sized top. A board balanced on a narrow base can tip.
7. Pallet-look bench: use sound, suitable lumber and a seating plan with supported joints; appearance does not verify strength.
8. Cable-reel rocker: treat this as a specialist redesign. Do not assume cut reel panels or old fasteners can support several people.
9. PVC-style chair: use a purpose-designed furniture system with rated components, rather than plumbing pipe and fabric assembled by guesswork.
10. Concrete-top table: obtain a support design for the slab’s actual weight and dimensions. Plan lifting and placement before casting.
11. Penny mosaic table: secure the decorative layer to a suitable outdoor substrate; specify any glass top with a glazing supplier rather than reusing unknown glass.

12. Stump accent table: inspect the stump for decay, stability and pests. Secure the top without exposed sharp fixings.
13. Tire swing: use purpose-made play equipment and an assessed support location; an old tire and convenient branch are not a complete design.
14. Rolling daybed: account for the occupied load, frame bracing, caster capacity and positive wheel locking. Keep it away from steps and slopes.
15. Suspended bed: have the structure, anchors and hardware assessed for the intended use. Do not suspend a bed from unverified tree limbs or roof trim.
Finish and maintain the completed piece

Smooth splinters and contact edges without weakening joints. Apply an exterior finish suitable for the material and use, following preparation, ventilation, drying and recoating instructions. Decorative chalk paint alone should not be assumed to provide lasting weather protection.
Provide drainage and avoid details that trap water against end grain or cushions. Store removable textiles dry. Inspect furniture after moving it and at the start of each season; tighten compatible hardware as directed and repair decay or loose joints before further use. A useful build includes a maintenance plan, not just a finished photograph.
Image source: depositphotos.com