

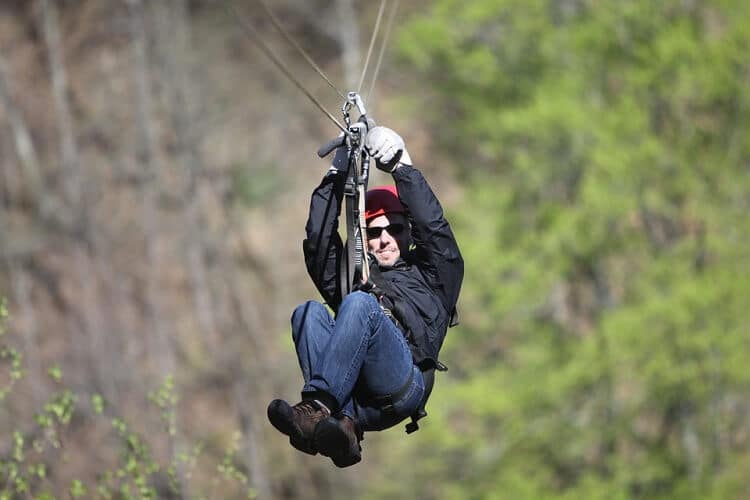
A backyard zipline needs a suitable site, verified anchors, compatible riding and braking equipment, and installation to the exact manufacturer’s instructions. A cable stretched between two objects is not a complete ride. Before buying a kit, establish whether your yard can accommodate its loaded clearance, stopping area and rider limits.
This planning guide explains the decisions to make before installation. Cable terminations, tension, foundations and testing must come from the instructions for your actual system and, where needed, a qualified installer or engineer. There is no universal clamp count, post-hole depth or mounting height that makes every backyard arrangement safe.
1. Match the ride to the site and riders
Record the proposed span, changes in ground level, access to both ends and the intended riders’ weights. Send those details to the supplier before ordering. Include photographs showing the whole route and each potential anchor, rather than judging suitability from cable length alone.
Allow room for launching, the entire moving rider, stopping and getting off. Assess the route with the system loaded, because the rider hangs below the cable and the cable sags. Keep the route away from traffic, water, fences and hard obstacles. A clear view from the launch to the landing helps a supervising adult keep other people out of the route.
Ask your local authority and insurer about requirements that apply to your proposed installation. Permission to use the property and suitable insurance are separate from whether the equipment itself fits the yard.
2. Have the anchors assessed
ZIPLINEGEAR’s installation guidance warns against unsuitable trees, ordinary buildings or playground structures, and live utility poles. Its specifications apply to its systems; they are not a substitute for assessing your trees, soil or structures.
Have a qualified arborist assess proposed tree anchors and consult the equipment supplier about attachments. A large trunk can still have decay or root problems. Protecting bark also does not establish that the tree can carry the ride.
If suitable trees are absent, obtain a design for dedicated supports and foundations from a qualified professional. Do not substitute a street sign, fence post, vehicle tow ball or an improvised buried anchor. Slackline anchor examples do not establish suitability for a zipline. Locate utilities before any excavation.
3. Specify the whole equipment system
Ask the supplier to identify the compatible cable, trolley, connectors, rider support, braking equipment and end-stop arrangement. Confirm which components are included, which must be purchased separately, and the rider and span limits. A low-looking ride can still expose someone to a harmful fall or collision.
The manufacturer distinguishes a stop block from a braking system. Do not assume an end obstruction can safely absorb the rider’s speed. The brake, approach and available stopping distance must work together under the prescribed operating conditions.
Keep the manuals and product identifiers together. If an instruction is missing or an attachment is unclear, resolve it with the manufacturer before installation. A rope loop is not a replacement for specified riding equipment.
4. Install and commission before anyone rides
Follow the full instructions for the selected kit, including its attachment method, clearance, slope, sag and inspection requirements. Do not mix measurements from unrelated guides. Arrange professional installation if the work exceeds your skills or involves engineered supports or elevated access.
Complete the manufacturer’s commissioning and test procedure without using a person as an improvised test weight. Keep riders off until all required checks pass. If testing shows inadequate clearance, excessive speed or unreliable stopping, close the ride and correct the design with the supplier or installer.
5. Plan supervision and ongoing checks
Make the operating limits available to the supervising adult. Check the equipment and route as directed before use, and stop after damage, anchor movement or an unexpected change in performance. Keep an inspection record with the manual and ask the manufacturer how weather exposure affects maintenance and replacement.
Decide how unauthorized use will be prevented and how a stranded rider would be assisted before opening the ride. If the site cannot accommodate the specified system and its access arrangements, choose another location or activity rather than reducing the clearances or omitting equipment.