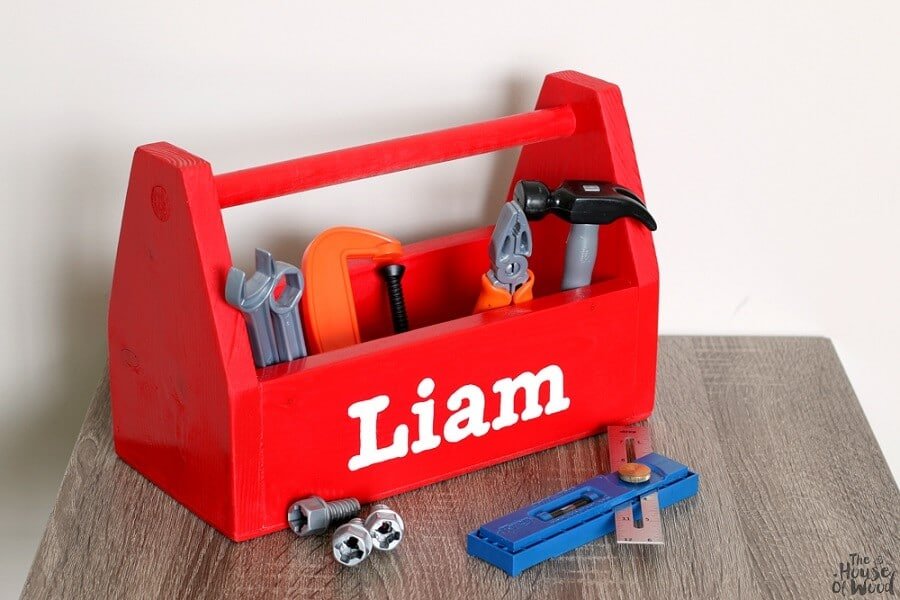
Do you want to convince your children to help out in the garden and around the house? Then why not make them their own toolbox? Since it isn’t advisable for kids to use the same kinds of tools adults use, building a kids toolbox is the best way to make sure they’re completely safe. Not to mention the fact that seeing the effort you made to build it and the trust you have that they’ll do a good job using it, your children will be more motivated to put the toolbox to good use. Today, we’re going to take you through all of the steps of building a kids toolbox. Then, we’re going to present you with all the tools you should include in one.
DIY Kids Toolbox
Step 1: Gather the Materials and Tools You Need
Before getting into the actual building of a kids toolbox, we must mention everything you’re going to need for this DIY so that you can be fully prepared. The tools you need to have at hand are a drill, a circular saw, a miter saw, a jigsaw, a nail gun, a spade, a sander, a stapler, a square, and a tape measure. In terms of materials, you’re going to need: a 1×6, 24″ board; a 1×4, 24″ board; a 1/4″ thick, 10-1/2″ x 5-1/2″ piece of plywood; a 3/4″ diameter, 12″ dowel; some 1-1/4″ brad nails; 3/4″ staples, and wood glue.
Step 2: Attach the Two Sides
The dimensions of the kid’s toolbox you’re going to make are the following: 3/4″ x 3-1/2″ x 10-1/2″ on the sides, 3/4″ x 5-1/2″ x 8″ at the ends, 3/4″ x 12″ dowel, and 1/4″ x 12″ x 5-1/2″ on the bottom. For this, you’re going to have to cut two 1×6 boards and clamp them together.
Now it’s time for you to attach the first side of the toolbox. For this, you’re going to have to cut two 1×6 boards and clamp them together. Then, drill the hole where the dowel is going to go. Finally, attach the 1×6 end to the 1×4 side using wood glue and a couple of 1-1/4″ brad nails. Attaching the other side is pretty easy once you’ve done it with the first. All you need to do is use the same type of nails and wood glue to secure it to the 1×6 end.
Step 3: Add the Dowel
Perhaps one of the easiest steps of this DIY, inserting the dowel only requires you to squeeze wood glue in the hole that you’ve previously made and then place the dowel there. Remember also to hammer it to make sure it will stay in place.
Step 4: Attach the Other End
Now that you have the sides and one of the ends, it’s time for you to get closer to finishing the kids toolbox by attaching the other end as well. The easiest way to do that is first to attach it to the dowel. Take some more of that glue and place it in the hole of the second end. Then, put the dowel inside and hammer it the same way you did its other end. At this point, the second end is already connected to the two sides of the toolbox. As a result, all you have to do is grab some wood glue and some 1-1/4″ brad nails and attach it properly.
Step 5: Attach the Bottom
The last step of this DIY involves connecting the last part of the toolbox which is the base. You’re going to take that piece of 1/4″ plywood and a couple of 3/4″ staples (you can also use brad nails), as well as some wood glue, and make sure the bottom is completely secured and won’t come off the toolbox once you fill it with tools.
7 Must-Have Tools to Complete the Kids Toolbox
1. Rake
One of the easiest activities for children in the garden is raking leaves and other kinds of debris. Raking is an activity that’s going to put their energy to good use without getting them too tired. Plus, you can benefit from having a little helper around the garden. Since most children can’t work with a normal-sized rake, you should purchase a small one like the ones children play with at the beach. This will also ensure that the tool fits in the kids toolbox you’ve just built.
2. Trowel
Another useful tool any kid should have in their kids toolbox is a trowel. They can use it to move soil around, provide plants with mulch, smooth soil around different plants, and even do some light digging. These are all activities that children can do without putting in that much effort. If you want to make things more interesting for them, you can always challenge them to a race such as who smooths the soil around the most plants. Just as in the case of the rake, we recommend a small trowel.
3. Shovel
Who didn’t enjoy digging holes as a child? This is one of the most entertaining garden activities for children, so you should take advantage of the opportunity to add a shovel to your kid’s toolbox. If you have enough room in your garden or backyard to afford your children digging holes without destroying any of the plants, that’s great news. If you don’t, you can always ask your kids to help plant something by digging the holes where you’re going to place the seeds or seedlings.
Since we’ve been mentioning rakes, trowels, and now shovels whose size is fit for a child, we wanted to recommend the Click N Play Kids 3 Piece Small Gardening Tool Set that comes with these tools, and that you can purchase here.
4. Gardening Gloves
Whenever they help around in the garden, your kids need all the protection they can get. Not only because they’ll get extremely dirty (which is unavoidable), but also because they might prick their finger or get scratches depending on what they’re doing. This is why you must buy them a set of gardening gloves designed especially for them.
What makes kids gardening gloves special, apart from their smaller size? Well, they usually come in bright colors to make them more attractive for children. For instance, here’s where you can find the Melissa & Doug Be Good to Bugs Gardening Gloves for Kids. We particularly like the “Be Good to Bugs” sticker on top of them.
5. Gardening Apron
Another type of protection, a gardening apron is also something you should include in the kids toolbox you just built. Even if your kids probably find other ways of getting their clothes dirty, you can at least try to protect them as much as possible with a cute and colorful apron. Moreover, wearing an apron in the garden would make anyone feel like a professional gardener, and your kids make no exception.
If you’re looking for a great gardening apron for kids, you can purchase the Ogrow High-Quality Kid’s Garden Tool Apron right here. What we like about it is the fact that it also has pockets. They’re designed with the purpose of holding different gardening tools. That way, your kid won’t have to go back to the toolbox every time they need a certain tool.
6. Knee Pads
If you want to go all out when it comes to protection, you can also purchase some knee pads that your children can keep in their toolbox and use when needed. To encourage them to wear the pads, purchase something that will be comfortable and fit well, you can find some here.
7. Watering Can
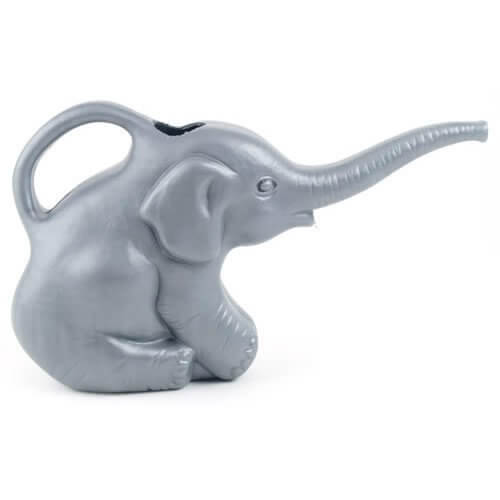
Next to digging, watering plants is also one of the most entertaining gardening activities for children. Plus, it’s also extremely easy. Something that can make it even more fun is a cool watering can. We suggest the Union 63182 Elephant Watering Can which you can buy here. This one is shaped, you guessed it, like an elephant. It’s also relatively small, so it won’t be a burden for your child to carry around and lift off the ground. Encourage your kids to help you water the plants. If you do it together, you can also keep an eye on them. That way, you’ll make sure they don’t overwater any plants.
Summing It All Up
Thinking about introducing your children to gardening? Building a kids toolbox that they can fill with some cool and colorful kids tools is the perfect way to do that. As long as you follow the steps we’ve outlined above, you’re going to build a toolbox in no time. Then, shop for the tools we’ve mentioned, and your kid will have a complete gardening toolbox to use proudly.