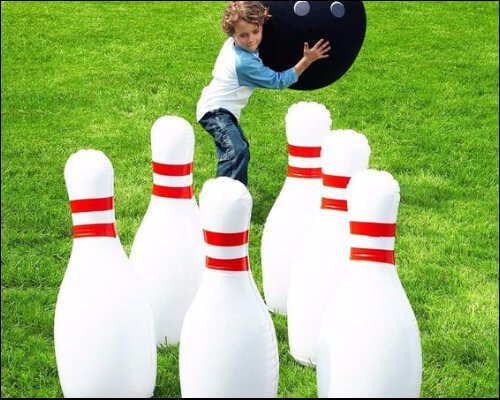
A DIY backyard bowling alley can be a small, ground-level family game rather than a miniature commercial installation. Start with lightweight outdoor pins and a matching ball, then decide whether you need a lane at all. A portable set on a reasonably level lawn is the simplest version to try before building.
Choose the game before the materials
Use a ball and pin set intended for the players’ ages and the surface. Foam, plastic or inflatable sets are easier to accommodate in a home garden than regulation bowling equipment. A heavy bowling ball can damage a homemade lane or escape into people, pets and nearby property; this plan is for lightweight play.
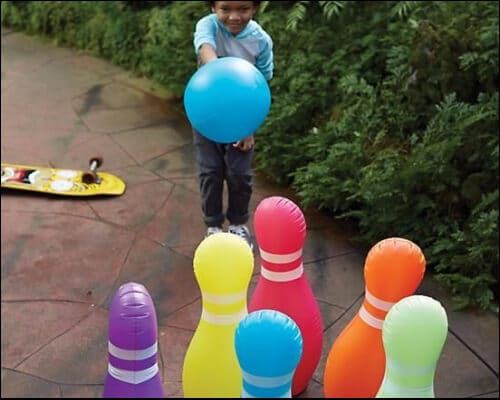
Lay the pins out temporarily and test a comfortable throwing distance. Allow a clear approach, space behind the pins and a separate route for retrieving the ball. Keep the layout away from glass, steps, roads, pools and fragile garden features. The player should be able to see the whole lane before rolling.
Decide between a temporary surface and a built lane
A level paved area or short lawn may be enough for casual games. Grass changes the roll, which is acceptable if everyone uses the same rules. Mark the throwing line with a removable marker and store the set afterward.
A wooden lane can give a more predictable roll, but it also creates a maintenance job. Keep it low and dedicated to the game. If you want a raised platform that people can stand or jump on, use a complete structural design appropriate to the site; a few sheets of plywood and a suggested screw size do not establish a safe load rating.
Plan an outdoor lane
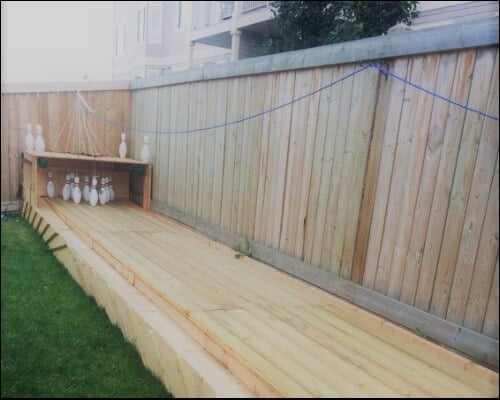
Draw the intended length and width after testing your pin spacing. Include the approach, side containment and a stop behind the pins. The usable dimensions should fit your yard and chosen toy set, not an arbitrary regulation-alley measurement.
- Choose sheet material and framing suitable for the expected outdoor exposure, with compatible corrosion-resistant fasteners.
- Support panel joints and the playing surface using a complete woodworking plan. Avoid unsupported edges, projecting screws and splinters.
- Use a finish specified for the material and outdoor exposure. Indoor laminate flooring is not automatically suitable outside, and stain does not make wood waterproof.
- Keep runoff from pooling underneath. Make inspection, cleaning and lifting manageable before building a long, heavy assembly.
Ask a timber supplier or experienced builder to help match materials and supports to the actual design. The size and spacing of structural members depend on the span, loads and material; substituting a generic lumber list can leave those questions unanswered.
A practical assembly sequence
- Mock up the footprint. Confirm that players can approach, roll and retrieve without crossing other activities.
- Prepare the location. Use firm, stable ground and account for drainage. Do not bury a frame where it will sit in water.
- Build from the chosen plan. Fit and support the base, then add a smooth playing surface. Recess fasteners and smooth exposed edges.
- Add ball containment. Size side rails and the end stop for the lightweight ball. Check that they have no sharp corners or gaps that invite trapped fingers.
- Finish and cure. Follow the finish manufacturer’s preparation and drying instructions before handling or play.
- Test with the intended equipment. Roll gently from different positions, inspect movement and rebounds, and correct problems before children use it.
Reset pins by hand
For a home lane, manual resetting is straightforward. Mark ten pin positions in a triangle, or use fewer pins for younger players. Make a clear rule: nobody bowls while someone is retrieving a ball or standing near the pins.
A homemade rope-and-pulley reset can introduce tangled lines, loose hardware and entanglement risks without reliably resetting the pins. Keep the basic game free of hanging loops. A commercial reset mechanism needs its own installation and use instructions.
Make the game easier or more challenging
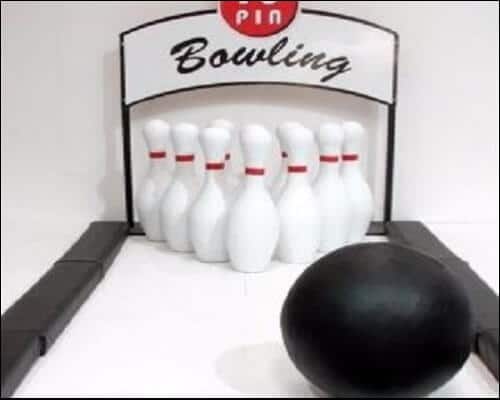
Move the throwing line closer, use larger lightweight pins, or count total pins knocked down over a few rounds. Older players can use a longer distance if the ball remains contained. These adjustments change the difficulty without adding obstacles to the lane.
Keep chairs, drinks and a scoreboard outside the rolling and retrieval area. Avoid installing a dartboard above the lane or placing planters where a ball may hit them. If evening play is important, choose lighting made for its location and keep electrical cords out of walking routes; permanent wiring calls for appropriate qualified installation.
Storage and maintenance
Put portable equipment away dry. Inspect a built lane for loose fasteners, decay, delamination, rough edges and movement before play, especially after wet weather. Repair damage before using it again.
A cover can reduce exposure but may also trap moisture; provide ventilation and follow the material’s care requirements. Do not add wheels to an existing heavy lane without a design that provides stability and secure locking. For many households, a small removable setup gets more use than a large structure that is difficult to move or maintain.