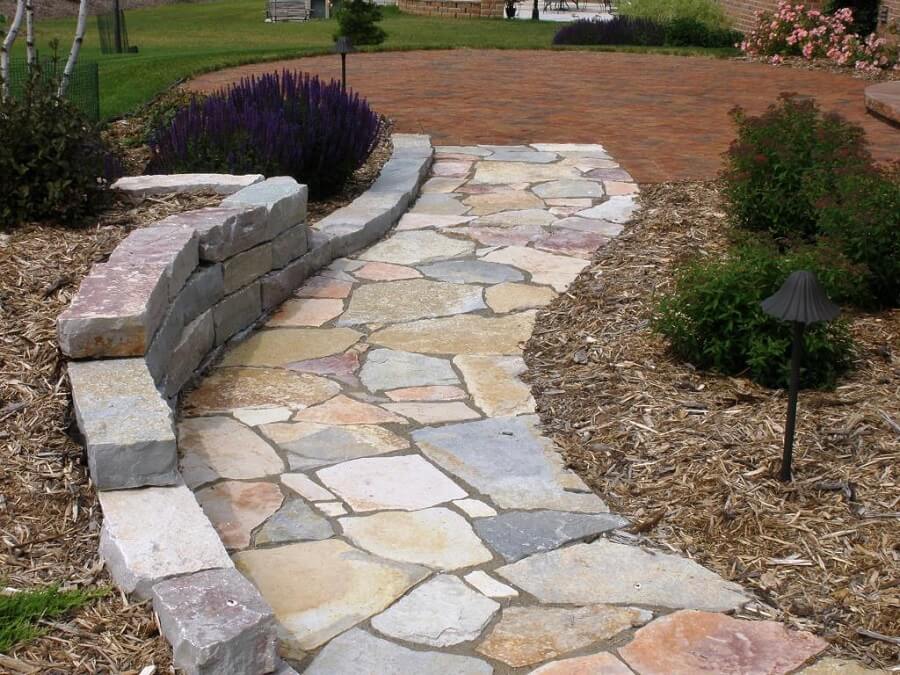
A stone walkway needs stable support, a usable route and drainage as well as an attractive arrangement. This guide covers planning and installing a pedestrian, dry-laid garden path. The required base depends on the stone, soil, climate and loading; a fixed five-inch excavation with two inches of sand is not a universal design.
1. Plan the route
Walk the proposed route before buying materials. Mark straight edges with string or curves with hoses, checking that the path connects useful destinations. Allow space for the people, wheelbarrows or mobility equipment that will use it. Three feet is not a comfortable universal width for two people side by side.
Keep work away from important tree roots, and obtain advice where excavation could affect a tree. Check for buried utilities and private irrigation before digging or driving stakes. An accessible route or a path involving steps needs additional design attention.
2. Select suitable stone
Choose paving stone rated for the intended outdoor use, with a surface that remains reasonably slip-resistant when wet. Thickness, strength and weather resistance matter; thicker stone is not simply a shortcut to less work.
Ask the supplier for an installation specification appropriate to your site. Sort the pieces so the larger, stable walking surfaces form a practical route rather than relying on small fragments underfoot.
3. Set elevations and drainage
Plan where rainwater will go. A path needs a controlled fall toward a suitable outlet, not a perfectly horizontal surface that traps water or directs it toward the house. Coordinate finished height with doors, adjoining paving and lawn edges.
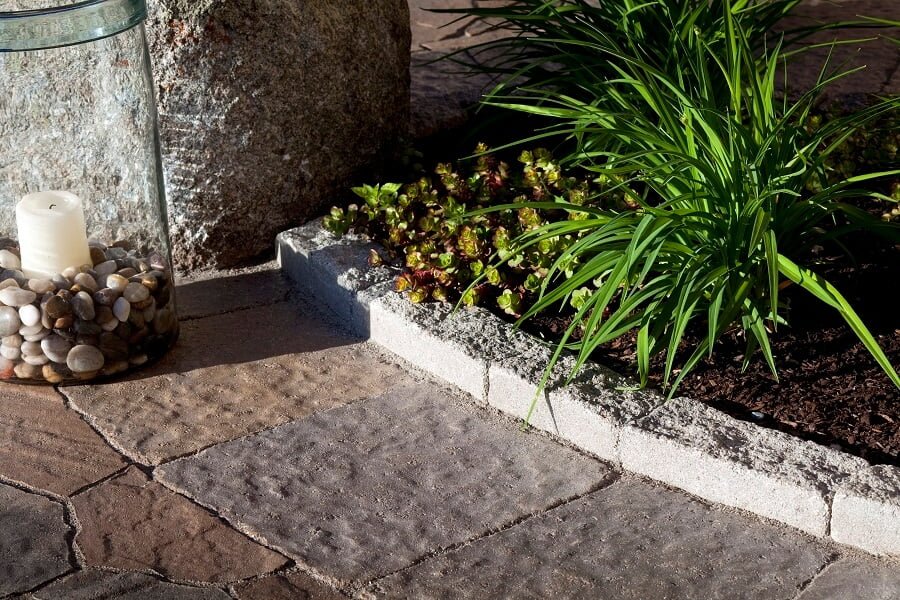
For persistent wet ground, steep slopes or work near foundations, resolve drainage and design before excavation. Belgard’s installation guidance illustrates how base requirements change with soil and application; use instructions for your actual paving system.
4. Gather materials and equipment
In addition to stone, you may need specified aggregate, bedding and jointing material, edge restraints and separation geotextile. Ordinary landscape fabric is not automatically the appropriate structural separator.
Have a shovel, suitable compaction equipment, level, measuring tools and lifting aids ready. Plan safe stone handling with help for heavy pieces. Gloves and a back brace do not make an excessive load safe. If cutting is necessary, use appropriate equipment and silica-dust controls or have the supplier cut pieces.
5. Excavate for the entire build-up
Remove vegetation and unsuitable material to the depth required for the compacted base, bedding and stone while retaining the planned finished elevation. Do not derive the excavation from stone thickness alone.
Prepare a stable subgrade at the designed fall. Avoid compacting saturated, unstable soil and hoping the paving will hold it together.
6. Install the specified support
Place and compact the base in suitable layers according to the specification and equipment instructions. Check elevations as you work. Add the bedding layer at its specified thickness; a deep, loose sand layer is not a substitute for a stable base.
Install edge restraints where the system requires them. Keep the drainage plan intact rather than creating an enclosed trough.
7. Arrange and seat the stones
Dry-fit the pattern, then bed each piece firmly with adequate support beneath it. Leave joints suited to the stone and chosen joint material rather than forcing irregular pieces tightly together.
Do not walk on loose, rocking stones to test the layout. Work from a stable position and correct support before placing weight on a piece.
8. Check the walking surface
Use a level and straightedge to check both the intended fall and adjacent edges. Lift and re-bed pieces that rock or create a trip edge. Aim for a consistent walking surface while preserving the drainage slope.
9. Finish the joints and inspect
Use a jointing material compatible with the stone, joint width and base. Follow its installation and curing directions; some products require particular moisture conditions. Do not assume every polymeric sand suits every natural stone.
Inspect after rain and periodically afterward for movement, washed-out joints and slippery growth. Correct developing problems promptly rather than repeatedly adding loose sand to a failing base.
Image sources: 1