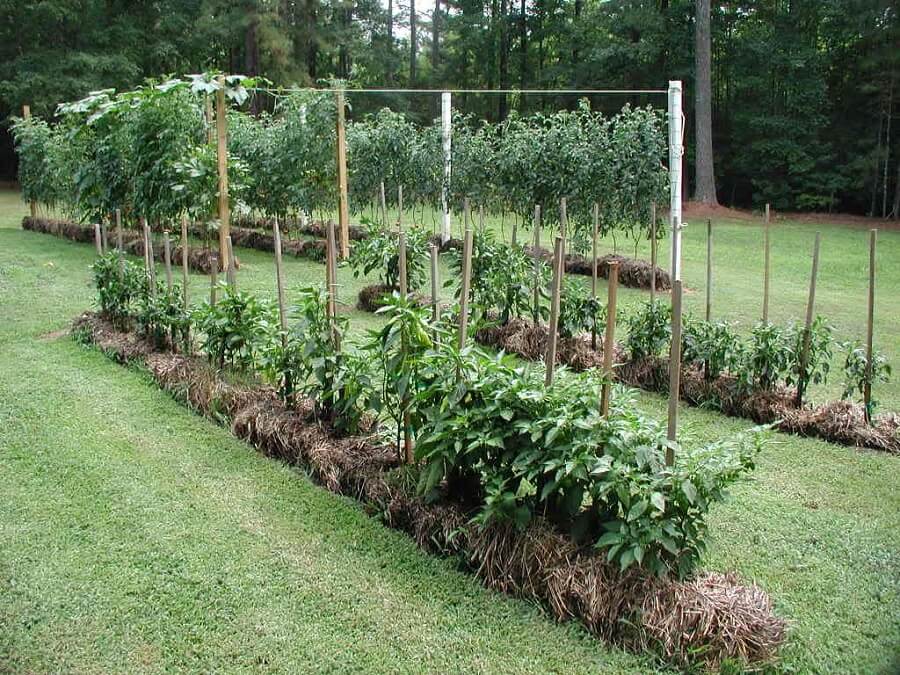
Straw bale gardening uses a conditioned bale as both a growing bed and support for roots. It can help where garden soil is unsuitable, but it still requires a stable site, regular water, nutrients and pest checks. A fresh bale should not be planted immediately.
1. Choose and place the bales
Choose tightly bound straw bales from a source that can explain their history, including herbicide use. Hay generally contains more seeds, while straw can still contain some grain and weeds. Avoid assuming every bale is free of residues that could affect garden plants.
Set the bales in their final position before wetting them; saturated bales are heavy. Use a stable site with suitable sunlight and access to water. A slope or elevated deck requires attention to stability and load, not just enough sunshine. Leave the binding intact.
2. Condition before planting
Conditioning starts decomposition inside the bale. This can generate heat, so planting into an actively heating bale can damage roots. Use a complete extension conditioning method matched to the fertilizer being used rather than inventing a dose or combining several recipes.
Oklahoma State’s introduction to straw bale gardening describes watering and nitrogen during conditioning. Timing depends on conditions; elapsed days alone do not prove readiness. Check the internal temperature and follow the method’s planting criteria.
The bale has not finished decomposing when it is ready to plant. It will continue breaking down during the growing season. Plan for settling and for supports that do not depend on the bale remaining rigid.
3. Plant seeds or transplants
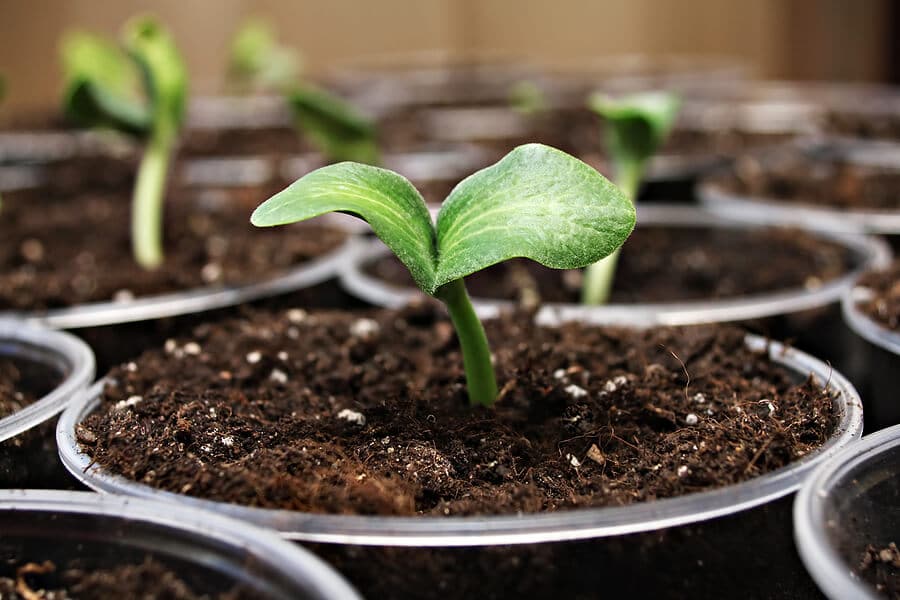
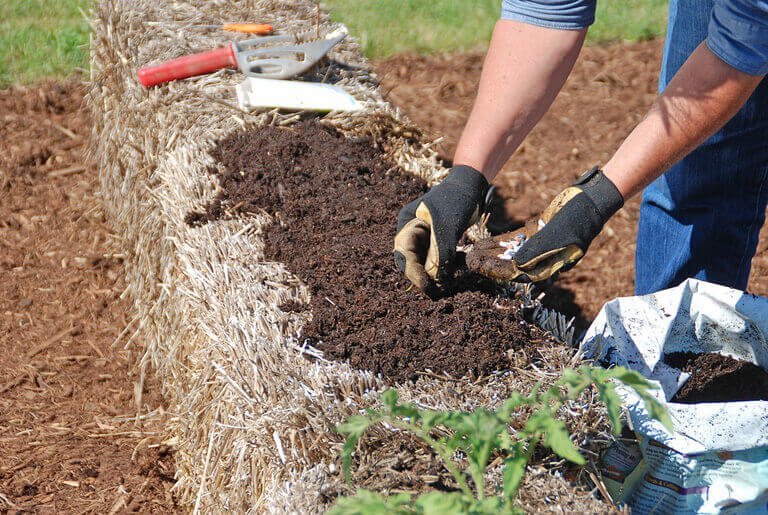
Transplants can be set into prepared pockets with suitable growing medium around their roots. Make room for the root ball rather than enforcing a universal four-inch pocket depth. Smaller seeds need a suitable surface layer in which to germinate.
Follow crop-specific planting depth and spacing. Do not crowd a bale simply because it is elevated. Warm-season plants still need appropriate outdoor temperatures; decomposition is not dependable frost protection.
For more detail, consult Oklahoma State’s straw-bale bed fact sheet and a local extension recommendation suited to your climate.
4. Check moisture frequently
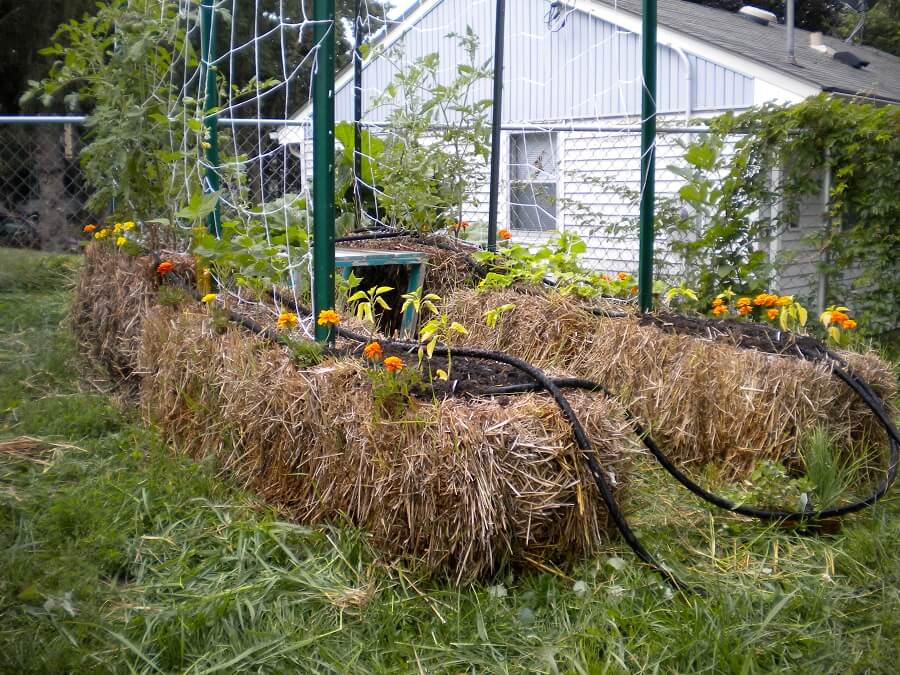
Bales can dry rapidly. Check the root zone and adjust water to the weather and crop; do not assume bales always use less water than soil beds. A drip line or soaker hose can help, but inspect its coverage and delivery rather than treating it as maintenance-free.
A perforated bottle is not a reliable universal three-times-a-week irrigation system. If you try a small reservoir, check whether it actually wets the roots and whether the supply lasts through hot weather.
5. Supply nutrients appropriately
Straw alone is not a complete fertilizer program. Follow the conditioning method and subsequent crop-feeding directions, taking account of any fertilizer already added. Do not keep applying nitrogen simply because a leaf turns yellow.
Yellowing, purple leaves and damaged edges have several possible causes, including temperature, moisture and root problems. Diagnose before adding a nutrient that may not be deficient.
6. Manage weeds, pests and disease
Pull unwanted seedlings while small. Do not tuck seed-bearing weeds or plants capable of regrowing back into the bale as automatic fertilizer.
Raised straw does not exclude crawling insects, slugs, fungal spores or bacteria. Inspect plants and identify problems before treatment. These garden pest-management principles apply to bales as well as ordinary beds.
7. Choose crops and supports realistically
Leafy greens, herbs, peppers and other manageable crops can be useful starting points. Large tomatoes and climbing cucumbers need secure support; anchor it independently where necessary. Squash and melons may need extensive room beyond the bale. Strawberries are not climbing plants.
Choose crops for the available season and space rather than assuming every annual will perform equally. At the end of the season, assess the remaining straw for composting or other suitable garden use. Replace a failing bale rather than expecting permanent raised-bed service from it.