When it comes to caring for your rubber plant, repotting is an essential task that ensures its health and vitality. Whether your rubber plant has outgrown its current pot or requires fresh soil, repotting can help promote healthy growth and prevent root issues. In this guide, we’ll provide you with quick tips on how to repot your rubber plant effectively.
When repotting a rubber plant, it’s important to understand the process and prepare adequately. By following these quick tips, you’ll be well-equipped to repot your rubber plant with ease.
Step 1: Assess the Timing
Before you begin the repotting process, consider the timing. The optimal time to repot your rubber plant is during its active growing season, which typically occurs in spring. Repotting during this time allows the plant to recover quickly and adapt to its new surroundings.
Step 2: Choose the Right Pot
Select a pot that provides ample room for your rubber plant to grow. Look for a pot with drainage holes at the bottom to prevent waterlogged soil. A pot that is slightly larger than the current one will allow the roots to spread and promote healthy growth.
Next, prepare the potting mix for your rubber plant. Use a well-draining potting mix that allows excess water to escape, preventing root rot. Mix equal parts of peat moss, perlite, and potting soil to create an ideal growing medium for your rubber plant.
Step 4: Gently Remove the Plant
Carefully remove the rubber plant from its current pot by holding the base of the plant and gently tugging it free. Be mindful not to damage the roots during this process.
Step 5: Repot with Care
Place the rubber plant in the center of the new pot, ensuring that it is positioned at the same depth as before. Fill the pot with the prepared potting mix, firming it gently around the plant. Avoid packing the soil too tightly to allow for proper drainage.
Step 6: Water and Settle
After repotting, water the rubber plant thoroughly until water flows out of the drainage holes. This helps the soil settle and removes any air pockets around the roots. Avoid overwatering, as this can lead to root rot.
By following these steps, you can successfully repot your rubber plant and provide it with an ideal environment for growth. Remember to monitor your plant’s water needs and adjust your care routine accordingly. With proper care and attention, your rubber plant will flourish in its new pot, adding beauty to your indoor space.
Best Soil and Potting Mix for Rubber Plants
Choosing the right soil and potting mix is crucial for the health and growth of your rubber plant. Rubber plants thrive in well-draining soil that allows excess water to escape, preventing root rot. Here are some recommendations for the best soil and potting mix for rubber plants:
- Rubber plant soil: Opt for a soil specifically designed for rubber plants, which are often labeled as “rubber plant soil” or “Ficus elastica soil.” These mixes are formulated to provide the right balance of moisture retention and drainage.
- Well-draining soil: If you prefer to create your own soil mix, make sure it is well-draining. A mix of equal parts potting soil, perlite, and peat moss can provide the ideal balance of moisture and drainage for rubber plants.
- Potting mix: When repotting your rubber plant, use a potting mix specifically formulated for houseplants. These mixes are typically lightweight and well-draining, promoting healthy root growth.
To ensure the best results for your rubber plant, avoid using heavy or compacted soils that can lead to waterlogged roots and hinder proper growth. Additionally, it is important to repot your rubber plant every 1-2 years to refresh the soil and provide the necessary nutrients for continued growth.
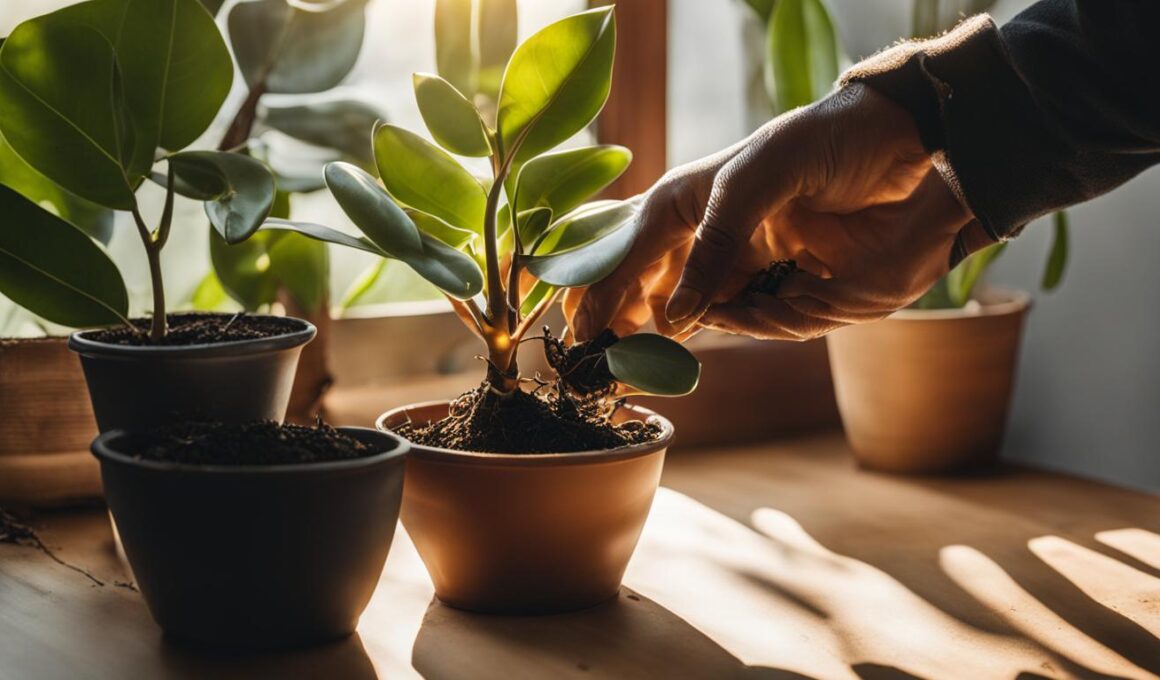
See the image below for an example of well-draining soil for rubber plants:

Tips for Caring for Repotted Rubber Plants
Now that you have successfully repotted your rubber plant, it’s crucial to provide the proper care it needs to thrive. Follow these tips to ensure the continued health and growth of your repotted rubber plant:
1. Post-Repotting Care: After repotting, give your rubber plant some time to adjust to its new environment. Place it in a location with bright, indirect light and away from drafts. Avoid exposing it to direct sunlight, as this can cause leaf burn. Monitor the plant closely for any signs of stress or shock, such as wilting or leaf drop.
2. Watering Schedule: Establish a consistent watering schedule for your repotted rubber plant. Generally, it’s best to allow the top inch or two of soil to dry out before watering again. Overwatering can lead to root rot, while underwatering can cause the leaves to droop. It’s important to find a balance and adjust the watering frequency based on the plant’s needs and the surrounding environment.
3. Humidity: Rubber plants prefer higher humidity levels. To create a humid environment, you can mist the leaves regularly or place a tray filled with water and pebbles near the plant. This helps to increase the moisture in the air and prevent the leaves from drying out.
4. Fertilization: Feed your rubber plant with a balanced, water-soluble fertilizer every four to six weeks during the growing season (spring and summer). Follow the instructions on the fertilizer packaging for proper dilution and application. Be careful not to over-fertilize, as this can lead to salt buildup and cause damage to the plant.
By following these care tips, you can ensure that your repotted rubber plant thrives and continues to bring beauty to your indoor space. Remember to monitor the plant closely and make adjustments to its care routine as needed. With proper care and attention, your beautiful rubber plant will flourish for years to come.
Can the same repotting tips for a rubber plant be applied to a jade plant as well?
Yes, the same repotting tips for a rubber plant can also be applied to a jade plant. When repotting your jade plant, make sure to use well-draining soil and a pot with drainage holes. Check out a useful trimming a jade plant tutorial for more specific instructions on how to care for your plant.