Welcome to our expert guide on how to make seed potatoes. Whether you’re a seasoned gardener or a beginner, preparing your own seed potatoes can lead to a bountiful harvest in your garden. In this article, we will provide you with essential tips on how to prepare your seed potatoes for planting and ensure a successful potato crop. So, let’s dive in and discover the expert advice that will help you grow healthy and delicious potatoes in your own backyard.
Preparing seed potatoes is a crucial step in ensuring a thriving potato crop. Seed potatoes are the vegetative structures used to propagate potatoes, containing the necessary nutrients and energy for new growth. By selecting healthy tubers and cutting them into optimal-sized pieces with at least one bud eye, you can enhance their chances of sprouting and developing into robust potato plants.
Your expert tips for preparing seed potatoes:
- Choose healthy tubers for the best results.
- Cut the seed potatoes into pieces with at least one bud eye.
- Plant tubers with sprouting buds immediately.
- Cure dormant buds before planting.
By following these steps, you’ll be on your way to planting healthy seed potatoes and reaping a bountiful harvest in your garden. Let’s continue with the next section to learn more about when and how to plant your seed potatoes.
When and How to Plant Seed Potatoes
Planting seed potatoes at the right time and following the correct process is essential for a successful potato harvest. Here’s what you need to know:

- Planting Time: It is best to plant seed potatoes in the early spring, about two to four weeks before the last frost date. This timing allows the potatoes to establish their roots and grow before the warm summer temperatures.
- Soil Temperature: Ensure that the soil temperature is at least 45 degrees Fahrenheit before planting your seed potatoes. This temperature provides the optimal conditions for the potatoes to sprout and grow.
- Preparation: Before planting, cut the seed potatoes into pieces, making sure that each piece has at least one eye. The eyes are small indents on the potato where sprouts will emerge.
- Planting Process: Dig trenches in the garden, spaced 3 feet apart. Place the seed potatoes with the cut side down and the eyes facing up in the trenches. Space the potatoes around 12 inches apart within the rows.
- Row Spacing: By maintaining a 3-foot distance between the rows, you provide enough room for the plants to grow and develop. This spacing also allows for proper airflow and easy access for maintenance tasks.
Once the seed potatoes are placed in the trenches, cover them with soil, gently mounding it up around the plants. This allows for better drainage and minimizes the risk of the tubers being exposed to sunlight, which can turn them green and make them inedible.
Caring for Seed Potatoes
Once you have planted your seed potatoes, it’s important to provide proper care to ensure a healthy and abundant harvest. This section will guide you through essential tasks such as watering, fertilizing, pest management, and harvesting.
Watering: Seed potatoes require regular watering to thrive. Keep the soil consistently moist by providing 1 to 2 inches of water per week. Ensure that the water reaches the plant’s root zone, as surface-level watering may not be sufficient. Avoid overwatering, as this can lead to rot and other diseases. Maintain a balance, keeping the soil moist but not waterlogged.
Fertilizing: To promote vigorous growth and optimize yields, it’s important to fertilize your seed potatoes. Follow organic gardening practices by using natural fertilizers or compost. Apply a balanced organic fertilizer when planting the potatoes and continue to fertilize every four to six weeks during the growing season. This will provide the necessary nutrients for healthy plant development and bountiful harvests.
Pest Management: Pests can pose a threat to your seed potatoes and reduce yields. Regularly inspect your plants for signs of pests such as aphids, Colorado potato beetles, and potato tuberworms. Implement integrated pest management techniques such as handpicking pests, using insecticidal sprays, or introducing beneficial insects as natural predators. By staying vigilant and taking proactive measures, you can protect your crop from damaging infestations.
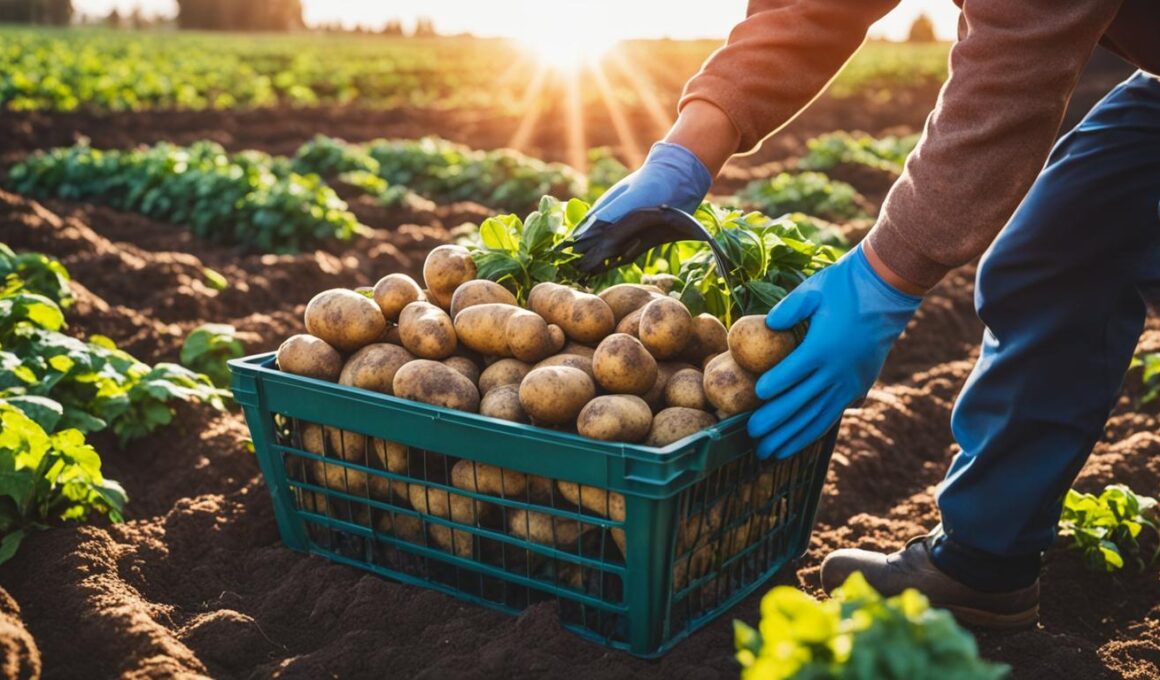
Harvesting: Knowing when to harvest your seed potatoes is crucial to ensure optimal flavor and storage life. When the foliage turns yellow and starts to die back, it’s a good indication that the potatoes are ready for harvest. During this time, gradually reduce watering to allow the plants to dry out. Use a garden fork or shovel to carefully dig up the potatoes, taking care not to damage them. For new potatoes, which are smaller and more tender, harvest them two to three weeks after the plants flower. For potatoes intended for storage, wait two to three weeks after the foliage dies back. After harvesting, cure the potatoes by leaving them in the garden to dry for a few hours or moving them to a protected area to further dry and harden their skins.
Conclusion
Making your own seed potatoes can be a rewarding and cost-effective way to grow potatoes in your garden. By following the steps outlined in this article, you can prepare your seed potatoes and plant them for a successful harvest.
Start by selecting healthy tubers and cutting them into pieces with sprouted eyes. This will ensure that each piece has the potential to grow into a new plant. Plant these seed potatoes in well-drained soil, providing them with full sun and regular watering.
Throughout the growing season, remember to provide proper care, including fertilizing the plants as needed and monitoring for pests. Integrated pest management techniques can help you effectively manage any pest issues that may arise.
Finally, harvest your potatoes at the appropriate time. Baby potatoes can be harvested a few weeks after flowering, while potatoes for storage should be harvested after the foliage dies back. Cure the harvested potatoes by allowing them to dry or moving them to a protected area.
With these expert tips and a little bit of effort, you’ll be on your way to growing a bountiful crop of seed potatoes. Enjoy the satisfaction of harvesting your own homegrown potatoes and savor the delicious flavors they bring to your meals.
Can I Use Seed Potatoes to Grow Red Potatoes?
Yes, you can use seed potatoes to grow red potatoes. When choosing seed potatoes, look for those with healthy eyes and firm texture. Plant them in loose, well-drained soil, and provide adequate water and sunlight. Follow these tips for growing potatoes to ensure a successful harvest of red potatoes.