


Good xeriscape mulching starts with the plants, soil and exposure. Use a surface material that supports the planting, install it without burying crowns or trunks, and maintain it as the garden changes. Mulch can reduce exposed soil and evaporation, but it does not replace suitable plants, drainage or irrigation planning.
Divide the garden into areas with similar needs
A shaded shrub bed, a hot rock garden and a frequently used path need not receive the same material. Map sun, runoff, existing trees and where water collects. Group plants with compatible water requirements so that irrigation for one group does not continually soak a neighboring dry-adapted planting.

“Xeriscape zones” are useful planning areas, not a reason to apply one universal mulch recipe. Local climate and individual plant requirements matter. A practice suitable for dry-crowned plants in one region may not suit a moist woodland border elsewhere.
Compare organic and mineral materials
| Material | Useful role | Limitations |
|---|---|---|
| Wood chips or bark | Surface cover for many tree, shrub and perennial beds. | Breaks down and needs inspection; keep away from trunks, crowns and locations where combustible material is unsuitable. |
| Gravel or other mineral mulch | Can suit selected dry-adapted plantings and a mineral-garden design. | Does not add organic matter; collects debris, can be difficult to remove and is not weed-proof. |
| Other locally available organic mulch | May be economical where texture and appearance fit the site. | Check cleanliness, tendency to mat or blow away, and suitability around the intended plants. |
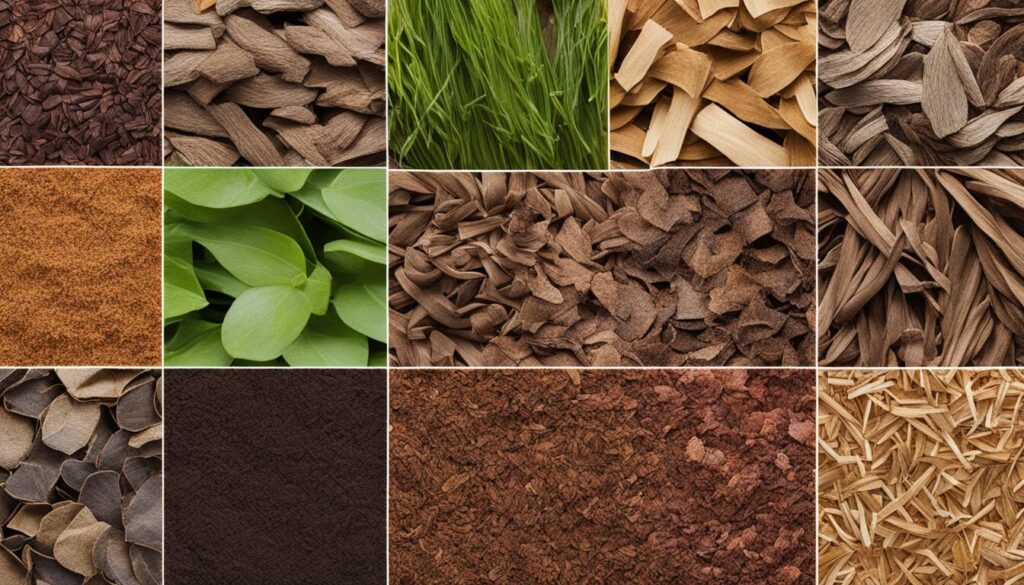
Wood chips are organic mulch, not inorganic material. Rock does not become soil organic matter as it weathers. Avoid choosing a product because of an unsupported promise that it will repel all pests or permanently stop weeds.
Colorado State University’s mulching guide discusses matching material to site and purpose. For Colorado conversions, its retrofit guidance also explains why organic and mineral surfaces may suit different plantings. Use local advice when applying these principles in another climate.
Prepare without damaging the existing planting
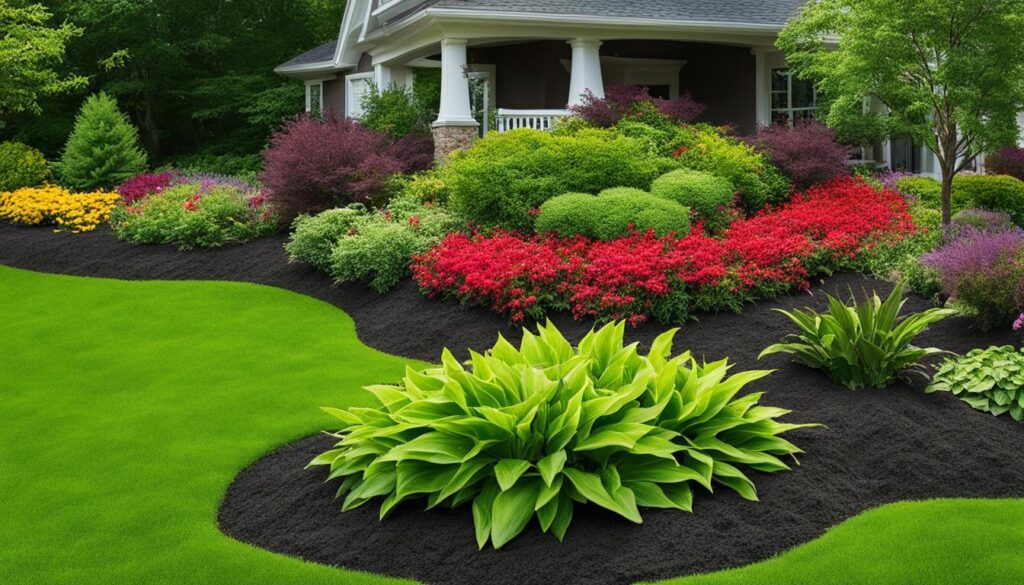
Identify and address established weeds before covering the ground. Perennial weeds can grow back through a new layer. Protect irrigation lines and existing roots; deep cultivation around established trees and shrubs is not a necessary mulching step.
Check runoff and drainage before adding material. Mulch should not be used to conceal a persistently waterlogged planting site. If you are removing turf, protect mature trees and plan how their roots will continue receiving appropriate water.
Set the depth for the material and plants
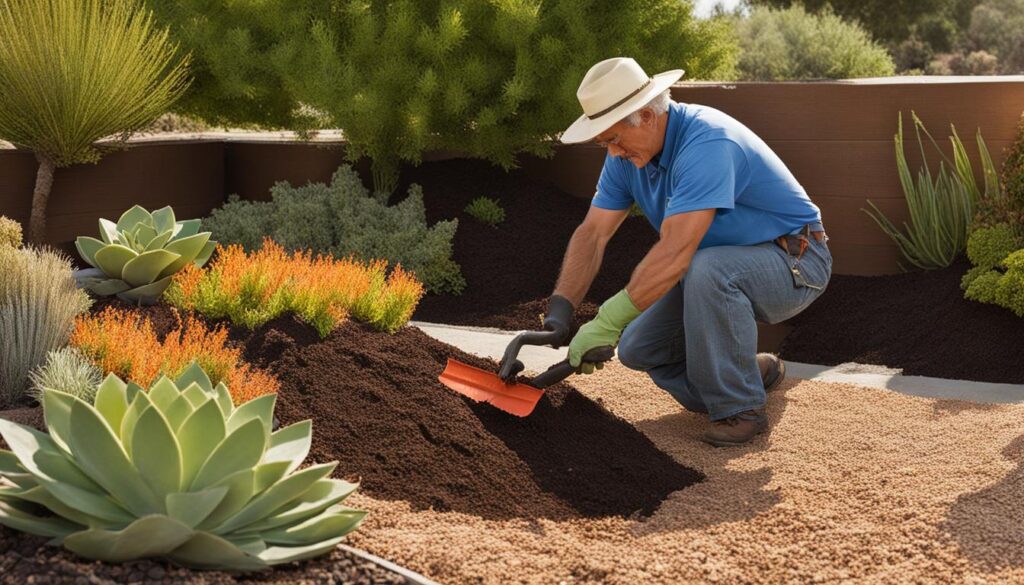
Measure the mulch already present before topping up. Use the material’s recommended depth and plant-specific guidance rather than adding the same thickness every year. Keep plant bases visible and leave space around woody trunks. Do not build mulch mounds against bark or bury low perennial crowns.
For ordering, bed area in square feet multiplied by depth in inches and divided by 12 gives cubic feet. For example, 120 square feet at three inches equals 30 cubic feet. This illustrates the calculation, not a depth prescription for every plant or material. Subtract existing usable cover when estimating a top-up.
Do you need fabric or plastic beneath it?

Permanent weed barriers are not a guarantee of weed-free planting beds. Debris can accumulate above them, roots may become entangled, and future planting becomes awkward. CSU advises against plastic and woven barriers beneath landscape mulch. A constructed path has different design requirements from a living plant bed.
Keep irrigation components accessible and confirm that water reaches the intended root area. A wet surface or attractive new layer does not tell you whether soil beneath is too dry or too wet.
Maintain the layer through the year
Inspect after heavy rain, wind and garden work. Redistribute displaced material, remove small weeds before they spread and clear excessive debris where it is changing the surface conditions. Check depth rather than automatically adding another load.
Visible decomposer fungi in organic mulch do not by themselves mean the entire bed must be stripped and disinfected. Investigate plant symptoms separately. Follow local wildfire guidance near buildings, and keep access routes usable as plants spread.
For persistent weeds, see mulching specifically for xeriscape weed control. This guide covers the broader choice, installation and care of a mulched xeriscape, including the different planting areas within it.


