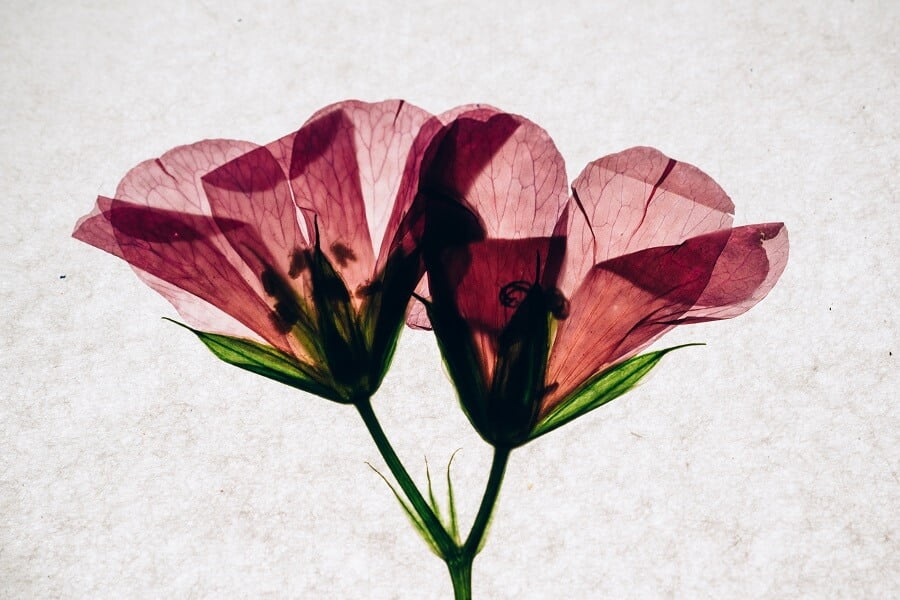
Pressed flowers can become bookmarks, decorative eggs, tray inserts and phone-case artwork. Start with fully dried flowers and let children arrange colors and shapes before anything is glued down. Choose materials labeled for their age and supervise cutting, small pieces and adhesives.
Pick only identified plants with permission. Keep flowers and craft materials out of mouths, wash hands afterward and avoid irritating or treated plants. These are decorative projects, not edible creations.
1. Make a pressed-flower bookmark
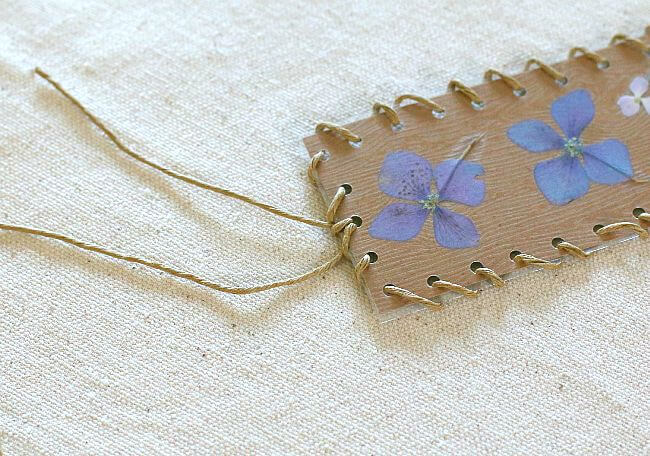
Gather cardstock, pressed flowers or leaves, suitable craft glue, scissors and clear self-adhesive covering film. An adult can cut the card to size or help a child use age-appropriate scissors.
Arrange the flowers without glue first. Leave a border so the finished bookmark will fit between pages without petals extending beyond the card. Photograph the arrangement if you want a reminder while attaching the pieces.
Use small amounts of glue and let it dry as directed. Cover the design with the film, smoothing carefully and leaving a sealed edge around the flowers. Trim the corners so they do not catch on pages. A hole at the top can hold a short ribbon for an older child, but omit loose decorative pieces for younger children.
Try the bookmark in a spare book before giving it away. It should lie flat without shedding flowers or leaving sticky areas against paper. Write the date and plant names on the back if known.
2. Decorate a craft egg
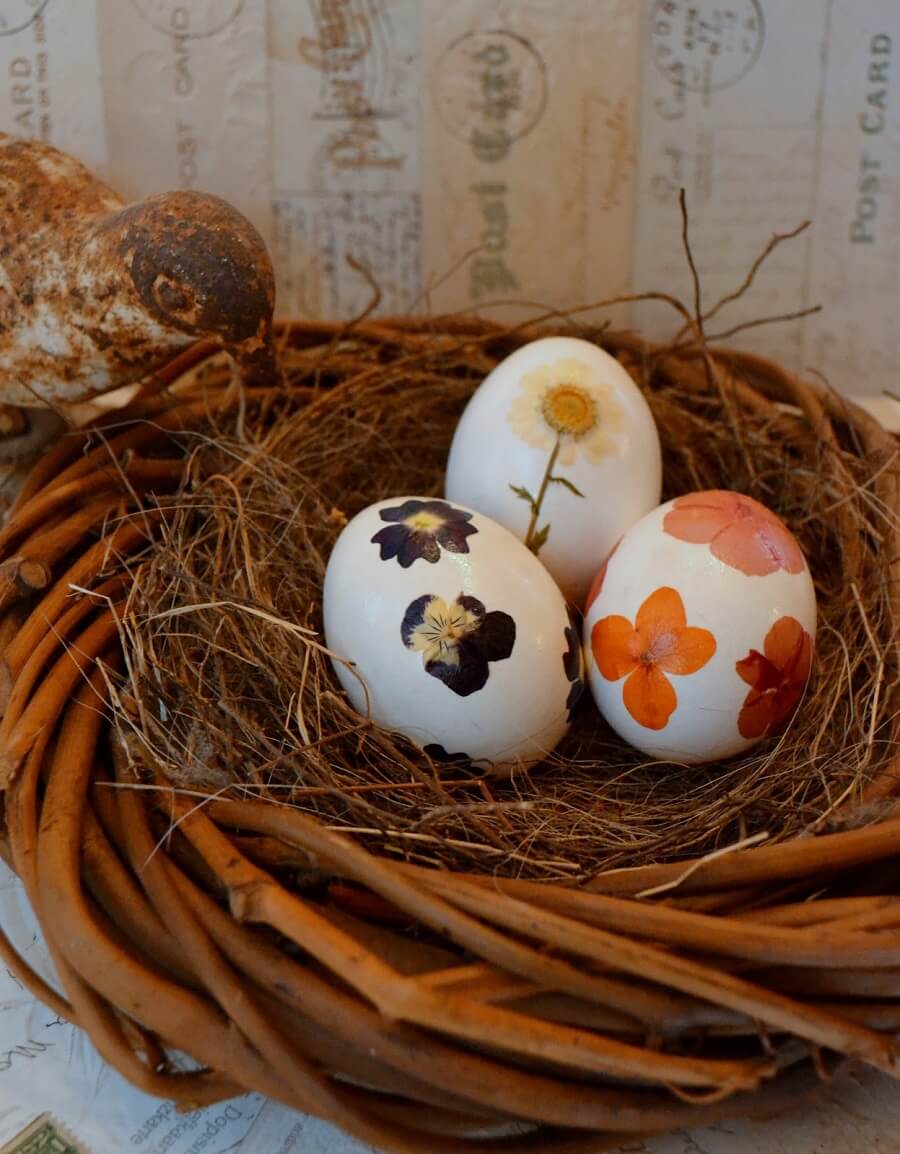
Use a ready-made wooden or paper craft egg, thin pressed petals and an age-appropriate decoupage adhesive. This avoids handling raw egg contents or making a decorated food item that someone might later eat.
Small, flat petals follow the curve more easily than thick flower centers. Place the egg in a simple holder while planning the design. Brush a little adhesive onto one area, place the petal and smooth it gently with the brush.
Follow the adhesive instructions for any top coat and drying time. Work on one side before rotating the egg. Do not claim that all craft coatings are food-safe or suitable for every surface. Label the completed item as decoration and keep it separate from food.
The project works for Easter or as a year-round botanical ornament. Several children can each choose one color family or arrange the same flower in different patterns.
3. Create a removable tray insert
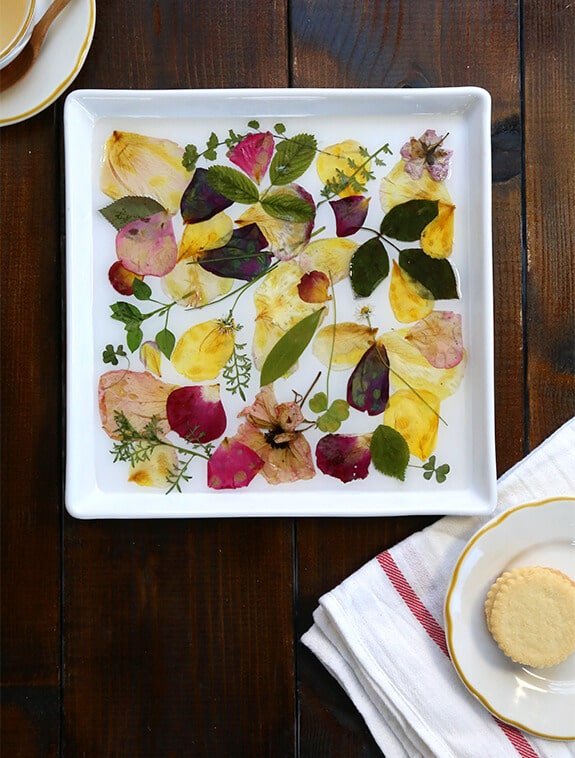
For a child-friendly version of a flower tray, decorate a piece of cardstock that fits inside a tray. Gather the card, pressed flowers, suitable glue and clear covering film. Keep the tray itself unmodified.
Arrange and glue the flowers onto the card, allow the glue to dry, then protect the card with the film. Place the finished insert in the tray for display or for holding dry non-food objects. Remove it before washing the tray.
This insert is not a food-contact surface, heat mat or waterproof liner. Use ordinary plates for food and follow the tray manufacturer’s intended use. If an adult chooses a resin project separately, use that product’s directions and safety information; do not involve children in mixing uncured resin.
CDC/NIOSH information on epoxies and resins explains why exposure precautions matter. A resin looking dry does not establish full curing or food-contact suitability. Blowing on resin or cleaning it with improvised solvents is not part of this children’s project.
4. Design an insert for a clear phone case
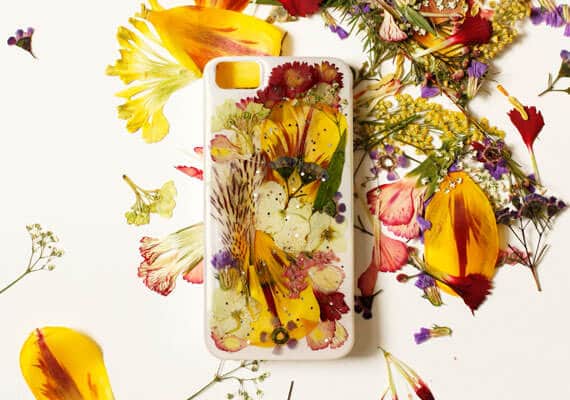
For an older child who already uses a phone, make a thin paper insert rather than pouring resin onto a case. Trace the inside shape onto paper with the phone removed and mark every camera and opening that must remain clear.
Arrange a few very flat petals, attach them with a small amount of suitable glue and let the insert dry fully. Protect the paper with thin clear film only if it still fits without forcing the case. Keep all materials away from ports, buttons, lenses and the device itself.
Ask an adult to check the fit. If the case bulges, buttons bind or the manufacturer advises against inserts, display the design as a small picture instead. Do not glue anything directly to the phone or compromise a protective case to make the craft fit.
Keep the finished flowers looking good
Store spare pressed material flat and dry. Handle pieces gently and expect some colors to fade over time. Make a small test before covering an entire design with glue or film, since flowers and craft products respond differently.
Children can compare leaf shapes, record where a permitted flower was collected and give their finished piece a title. The useful part is observing and arranging the plants together; a simple paper project can be just as satisfying as a complicated permanent coating.