If you’re an avid gardener and want to ensure healthy growth and abundant blooms for your irises, transplanting them is a must-know skill. Fortunately, bearded irises are one of the easiest flowers to propagate and transplant. In this guide, we’ll walk you through the step-by-step process to transplant irises successfully.
Transplanting irises should be done in mid- to late summer, after the foliage has started to decline following the spring bloom. This timing allows the rhizomes to establish well before winter and minimizes the chances of fungal diseases.
The process begins by digging up the entire iris clump. Next, carefully divide the clump into sections, ensuring each section has some foliage and roots. Look out for iris borers while inspecting the rhizomes. Trim the leaves to reduce stress on the plant and replant the divisions in a sunny location with well-drained, slightly acidic soil.
Regular division and transplanting of irises every three to four years prevent overcrowding, rejuvenates the plants, and leads to a greater number of healthy blooms in the spring. Now that you know the basics, let’s dive deeper into when and why you should transplant irises.
When and Why to Transplant Irises
Transplanting irises is a necessary step to ensure the continued health and vitality of these beautiful flowers. There are several signs that indicate when it’s time to transplant your irises. One of the first signs is decreased blooming. When iris rhizomes become overcrowded, they produce fewer flowers compared to healthy, uncrowded ones.
Overcrowded iris rhizomes may begin to heave out of the ground or push on each other, which is a clear indication that it’s time for a transplant. These overcrowded rhizomes often look like a tangled mass of roots, resembling snakes or a pile of spaghetti. Additionally, you may notice that the plants only grow foliage on the outer edges of the clump.
The best time to transplant irises is in the summer after they have finished blooming, up until fall. This timing allows the transplanted rhizomes to establish themselves before winter and reduces the risk of fungal diseases.
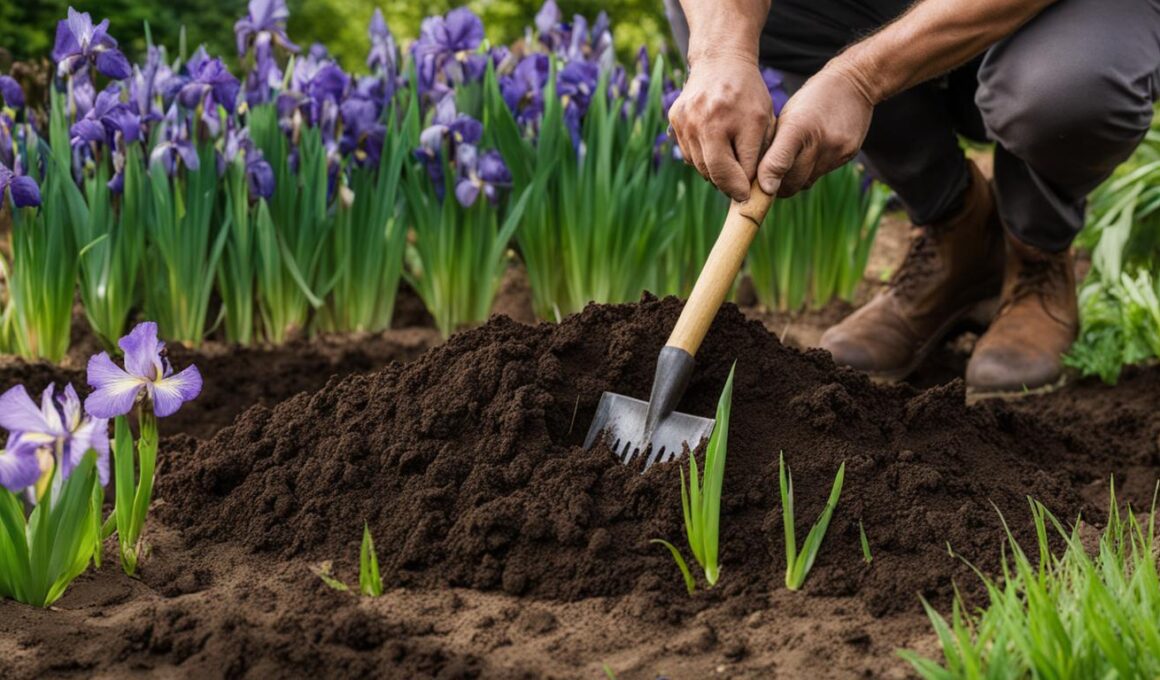
To successfully transplant your irises, start by lifting the clump out of the ground and gently brushing off any excess dirt. Then, divide the rhizomes into sections, making sure each division has at least one fan of leaves. Inspect the rhizomes for iris borers and disease to prevent any issues from spreading to the new planting area.
Finally, choose a sunny location with well-draining soil to replant the divided irises. This ensures that the plants have access to the sunlight they need for healthy growth.
Transplanting Irises – Step-by-Step Guide:
- Lift the clump of irises out of the ground.
- Gently brush off excess dirt from the rhizomes.
- Divide the rhizomes into sections, each with at least one fan of leaves.
- Inspect the rhizomes for iris borers and disease.
- Replant the divided irises in a sunny location with well-draining soil.
By transplanting your irises when necessary, you can promote their overall health and encourage abundant blooming season after season. Follow these guidelines and enjoy the beauty of your flourishing irises.
Can the same storage tips be used for irises when transplanting them?
When transplanting irises, it’s important to remember that the same easy tulip bulb storage tips can be used. Keep the bulbs in a cool, dry place and make sure they are well-ventilated. This will help the irises thrive in their new environment and continue to bloom beautifully.
Tips for Successful Transplanting of Irises
To ensure successful transplantation of your irises, it is important to take a few key steps. One important aspect is fertilizing irises. When replanting your irises, consider supplementing the soil with a low-nitrogen fertilizer, such as super phosphate or bone meal. These nutrients provide essential elements that help the new shoots establish their root systems and increase their chances of thriving in their new location.
Another crucial aspect is watering the newly transplanted rhizomes. After replanting, it is vital to water the rhizomes thoroughly to ensure they have enough moisture to establish roots. Initially, water them well and then continue watering once every 7 to 10 days until the autumn rains begin. This consistent watering routine promotes root establishment and sets your irises up for success.
In addition to fertilizing and watering, it is important to take steps to prevent iris borer, a common pest that can damage your irises. After the first hard freeze, it is recommended to cut back the foliage of the transplanted irises to the soil level. This practice breaks the life cycle of the iris borer and helps prevent future infestations. Proper sanitation, such as discarding the foliage, is an effective way to prepare your plants for a pest-free display of beautiful blooms in the following spring.