Welcome to our easy guide on how to string a weed eater with two holes. If you’re looking to quickly and efficiently restring your weed eater, we’ve got you covered. Whether you’re a seasoned pro or a beginner, this step-by-step guide will help you get the job done. Let’s dive in and get your weed eater ready for action!
Choosing the Right String for Your Weed Eater
When it comes to selecting a replacement string for your weed eater, several factors need to be considered. The size, shape, and model of the string all play a crucial role in determining the performance and effectiveness of your weed eater. Properly understanding these elements will help you choose the right string for your specific needs.
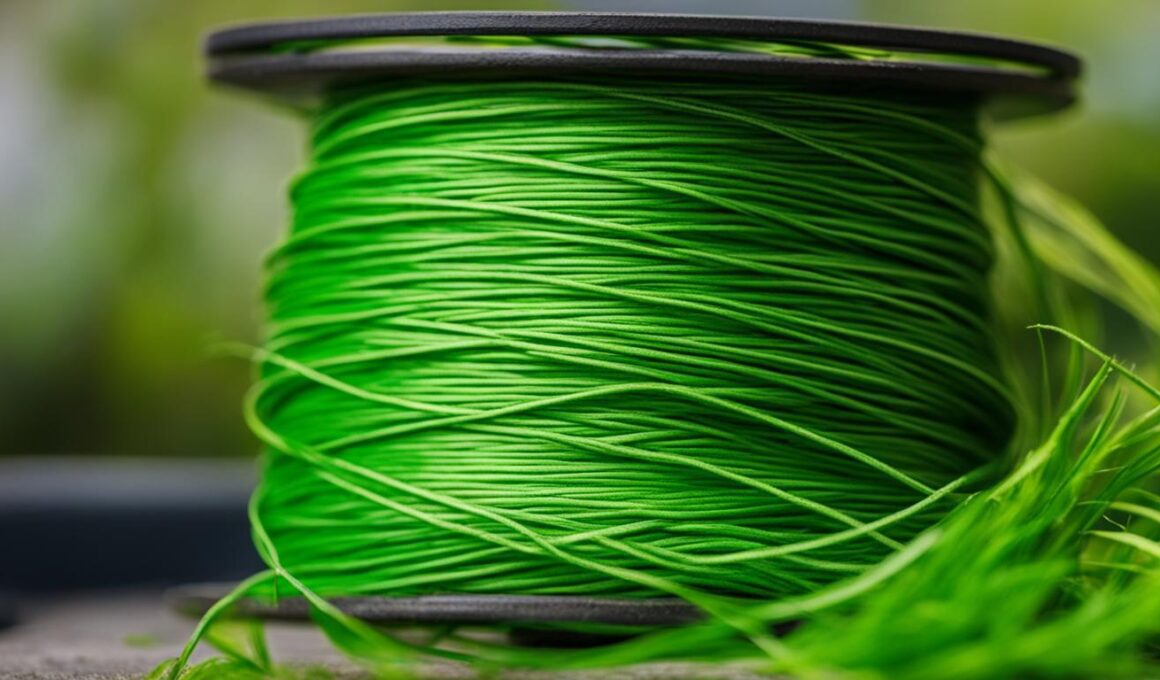
String Size and Diameter: The size or gauge of the string is an essential factor to consider. It is crucial to match the size specified in your user manual to ensure a proper fit and optimal performance. The diameter size of the string directly affects its cutting power. Using the proper diameter size will result in efficient weed cutting and prevent unnecessary strain on your weed eater.
String Shape: The shape of the string can also make a difference in the cutting power of your weed eater. Round strings are the most common shape and are suitable for general trimming tasks. However, you may consider alternative shapes like twisted, square, star, or serrated lines for enhanced cutting power and efficiency.
String Compatibility: It is crucial to choose a string that is specifically designed for your weed eater model. Each weed eater is engineered with specific specifications and requirements, and using a compatible string ensures the best performance. Refer to the user manual or contact the manufacturer to find the recommended string options for your particular weed eater model.
String Length: The length of the string is another important consideration. Measure the optimal length by taking into account the size of your weed eater and the intensity of your trimming tasks. Typically, string lengths range from 10 to 20 feet. Adjusting the string length accordingly will help you maintain an efficient cutting experience.
By carefully considering the size, shape, compatibility, and length of the string, you can ensure a proper fit and optimal performance of your weed eater. Take the time to research and select the right string for your specific needs, and refer to the user manual for any additional guidelines or recommendations.
Can the Same Technique Be Used to String a Weed Eater with Two Holes as Removing a Lawn Mower Blade?
Yes, the same technique can be used to string a weed eater with two holes as removing a lawn mower blade. Following a removing lawn mower blade tutorial can help you understand the basic steps and tools needed to efficiently complete both tasks without any hassle.
Step-by-Step Guide to Restringing Your Weed Eater
To properly restring your weed eater and keep it in optimal working condition, follow these easy steps:
1. Start by turning off the machine and ensuring it is completely powered down. Safety should always come first.
2. Once the weed eater is turned off, take a moment to clean it and remove any debris or dirt that may have accumulated.
3. Next, locate the cap covering the spool and remove it. Be careful not to misplace or lose the cap.
4. With the cap removed, you can now discard any old string that may be left on the spool. It’s important to start fresh for optimal performance.
5. Now, it’s time to attach the new string to the spool. Follow the manufacturer’s instructions to determine the correct winding direction for your specific model.
6. As you wind the string onto the spool, be sure to leave approximately 4 inches of string unwound. This will ensure that you have enough slack to properly feed the string through the external holes of the weed eater.
7. Once the string is securely attached to the spool, feed it through the external holes in the weed eater. This step may require some maneuvering, so take your time to ensure the string is properly threaded.
8. With the string threaded through the holes, carefully reassemble the weed eater by placing the spool back into its original position and securing the cap. Double-check that everything is tightly fitted and securely fastened.
9. Finally, pull out the desired length of string from the weed eater and you’re ready to get back to work. Remember, it’s important to replace the string regularly to ensure efficient cutting and prevent any potential damage to your weed eater.
By following this step-by-step guide, you can easily restring your weed eater and ensure it continues to deliver excellent results. Happy stringing!


