Welcome to our easy-to-follow guide on removing a lawn mower blade. Proper maintenance is crucial for keeping your lawn mower in top condition and ensuring a beautifully manicured lawn. In this section, you will learn the step-by-step process to remove the lawn mower blade, an essential task in lawn mower maintenance.
When it comes to changing or replacing lawn mower blades, there are a few key steps you need to follow. By understanding these steps and implementing them correctly, you can ensure that your lawn mower operates efficiently and delivers excellent results. Let’s dive into the process of removing the lawn mower blade.
Before we begin, it’s important to remember that safety should always be a top priority. Ensure you have the necessary tools, such as a socket wrench, and follow the manufacturer’s instructions. Now, let’s get started on removing that blade!
Step 1: Lift the mower deck and securely prop it to prevent any movement. This will allow you to access the blade more easily. Be cautious and ensure the mower is stable before proceeding.
Step 2: Unplug the spark plug to prevent any accidental starts while working on the blade. This step is crucial for your safety.
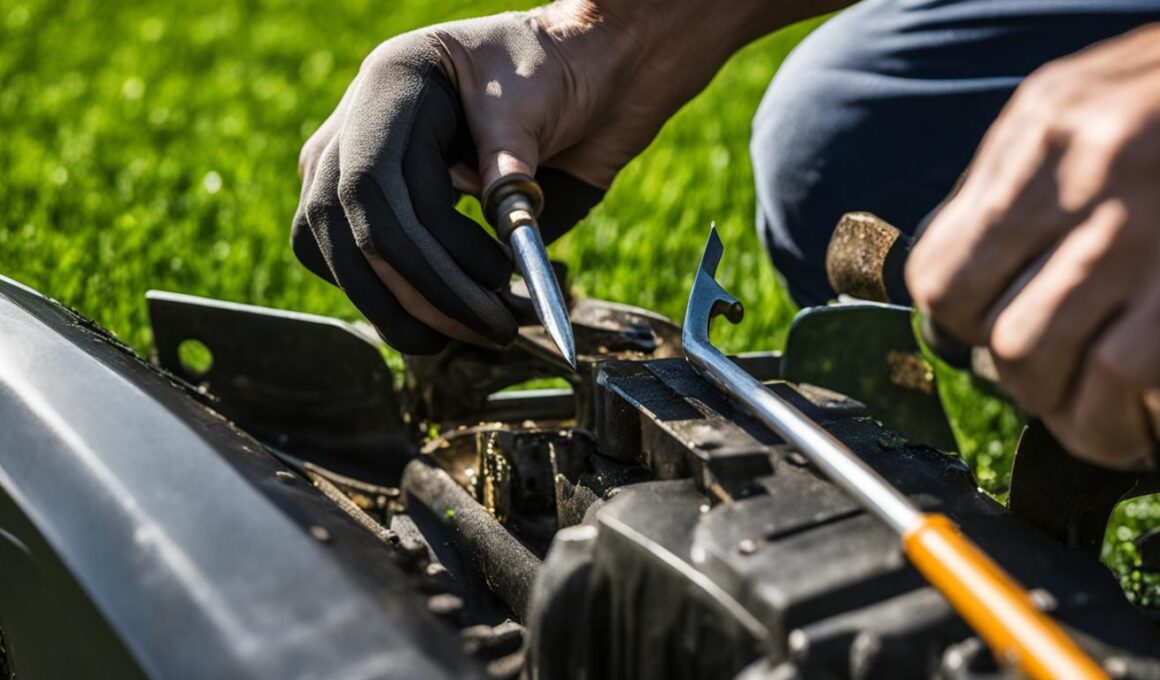
Step 3: Use a socket wrench to locate and remove the blade mounting bolt. Pay close attention to not lose any washers or other hardware in the process. Keep in mind the blade’s orientation as you remove it; this will guide you when installing the new one.
With these steps completed, you are now ready to install a new blade or perform any necessary repairs or maintenance. Removing a lawn mower blade is an essential task that should be performed regularly as part of your lawn mower maintenance routine. It allows for proper inspection, sharpening, or replacement when needed. Now that you have successfully removed the blade, you can proceed to the next section on when and how to replace lawn mower blades.
When and How to Replace Lawn Mower Blades
Knowing when and how to replace your lawn mower blades is crucial in maintaining a healthy and attractive lawn. In this section, we will discuss the signs that indicate it’s time to replace your blades and provide step-by-step instructions on how to proceed with the replacement process.
When and How to Replace Lawn Mower Blades
Lawn mower blades play a crucial role in maintaining a well-groomed lawn. Over time, these blades can become worn-out and affect the performance of your mower. Knowing when and how to replace them is essential for ensuring optimal cutting results. Here are some signs that indicate it’s time to replace your lawn mower blades:
- Cracks: Inspect the blades for any visible cracks or chips. Damaged blades can lead to uneven cutting and potential hazards.
- Bends: Look for any bent blades which can result in an uneven cutting pattern, leaving your lawn looking unkempt.
- Thinness: Excessively thin blades may not be sturdy enough to effectively cut through the grass, resulting in an uneven and patchy lawn.
- Holes: Blades with holes will not provide a clean cut, leaving the grass susceptible to disease and discoloration.
If your blade is still in good condition but dull, sharpening it can be an alternative to replacement. However, if the signs of wear and tear are evident, it’s best to opt for a lawn mower blade replacement for optimal performance. You can find replacement blades at most home improvement or hardware stores.
- Mounting: When replacing the blade, ensure it is mounted in the correct direction. Check the manufacturer’s instructions or the blade itself for guidance.
- Tightening: Use the appropriate tools, such as a socket wrench, to tighten the blade properly. This will prevent the blade from coming loose during operation.
- Balance: Checking the balance of the new blade is essential to avoid excess vibration and strain on your mower. An imbalanced blade can lead to mechanical issues.
Replacing your lawn mower blades at the right time will keep your mower operating at its best and ensure a healthy, well-groomed lawn.
Changing Lawn Mower Blades: Step-by-Step Guide
If you want to keep your lawn mower performing at its best, it’s important to change the blades when necessary. Follow this step-by-step guide to ensure a smooth and successful blade replacement process.
- Start by turning off your lawn mower and disconnecting the spark plug wire. This will prevent any accidental starts and keep you safe throughout the process.
- If you have a push mower, prop it securely in a position that allows easy access to the blade. Use a socket wrench to remove the blade mounting bolt. Keep an eye out for any washers or hardware, making sure not to lose them.
- Now it’s time to replace the old blade with a new one. Make sure the new blade is of the same size and style as the old one. Align the blade in the correct direction and carefully secure it with the blade mounting bolt.
- If you own a ride-on mower, the process is slightly different. Lower the mower deck and consult the manufacturer’s instructions to remove the blades. Pay attention to any specific steps mentioned to disassemble the deck and access the blades.
- Once you have removed the old blades, it’s time to install the new ones. Follow the manufacturer’s instructions for proper blade installation. Make sure the blades are mounted in the correct direction to ensure optimal cutting performance.
- After you have replaced the blades, reassemble the mower deck according to the manufacturer’s instructions. Double-check that the blades are securely tightened and properly balanced.
Changing your lawn mower blades is an important maintenance task that can help you achieve a well-groomed and healthy lawn. By following this step-by-step guide, you can ensure that your lawn mower continues to cut efficiently, delivering the results you desire.
Can I Use the Same Technique to Remove a Lawn Mower Blade to Cut Pavers?
Yes, you can use the same technique to remove a lawn mower blade to cut pavers like a pro. Make sure to use a diamond blade and follow the same safety precautions as you would when cutting grass. This will give you a clean and precise cut on your pavers.
Conclusion
In conclusion, maintaining your lawn mower blades is crucial for a well-groomed and healthy lawn. Dull or damaged blades can adversely affect the performance of your mower, resulting in an uneven and poorly cut lawn. By following the proper steps and using the correct tools, you can easily remove and replace lawn mower blades, ensuring that your mower stays in optimal condition.
Remember to always prioritize safety when working on your mower. Take the necessary precautions, such as disconnecting the spark plug and propping the mower securely, to prevent any accidents or injuries. If you have any specific questions or concerns, consult the owner’s manual or seek guidance from a reputable source.
Regularly inspect your blades for signs of wear and tear, such as cracks, bends, or excessive thinness. If the blade is still in good condition but dull, consider sharpening it instead of replacing it. When installing a new blade, make sure it is mounted in the correct direction and tightened properly to prevent imbalance and vibration.
To keep your lawn looking its best, incorporate lawn mower blade maintenance into your routine. Maintaining sharp and properly functioning blades will ensure that every mow results in a clean and well-manicured lawn that you can be proud of.