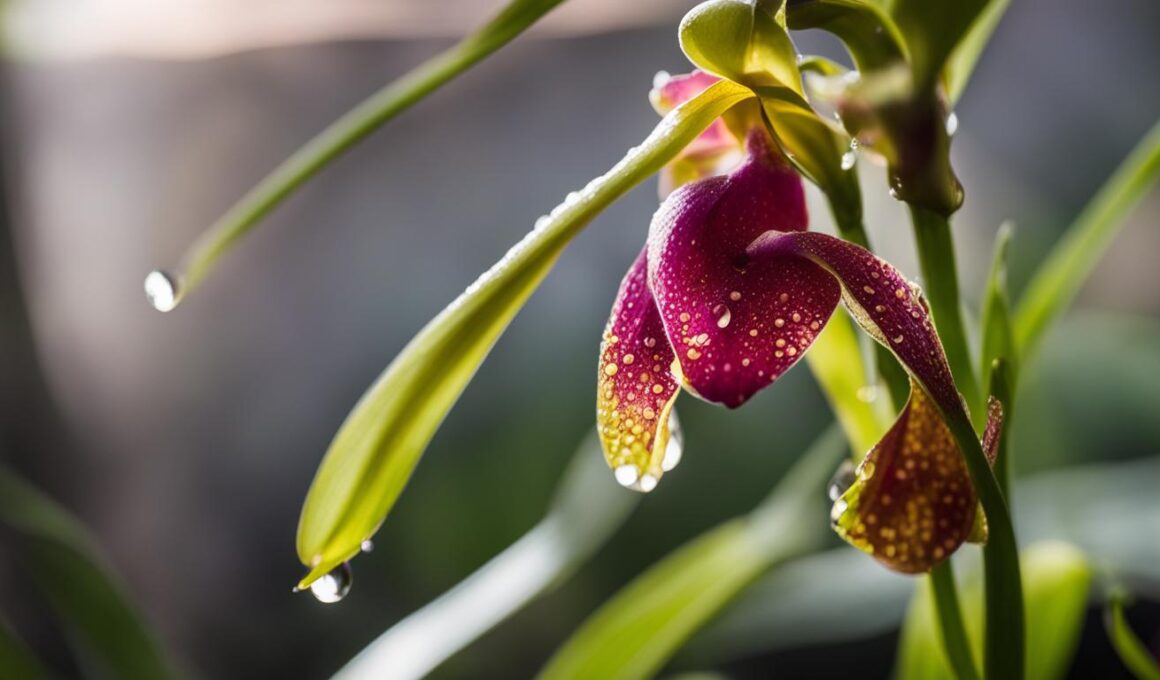
Learning how to revive an orchid is a rewarding challenge that can help bring your beloved plant back to life. Whether you’re a seasoned gardener or a beginner, taking care of an orchid requires attention to detail and proper care techniques. In this article, we will provide you with valuable orchid revival tips to bring your orchid back to its full glory.
When it comes to orchid care, it’s important to pay attention to the foliage and growth of your orchid, even when it’s not flowering. These can serve as a guide to any potential problems and help you take the necessary steps to revive your orchid. Additionally, understanding your orchid’s tribe classification can provide valuable information about its specific care requirements.
One of the essential steps in reviving an orchid is trimming it after blooming. This process encourages healthy growth of leaves and roots. Adjusting the watering schedule based on the specific needs of your orchid is also crucial, especially during dormancy periods. Repotting your orchid, when it’s overgrown or the potting medium is depleted, is another important aspect of orchid care.
Positioning your orchid in a suitable location that provides the right type and intensity of light is key to its revival. Additionally, maintaining humidity for your orchid through misting or using a spray bottle can create favorable growing conditions. Regularly feeding your orchid with orchid food or a balanced fertilizer is essential to support its growth and blooming.
In the following sections, we will delve deeper into each aspect of orchid revival to ensure you have all the necessary knowledge and tools to bring your orchid back to life effectively.
Trimming and Repotting Your Orchid
Once your orchid has finished blooming, it’s time to give it some TLC through trimming and repotting. These essential tasks contribute to the overall health and growth of your orchid, ensuring that it continues to thrive. Here’s what you need to know:
Trimming Your Orchid
After your orchid has bloomed, it’s important to trim it to encourage healthy growth. Use a sharp, sterilized cutting tool to cut the flower spike back to its base. This will allow the plant to redirect its energy towards developing new leaves and roots. However, it’s essential to consider the type of orchid you have. Phalaenopsis orchids, for example, can set a second bloom on the same flower spike, so trimming may not be necessary.
Repotting Your Orchid
If your orchid has outgrown its current pot or the potting medium has depleted, it’s time to repot it. Additionally, it’s recommended to repot your orchid right after the bloom period has ended or when it’s entering a dormant phase. Choose the right time for repotting, such as in the spring before the growing season begins.
When repotting your orchid, it’s important to use orchid potting media and follow proper techniques to ensure the health of your orchid’s roots. The right potting media will provide adequate drainage and prevent the roots from becoming waterlogged. Additionally, ensure that the pot has sufficient drainage holes to allow excess water to escape.
Keep in mind that repotted orchids may need some time to adjust before they start growing and blooming again. Be patient and continue to provide optimal care to support their revival.
Providing Optimal Conditions for Your Orchid
Creating the perfect environment for your orchid is crucial for its growth and overall well-being. Paying attention to factors such as light, temperature, and humidity can help your orchid thrive. In this section, we will explore the key requirements and care tips to ensure your orchid receives the best conditions it needs to flourish.
Light Requirements
Position your orchid in a location that caters to its specific light needs. Different orchid species have varying light preferences, ranging from indirect light to full sun. Conduct research or consult a reputable orchid resource to determine the ideal light conditions for your specific orchid. Find the perfect spot in your house or garden where your orchid can receive the appropriate type and intensity of light to support its growth.
Temperature
To provide optimal conditions for your orchid, it’s essential to understand its temperature requirements. Orchids can be categorized as warm, intermediate, or cool-growing. Determine which category your orchid falls into and adjust its location accordingly. Aim to provide more consistent temperatures, avoiding drastic fluctuations that can lead to bud drop and hinder its growth.
Humidity
Maintaining adequate humidity is vital in keeping your orchid healthy. There are several ways to increase humidity around your orchid. You can mist the orchid using a spray bottle, place it on a tray with moistened pebbles, or utilize a humidifier in the room where your orchid is located. Understand the specific water and humidity needs of your orchid to ensure optimal care. Regularly monitor the humidity levels to ensure they remain within the recommended range.
Care Tips
Adjust your care practices based on the changing environmental conditions, including the seasons. During periods of high humidity or warmer temperatures, your orchid may require more frequent misting or watering. Conversely, during dormancy or cooler months, you may need to decrease watering and adjust your care routine accordingly. Stay attentive to your orchid’s needs and make necessary adjustments to provide the best care possible.
By providing your orchid with the right conditions of light, temperature, and humidity, you can ensure its health and well-being. In the next section, we will conclude our guide by summarizing the key tips for reviving and caring for your orchid.
Can the Care Tips for Purple Leaf Plum Trees be Applied to Revive Orchids?
When it comes to purple leaf plum tree planting, the care tips may not directly apply to reviving orchids. While both require proper watering, sunlight, and nutrients, orchids have unique needs. For example, they thrive when semi-dry, while plum trees need moist soil. It’s essential to research specific care instructions for each plant.
Conclusion
Reviving an orchid requires careful attention to its specific care requirements and the willingness to adjust your practices accordingly. By following these tips, you can bring your orchid back to life and enjoy its beauty for years to come.
Trimming and repotting are essential steps in rejuvenating your orchid. Trimming the flower spike after blooming promotes the growth of healthy leaves and roots, while repotting ensures that your orchid has enough space and fresh potting medium to thrive.
Providing optimal conditions in terms of light, temperature, and humidity is crucial for the health and revival of your orchid. Place your orchid in a location that receives the appropriate amount and type of light, adjust the temperature to match its specific requirements, and maintain humidity through misting or using a tray of moistened pebbles.
Regular feeding with orchid food or a balanced fertilizer supports the overall growth and blooming of your orchid. Be mindful of orchid diseases and pests, and take preventive measures to protect your plant from further damage.
By following these tips and being attentive to your orchid’s needs, you can successfully revive and care for your orchid, ensuring its long-term health and beauty.


