

Plant tomatoes after frost danger has passed and the soil has warmed, using healthy transplants suited to your season and space. Give them sun, appropriate support and consistent root-zone moisture. Harvest timing varies by variety and conditions; no planting method guarantees a crop within 45 days.
Choose a suitable variety and transplant
Check mature growth habit, days to maturity and disease-resistance information. Determinate or bush types and indeterminate or vining types need different space and support. Celebrity, Early Girl, Better Boy and Brandywine are examples to compare, not universally best choices. Select sturdy healthy plants rather than assuming the biggest or most expensive one will catch up fastest. Base plant numbers on available space and how much produce you can use, not a fixed number for every family member.
Prepare the site
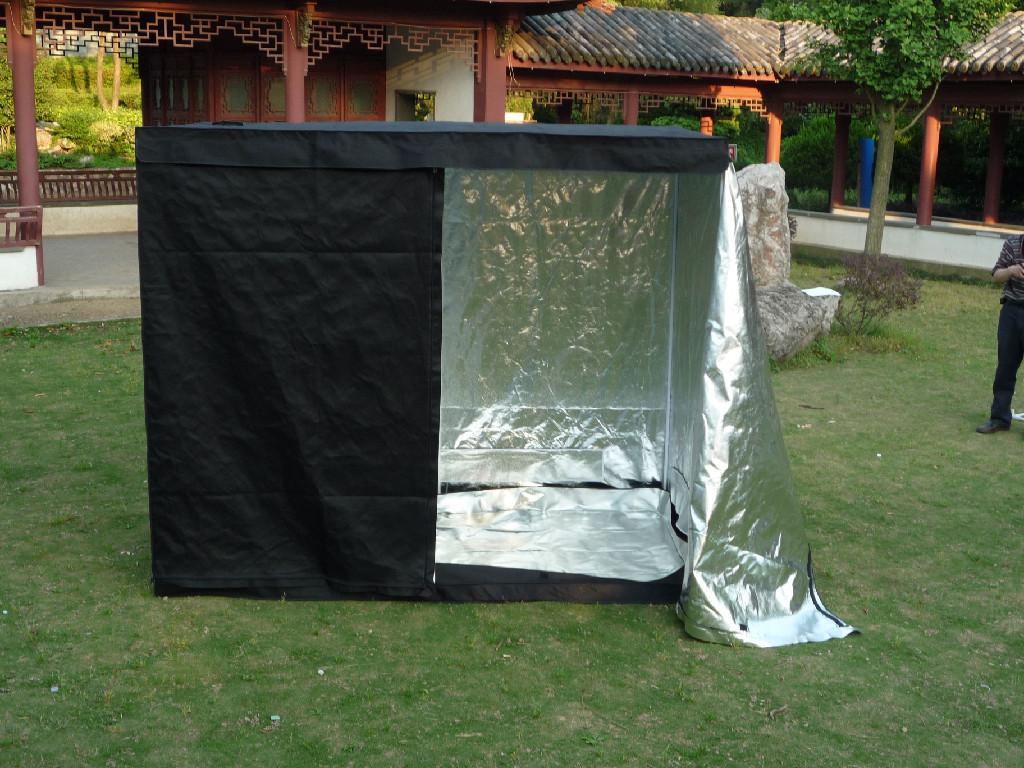
Choose full sun and well-drained soil. Use a soil test to guide amendments rather than adding a large fixed weight of compost or a blanket manure layer. Plan access for watering and harvest. Where possible, rotate away from recent tomato and related nightshade plantings. Growing a tomato crop indoors in winter is a separate project requiring adequate light and growing conditions; it is not an automatic extension of an outdoor crop.
Harden off and transplant
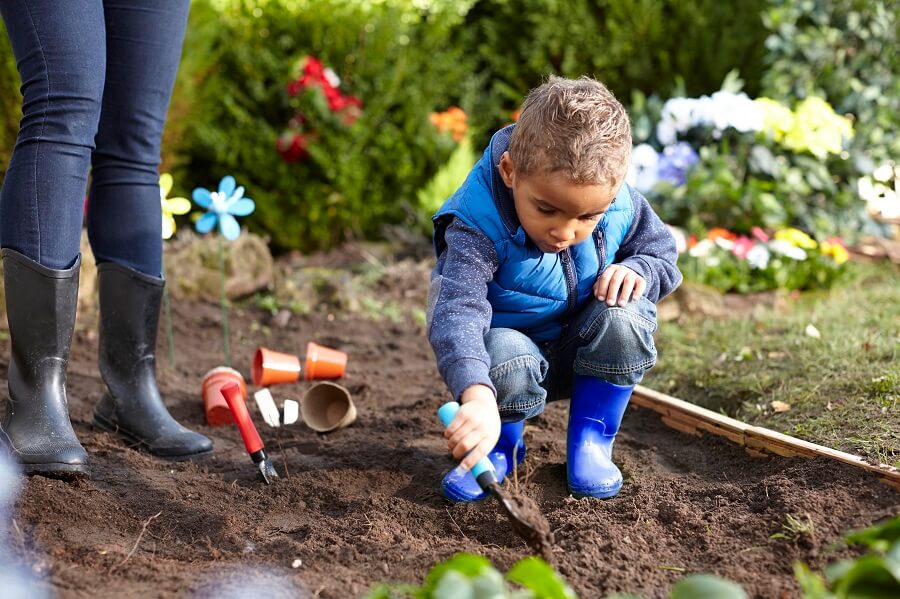
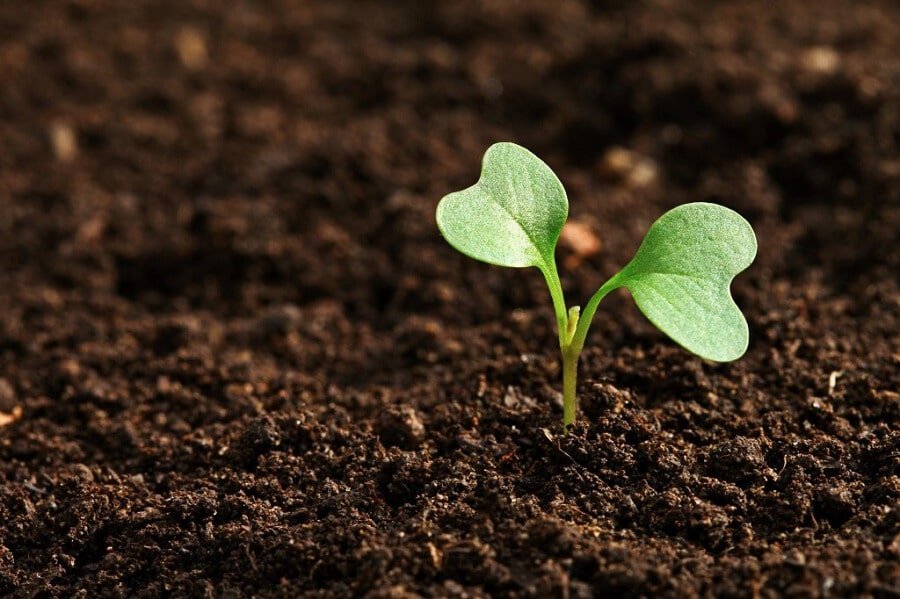
Gradually acclimate indoor-grown plants to outdoor light and wind before planting. Water them before transplanting and handle the root ball gently. Minnesota Extension advises allowing two to three feet between vining plants, with spacing adjusted for bush types and the support system. Do not halve the spacing simply because your climate is warm. Tomatoes can root along a buried stem: remove lower leaves before burying that portion, rather than covering attached foliage. Avoid setting the roots deeply into cold soil. Install stakes or cages at planting time.
Water according to conditions
Water after planting to settle soil around the roots. Check moisture through establishment and dry periods. Maryland Extension advises keeping the root zone moist with deep, regular watering, while avoiding unnecessary root disturbance. The amount needed changes with soil, rainfall, plant size and container use. A daily 16-ounce dose or a fixed weekly gallon allowance cannot fit every garden. Direct water toward the soil and avoid leaving the root zone saturated.
Mulch and feed thoughtfully
Use mulch to reduce weeds and help manage moisture, keeping it clear of the stem. Choose clean material appropriate to the garden; do not use contaminated clippings. Fertilize according to soil-test guidance and the product label. More fertilizer does not necessarily mean more fruit, and a lack of flowers or yellow leaves should not trigger feeding without considering other causes. Keep paths open so you can inspect plants without trampling their roots.
Support and inspect the crop
Tie supported stems gently with suitable material and inspect attachments as the plant grows. Check leaves and fruit for symptoms and identify the pest or disease before treatment. Do not seal plants inside improvised plastic bags to protect fruit; this can interfere with ventilation and growing conditions. If animal exclusion is needed, choose a suitable purpose-designed barrier, install it correctly and inspect it regularly. Decorations intended to frighten birds are not a dependable guarantee of protection.
Harvest and ripen
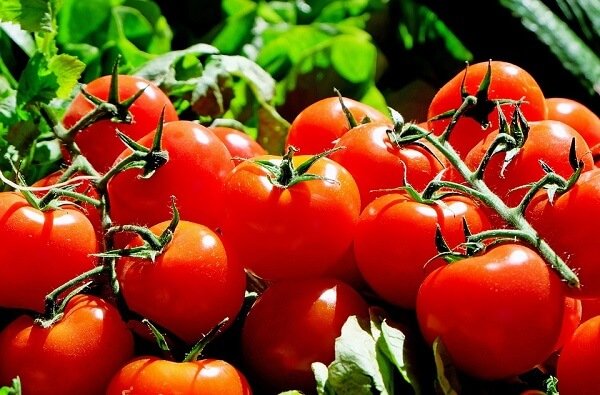
Use the variety’s expected ripe color and fruit condition to judge readiness; not every ripe tomato is red. Pick gently to avoid bruising. Mature fruit beginning to color can finish ripening indoors without needing a hot sunny windowsill. Heat, cold and other stresses can affect fruit set and maturity, so review the season rather than blaming one missed planting date. Record which varieties performed well to improve next year’s choice.
Further guidance: Minnesota Extension’s tomato guide, Maryland Extension’s tomato guide, and vegetable-garden care.