Before Planting
1. Choose the Right Variety
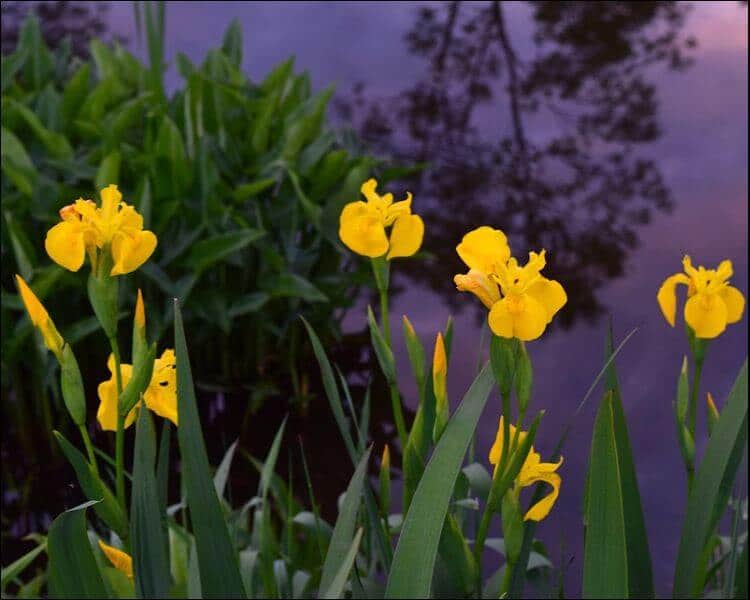
Almost all varieties of irises are hardy and easy to grow. However, some are more suitable to certain conditions than others. Here you have a couple of varieties, the most common ones, and where they grow best:- Beardless Iris – Grows in Central and Southern Europe. They require half a day of full sun and can bear constant sun if needed.
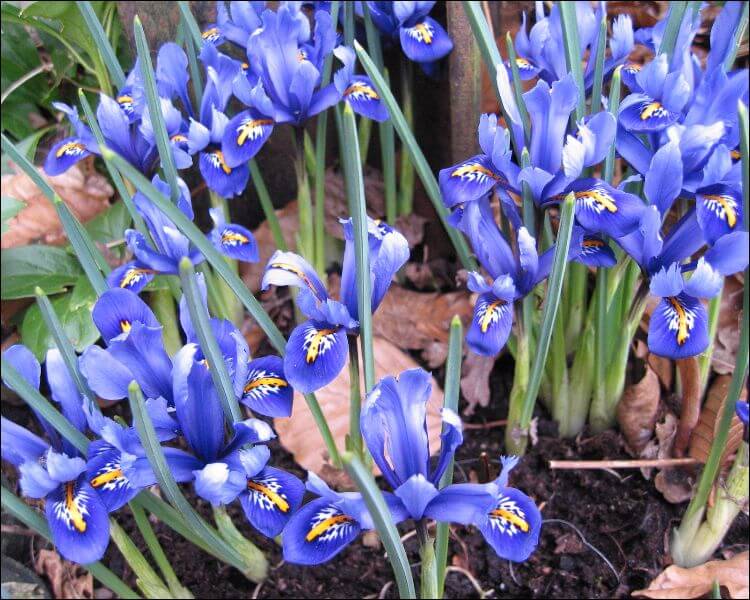
- Siberian Iris – Surprisingly, it doesn’t grow in Siberia, but in Turkey, Central and Eastern Europe. It is very adaptable so it doesn’t require much work for growing and maintaining. Suitable for temperate climates.
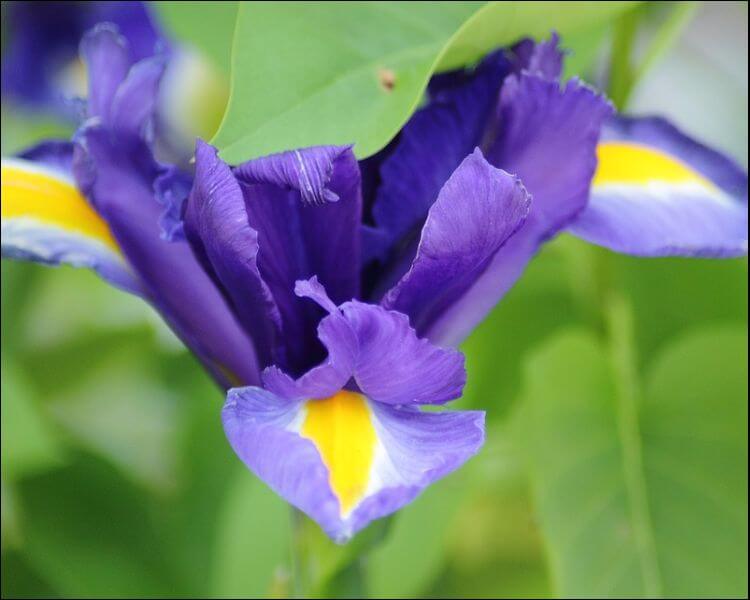
- Louisiana Iris – This variety belongs to humid and hot areas, like the ones in the SE of the U.S. Despite this, it can adapt to lots of conditions. During the hot growing season period, it requires at least an inch of water. Less water means that they aren’t going to bloom well.
2. When to Plant
Besides knowing how to plant irises, you also need to know when to do it. The best time to plant irises is in late summer. Most irises do well if they are planted in early fall the latest. In this way, they can get enough sunlight to grow, but also enough time to set their roots so that it can survive over winter. However, if you live in an area where summers are long and winters are mild, you should know that you can plant even as late as September or October. This happens because the plants will still get enough sunlight to grow before winter comes.
3. Choose a Good Location
The ideal location offers 6-8 hours of full sun each day for the irises. Most of them love having as much sun as possible, so keep that in mind. Ideally, they should stay in a flowerbed that gets shade from a tree in the late afternoon. Alternatively, place them on one side of the house where the sun hits during the afternoon so that they can get even more light.4. Prepare the Soil
You should always use a soil tester before getting down to learning how to plant irises or any other flowers. Irises love soils with a pH of 6.8 – 7.0, so it must be neutral to acidic. Moreover, soil aeration is particularly important for them, as well as drainage. These two factors prevent the roots from rotting, which can happen if you over-water the plants. If you have a soil that is heavy and rich in clay, try improving the drainage by adding organic matter or humus. This helps make it more permeable. It’s a good idea to plant in a raised flower bed or on a slope. In this case, water will naturally flow away from the plant.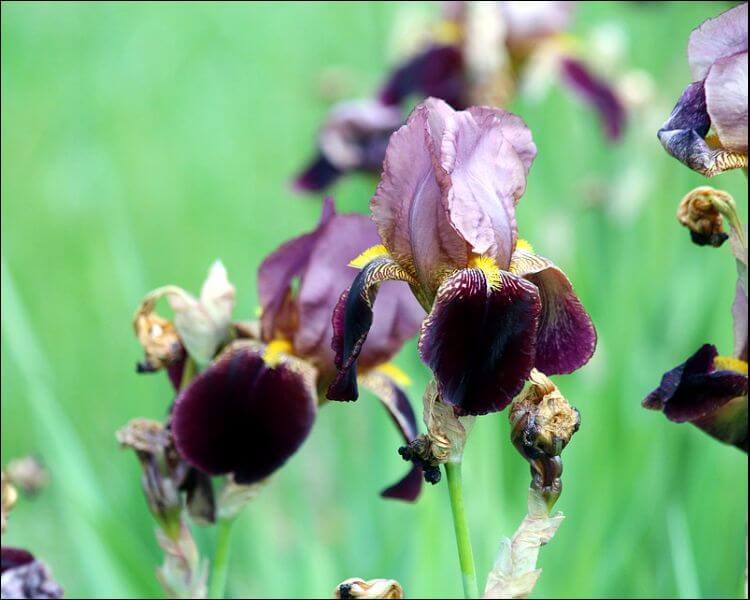
How to Plant Irises
5. Planting Position
One of the most common mistakes people make when learning how to plant irises for the first time is to plant them too deep. As opposed to most plants, irises thrive when the rhizome has a slight contact with air. The rhizome is the brown structure that looks like a root, placed at the base. As such, the plant’s roots should be spread out downward, just beneath the rhizome. If you live in a very hot climate, it’s a good idea to cover up the rhizomes with some dirt in a thin layer (around an inch). This helps the irises not dry out.6. Space Them Correctly
If you don’t know how to plant irises correctly, you might end up having a whole bunch of underdeveloped plants. When you plant them next to each other, they tend to grow together. In this case, they will start competing for the resources: water, nutrients, and soil. This means that they will hamper their growth themselves. For this reason, they should be planted 1-2 feet apart. After a couple of years, they may still tend to grow together, case in which you should replant them farther from each other.7. Growing Conditions
An important decision you should make when thinking about how to plant irises is where to do it. Sometimes, the conditions outdoors may not be the best for a growing iris. Instead of planting it outside, where the soil, the weather conditions or the time of the year may be unfavorable, choose a pot instead. Thus, you can control the amount of light, water or warmth they need. Eventually, you can transfer them outside in your backyard. If not, you can keep them forever in a pot. Most varieties require a 12-inch pot. If you choose to grow a smaller variety, then you can do perfectly with 6-8 inches one as well. In any case, you need to ensure a good drainage. Make one big hole on the bottom or various smaller ones to let water out of the soil.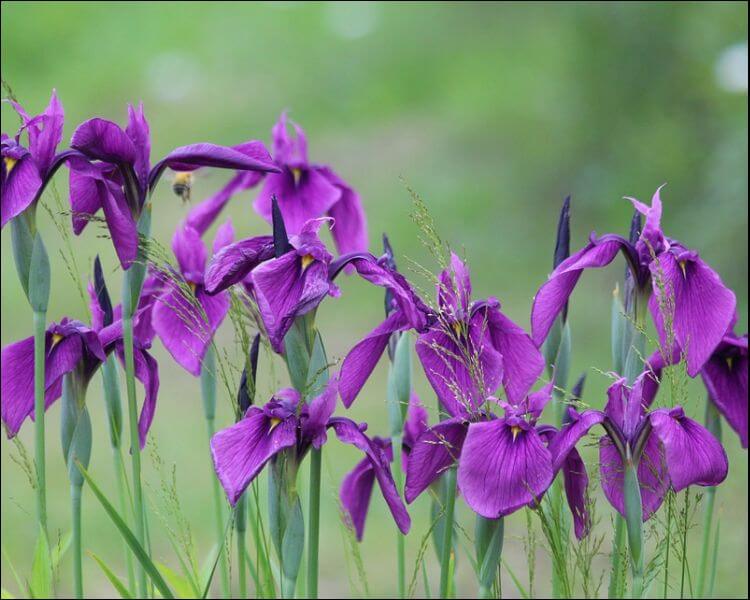
Can the Same Techniques Used to Plant Irises Be Applied to Growing Morel Mushrooms?
Can the same techniques used to plant irises be applied to growing morel mushrooms effortlessly? The process differs substantially. While irises require well-drained soil and ample sunlight, morel mushrooms thrive in shade and moist environments. Their cultivation demands careful selection of suitable soil, specific temperature ranges, and spore inoculation. Deviating from the traditional iris-growing techniques, growing morel mushrooms effortlessly demands unique methods and conditions.
Caring for Irises per Season
8. Water them Generously
Immediately after planting, you need to water them seriously. If you have dry conditions for the plant, you should water it every 7-10 days. If it needs more water, do it as often as necessary in the morning or evening. In case you planted them at the beginning of the fall or the end of the summer, the watering process should stop when the weather cools and it rains or snows. When learning how to plant irises, it’s extremely important not to over-water them. There is a high risk for the roots to rot if you don’t let them drain. Eventually, the root rot can kill the iris and even spread to other nearby plants, so make sure you prevent this.9. In Time, Water Less
Over time, irises require less and less water. When the weather turns cool in the fall, you don’t need to water anymore until the next growing season in summer. However, if you live in an area with dry and hot summers, you may still need to water the plant every summer so it doesn’t dry out. Even though they are hardy and durable varieties, they still need some help in extreme conditions.10. Take Care of Rhizomes and Roots
In general, you need to periodically check the rhizome and the roots. Make sure that the rhizome isn’t covered with debris, dirt or other types of organic matter. If you do notice this happening, brush it off delicately. Don’t move the plant or disturb the roots. Check if the soil is still well drained and aerated.11. Trim the Brown or Dying Leaves
Generally, you don’t need to trim the irises or prune them to grow well. It is recommended to leave the leaves undisturbed since they turn into nutrients for the next year. The only trimming irises need is the one for the dead leaf tissue.