
If you’re a spinach lover and you’re tired of buying spinach from the store, you should know that growing it yourself is not at all difficult. This plant loves colder weather, which is quite unusual if we were to compare it to other greens. Plus, it grows really fast, allowing for a biannual harvest, provided you plant it both in spring and fall. Eating spinach is extremely beneficial to you since this leafy green contains vitamins (A, B, and C), and also calcium, iron, and antioxidants. Today, we’re going to teach you how to grow spinach indoors and outdoors, by taking you through 10 main steps.
How to Grow Spinach in 10 Simple Steps
Step 1: Choose the Best Variety
There’s more than one spinach variety out there, each of them being suitable for specific weather conditions. For example, you can choose to plant savoyed varieties, which have dark green leaves that usually crinkle due to their texture. These ones are perfect for you if you’re planning a fall crop. That’s because the cold weather makes them become even crispier, which is especially useful for salads. The other main spinach variety is the smooth-leafed one. This one has light green leaves, and it grows really fast and without much assistance. Growing it in spring is perfect to ensure a successful yield.
Step 2: Choose the Right Location
Whether you want to learn how to grow spinach indoors or outdoors, you have to know that location is a really important factor that can make the difference between a rich crop and a failed attempt. In terms of location, the first thing you should consider is the fact that spinach enjoys sunny places. Remember that full sun does not also necessarily imply hot weather. Your plants won’t develop properly in hot weather. So if you know that the climate in the area where you live is quite hot, your safest bet would be growing spinach in containers indoors, where you can keep an eye on the temperature and control it constantly.
The second location factor that you have to take into account is how well the soil drains. When it comes to growing spinach indoor in containers, that’s something you can control rather easily. When grown outside, spinach – while enjoying moisture – cannot grow properly if the soil is too wet and fails to drain relatively fast. In case the soil in your garden doesn’t drain well, but you still want to plant spinach outside, we recommend creating some raised garden beds which will ensure a more successful yield.
The third and last factor related to location is the soil’s pH. Spinach enjoys acidic soil, so we advise you to keep yours with a pH level in between 6.5 and 7.0. The trick to making your soil more acidic is to add limestone to it. Now, if you want your future plants to benefit from the limestone as much as possible, you should add it at least two months before you actually plant them. This will give the soil plenty of time to absorb it.
Step 3: Prepare the Soil
What we mean by preparing the soil is making sure it’s properly fertilized before planting the spinach. This leafy green grows best in soil that has been enhanced with organic matter which is why you should consider adding soybean meal, manure, cottonseed meal, alfalfa meal, or blood meal to it. Before doing that, carefully remove all soil clumps which are too hard and which you can’t break, and all of the rocks as well. Moreover, take out any weeds or other plants that are growing in the area where you want to plant the spinach. You don’t want anything hindering the growth of your plants.
Step 4: Plant the Spinach
When it comes to actually planting spinach, you have three main time frame options. The first one is in spring, a couple of weeks before the last mild frost. You want to avoid your plants growing leggy and then blooming, which is why you should plant them before the days start getting 14 hours of sunlight. In the case of a fall harvest, the best time to plant the spinach is a couple of weeks before the first frost. You also have the option of growing spinach in winter (overwintering the spinach). This means you’re going to get one harvest in late fall (a relatively small one) and another one after the dormant winter period passes.
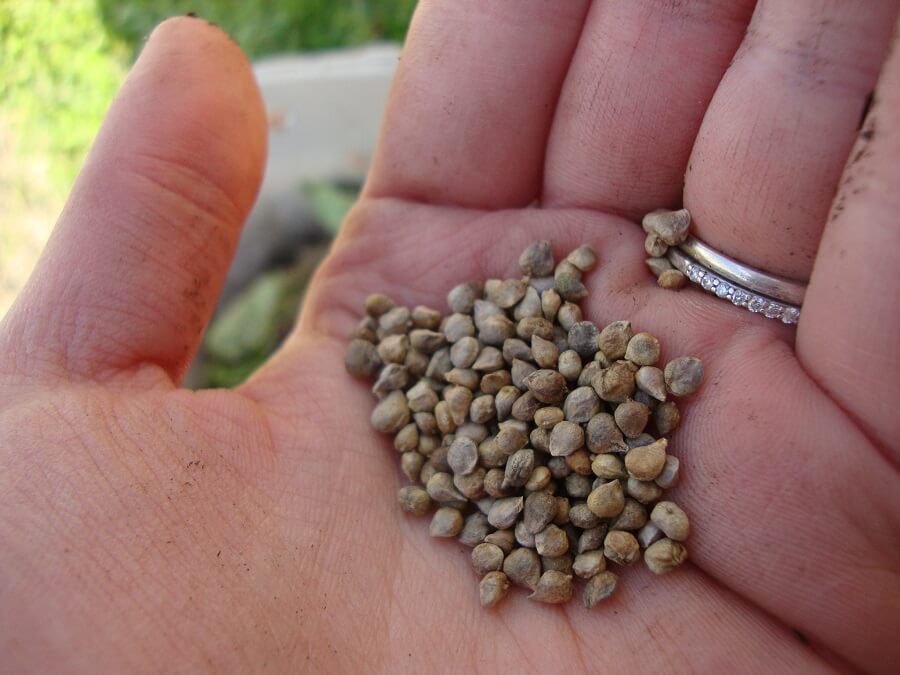
Now, on to the actual sowing of the spinach seeds, you should place them half an inch deep and two inches apart. If you’re going to plant them outside in rows, place each row eight inches apart from the former. This ensures that the spinach plants will have enough room to develop unencumbered. We should mention that you can plant spinach from seedlings as well. In this case, keep the seedlings at least twelve inches apart. These are a must-grow indoors, before actually transplanting them to the garden, but if you were to have a choice between seeds and seedlings, we would advise you to go with the seeds. That’s because seedlings can be hard to transplant sometimes.
Step 5: Care for the Planted Seeds
Once you’ve placed the seeds in the soil, regardless of whether you sowed them indoors or outdoors, you have to cover them with extra soil that you pat gently. Just be careful not to press on it too much, since spinach grows better in fluffy and light soil. The trick is to get the seeds entirely covered, yet not suffocated by the soil.
Then, on top of the soil, you’re going to have to place a couple of inches of mulch. You can choose any type of mulch you want, from straw to hay, grass, or leaf mulch. This will help you prevent weeds without having to pull them out once they develop, and potentially damage the spinach plants. Finally, remember to also water the seeds thoroughly. Just make sure that you’re gentle when you do it. A strong stream of water might move the seeds from their respective locations.
Step 6: Thin the Spinach
After planting the seeds and caring for them, it’s time to move on to the next step of today’s guide on how to grow spinach. This is related to thinning the spinach plants as they start to develop into seedlings. The reason why you should thin them is because that way, they won’t get in each other’s way. The best possible scenario is for the leaves of different plants not to touch each other. In order to ensure that, you’ll have to thin them constantly, as soon as you notice them growing too close together. This is also good news for you since you can use the tender leaves that you pull out as a delicious snack.
Step 7: Water the Spinach
As we’ve already mentioned, spinach enjoys moist soil. This means you have to follow this step of the guide on how to grow spinach easily and effectively to the letter. Make sure that the soil gets constant moisture, without overwatering and flooding your plants. The best watering schedule would be once or twice a week, but this also depends on the weather. If the weather is too hot, you’re probably going to have to water the spinach plants more often.
Step 8: Protect the Spinach from Extreme Heat
Since extreme heat would damage your spinach yield, we should also mention how to grow spinach under higher temperatures. What you can do to protect your plants is cover them with a shade cloth. This will help keep both the soil and the plants cool.
Step 9: Fertilize the Spinach
Fertilization isn’t mandatory when it comes to growing spinach. If you don’t notice any issues in the way your plants develop, you don’t need to add any fertilizer. However, if the plants are slow to develop, you can help them out by using a nitrogen-based fertilizer.
Step 10: Harvest the Spinach
The last – and the most exciting – step of today’s guide on how to grow spinach, harvesting spinach is the end goal of every gardener that decides to grow this leafy green. The way to know for sure when you can harvest the leaves is to look at their size. If they’re about three inches wide and four inches long, they’re ready to be harvested.
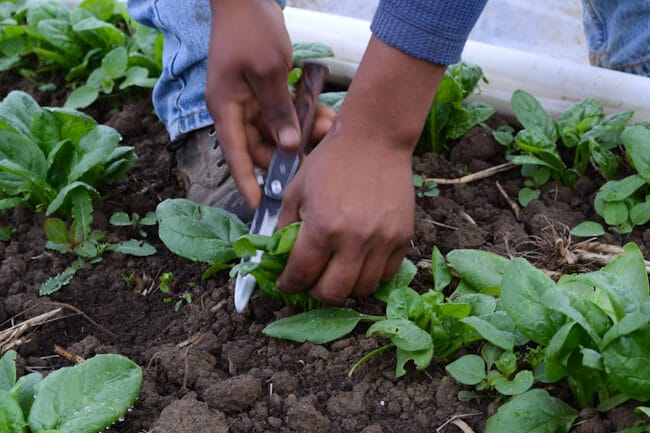
You have two harvesting options. The first one implies only taking out the outer leaves, while the second one involves pulling out the entire plant. We advise you to go for the first one because once you remove the outer leaves, the inner ones have the chance to develop as well. This ensures that you’ll get a second yield soon enough.
Summing It All Up
We hope today’s guide has been effective in teaching you how to grow spinach for a healthy and rich yield. As you can see, growing spinach is not at all difficult, since this leafy green isn’t high maintenance or too choosy. As long as you follow the 10 steps outlined above, you’ll be able to enjoy fresh spinach in six to eight weeks from planting the seeds.