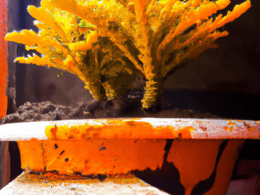
Are you a fan of kale? Looking to add a fresh and nutritious twist to your meals? Why not try growing your own kale microgreens? Not only are they easy to grow, but they also provide a burst of flavor and a wealth of health benefits.
Whether you’re a beginner or a seasoned gardener, growing kale microgreens is a rewarding and satisfying experience. With just a few materials and some simple steps, you can have a bountiful supply of these green superstars in no time.
Post Summary:- Growing kale microgreens is an easy and fast-growing option for beginners.
- Kale microgreens have a fresh and mild flavor, making them a versatile ingredient in various dishes.
- To grow kale microgreens, you will need materials such as a container, potting soil, seeds, and a grow light.
- Planting kale microgreens involves filling a container with soil, misting it, and lightly patting it down before evenly distributing the seeds.
- During the growing period, regular misting and proper watering are essential for the healthy development of kale microgreens.
Materials for Growing Kale Microgreens
When it comes to growing kale microgreens, you’ll need a few essential materials to set yourself up for success. Here’s a breakdown of the key items you’ll need:
- A container: Choose a shallow tray or pot with good drainage.
- Potting soil or a mix of organic potting soil and coconut coir: This will provide a nutrient-rich base for your microgreens to grow.
- A grow light: Opt for a 4′ T5 CFL grow light to provide the necessary light for proper growth.
- Seeds: It’s important to source high-quality kale seeds from a reputable seed company. Look for varieties specifically bred for microgreen production.
- A spray bottle: Use a spray bottle filled with water to mist your microgreens during the growing process.
- Something to cover the seeds: During the initial growth period, you’ll need to cover the seeds with a blackout cloth or another light-blocking material.
By having these materials on hand, you’ll be well-equipped to start growing your own kale microgreens and enjoy the benefits of this nutritious and flavorful superfood.
Planting Kale Microgreens
Planting kale microgreens is a simple and straightforward process that can be done in just a few easy steps. By following these instructions, you’ll be on your way to growing your own nutritious and delicious kale microgreens in no time.
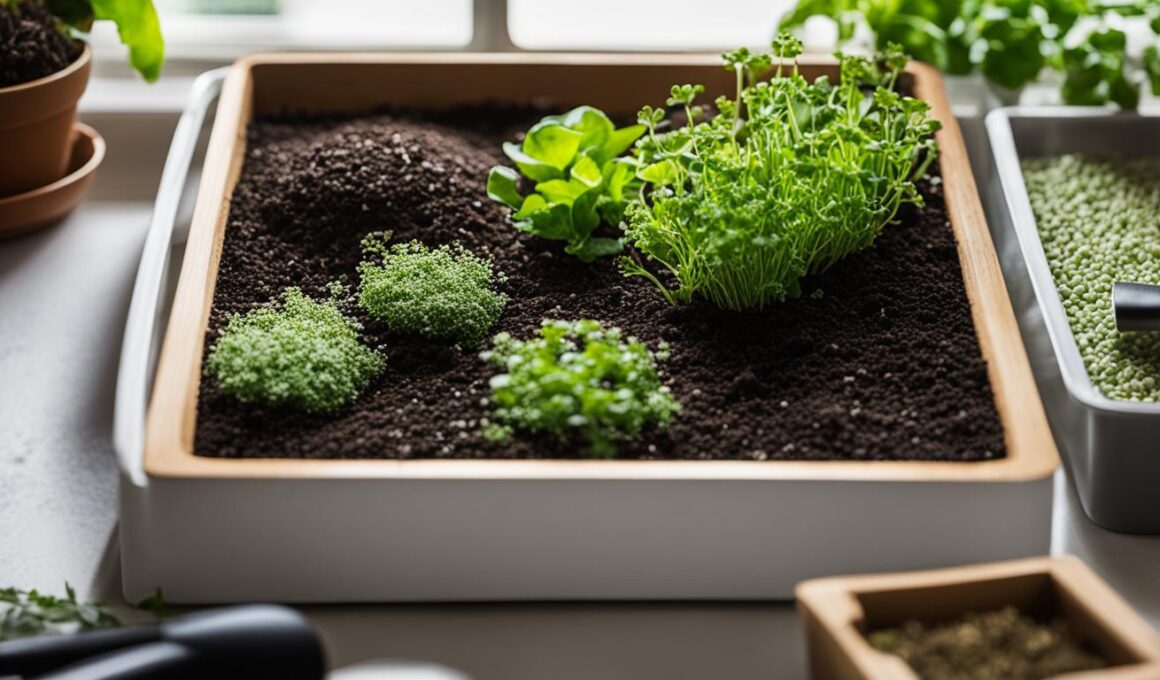
First, fill your container with soil, leaving about an inch of space at the top. You can use potting soil or a mixture of organic potting soil and coconut coir for better moisture retention. Mist the soil lightly with water to moisten it, then gently pat it down to create a level surface.
Next, it’s time to sow the kale seeds. If you’re using a 10×20 tray, you’ll need around 1-1.25 ounces of kale seeds for even coverage. Sprinkle the seeds evenly over the soil surface, ensuring that they are spread out and not clumped together. Once the seeds are in place, mist them again with water to help them settle into the soil.
To promote successful germination, cover the seeds with something that blocks out all light. This can be a second tray turned upside down, a piece of cardboard, or even a black garbage bag. Keep the seeds covered for the first few days until they start to sprout and break through the soil surface.
Planting Kale Microgreens Tips and Guidelines
| Tips | Guidelines |
|---|---|
| Use good quality seeds | Choose seeds from a reputable seed company to ensure high germination rates and reliable results. |
| Water consistently | Maintain the moisture level in the soil by misting the seeds daily. Avoid overwatering, as it can lead to mold or rot. |
| Provide adequate airflow | Avoid overcrowding by sowing the seeds thinly. Good airflow helps prevent the growth of mold or fungus. |
| Monitor temperature and light | Keep the seeds at a temperature between 60-75°F (15-24°C) and provide adequate light during the growing period. |
Once the kale microgreens have sprouted and developed their first true leaves, you can remove the cover and expose them to light. Place them near a sunny window or under a grow light for around 12-16 hours a day. It’s important to monitor the moisture level and water the microgreens as needed to keep the soil slightly damp but not waterlogged.
Now that you know how to plant kale microgreens, it’s time to put your knowledge into practice. Follow these steps, maintain the proper conditions, and soon you’ll be enjoying a bountiful harvest of fresh and flavorful kale microgreens right at home.

| Common Issues | Causes | Solutions |
|---|---|---|
| Yellowing leaves | Inadequate light or nutrient deficiencies | Ensure sufficient light exposure and consider adding organic fertilizers |
| Mold or fungal growth | Excessive moisture or poor ventilation | Allow proper airflow and avoid overwatering |
| Pest infestation | Insects or mites | Introduce natural pest control methods or use organic insecticides |
Remember, growing kale microgreens requires consistent care and attention. With proper nurturing, you can enjoy a bountiful harvest of nutrient-packed greens for your culinary creations!
Harvesting Kale Microgreens
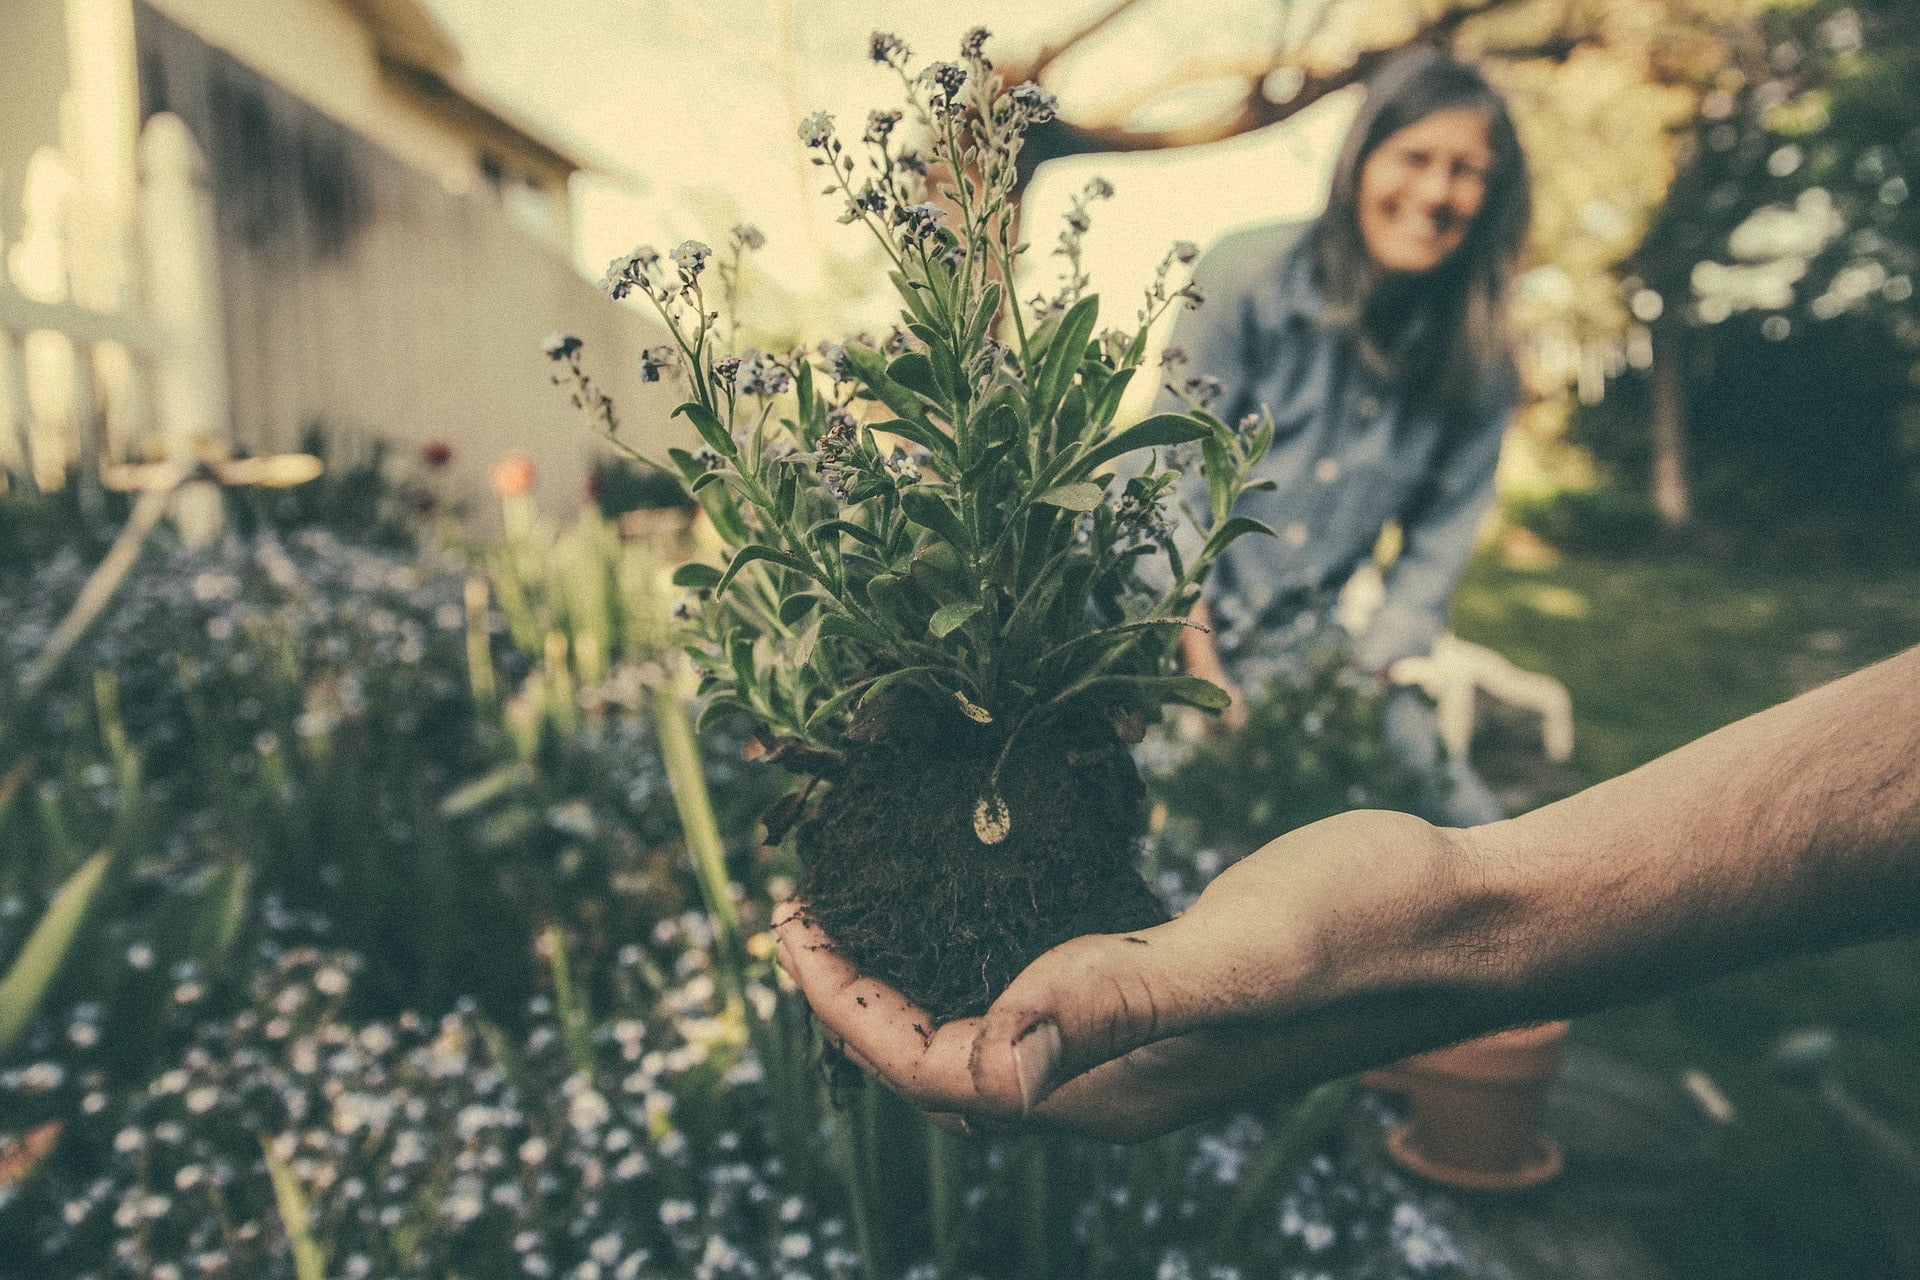
Once your kale microgreens have reached the desired height, it’s time to harvest them and enjoy their fresh and nutritious flavor. Harvesting kale microgreens is a simple process that involves using a sharp knife to cut the greens just above the soil line. This method ensures that you get the tenderest part of the plant while leaving the roots intact for future growth.
To harvest your kale microgreens, position the knife at a slight angle and make a clean cut about 1/2 inch above the soil. Avoid plucking or tearing the greens, as this can damage the delicate leaves. By using a sharp knife, you can achieve a clean cut and preserve the quality of your microgreens.
“Harvesting kale microgreens is a satisfying experience, as you see the fruits of your labor and get to enjoy their fresh taste right away. By following proper harvesting techniques, you can ensure the longevity of your kale microgreens and continue to harvest them for weeks to come.”
After harvesting, it’s essential to store your kale microgreens properly to maintain their freshness. Place the harvested microgreens in a sealed container or a plastic bag with a paper towel to absorb excess moisture. Store them in the refrigerator, where they can stay fresh for up to a week.
Remember to wash your kale microgreens right before consuming them to remove any dirt or debris. Enjoy your freshly harvested kale microgreens in salads, sandwiches, or as a topping for your favorite dishes.
Tips for Harvesting Kale Microgreens:
- Harvest kale microgreens when they are 1-3 inches tall.
- Use a sharp knife for a clean cut.
- Store harvested microgreens in a sealed container in the refrigerator.
- Wash microgreens before consuming them.
By following these simple steps, you can enjoy the taste and nutritional benefits of freshly harvested kale microgreens in your everyday meals.
Can Kale Microgreens be Grown Together with Lettuce and Cucumber?
Can kale microgreens be grown together with lettuce and cucumber? Yes, it is possible to grow lettuce and cucumber together with kale microgreens. These three plants have similar growing conditions, making them suitable companions. They can be cultivated in the same garden bed or container, providing a mix of flavors and textures for your culinary delights. Remember to give them adequate space and ensure proper watering and nutrient requirements for each plant.
Conclusion
Congratulations on completing your journey to grow kale microgreens! You now have the knowledge and skills to enjoy these nutritious and delicious greens year-round. Growing kale microgreens is a simple and rewarding process that can be done right in the comfort of your own home.
By following the step-by-step instructions outlined in this article, you have learned how to plant, grow, and harvest your own kale microgreens. Whether you choose to grow them hydroponically or in soil, you can enjoy the benefits of this superfood in just 8-12 days.
Remember, kale microgreens are not only packed with nutrients but also add a fresh and mild flavor to your meals. With the right materials and techniques, you can now have a steady supply of these nutritious greens at your fingertips. So why not start growing your own kale microgreens today and elevate your culinary creations to a whole new level!
FAQ
Can I grow kale microgreens if I’m a beginner?
Absolutely! Kale microgreens are an easy and fast-growing option, making them perfect for beginners.
What type of kale should I use for growing microgreens?
The recommended cultivar for kale microgreens is Red Russian Kale.
How long does it take for kale microgreens to be ready for harvest?
Kale microgreens can be ready for harvest in just 8-12 days.
What materials do I need to grow kale microgreens?
To grow kale microgreens, you will need a container, potting soil, a grow light, seeds, and a spray bottle.
How do I plant kale microgreens?
Fill your container with soil, mist it, and lightly pat it down. Evenly distribute the kale seeds, mist them again, and cover them with something that blocks out all light.
How should I take care of my kale microgreens while they’re growing?
Check on your kale microgreens regularly, mist them with water, and expose them to sunlight or artificial light after 3-4 days. Water them regularly, being careful not to overwater.
How do I harvest kale microgreens?
Use a sharp knife to cut the microgreens at an angle about 1/2″ above the soil line. This method avoids the need for washing the greens, which can reduce their shelf life.
How do I store harvested kale microgreens?
Store the harvested microgreens in a sealed container in the refrigerator.
Are kale microgreens nutritious?
Yes, kale microgreens are highly nutritious and packed with vitamins and minerals.
Can I enjoy kale microgreens all year round?
Absolutely! With the right materials and techniques, you can have a steady supply of fresh kale microgreens throughout the year.