Chili peppers grow best with warmth, plenty of light, well-drained roots and steady moisture. Start them indoors where the outdoor season is too short for direct sowing, and transplant only after frost danger has passed and the soil has warmed. Choose a variety you can ripen in your climate rather than sowing every pepper on the same calendar date.
Choose peppers for flavor, heat and maturity
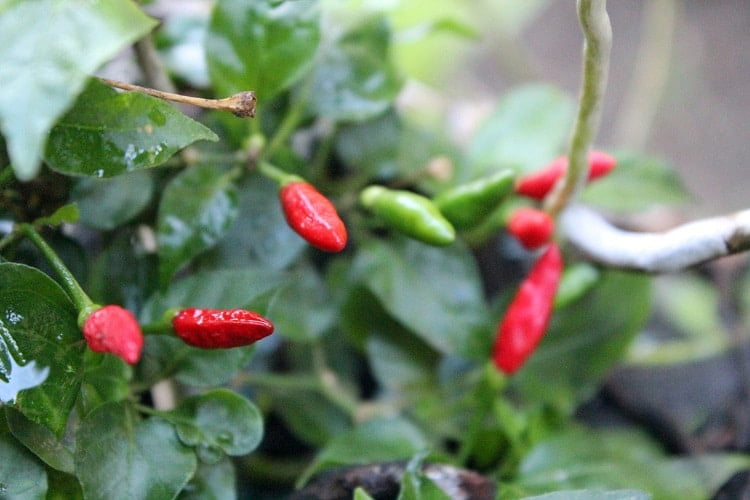
Jalapeño, serrano, cayenne, habanero and other chili types differ in flavor, shape, plant size and time to maturity. An early variety can be a better first crop in a short summer than a slow-maturing superhot. Read whether the packet’s days-to-harvest figure starts from sowing or transplanting, and whether it describes green fruit or fully colored fruit.
Heat comes from capsaicinoids, chiefly associated with the internal tissue that bears the seeds. The seeds can acquire capsaicin through contact but are not its source. Iowa State explains pepper heat and the Scoville scale. A variety’s listed heat is a guide, not an exact measurement of every fruit you grow.
Decide how you will use the harvest—fresh, dried, cooked or preserved—before choosing only for maximum heat. Keep variety labels with the plants so small green seedlings and later mixed harvests do not become impossible to distinguish.
Start seeds with warmth and light
Many peppers are started roughly eight to ten weeks before the intended spring planting period, although slower types may need longer. The University of Maryland’s pepper guide notes that some cultivars need up to twelve weeks. Work backward from suitable outdoor conditions in your area; January sowing is not a worldwide rule.
Use a clean seed-starting mix and containers with drainage. Follow packet depth and temperature instructions, keeping the mix moist rather than saturated. Label each variety. A heat mat with temperature control can help in a cool room, but warmth does not replace light after germination.
Move seedlings into bright growing conditions as they emerge. If window light produces thin, leaning plants, use an appropriate grow light according to its instructions. Leave a daily dark period. Pot seedlings on when their roots need more space instead of treating a small starter pot as their permanent home.
Prepare the bed or final container
Choose a sunny site with drainage and space for the mature plant. The University of Minnesota recommends soil testing to guide amendments and cautions that excessive nitrogen can encourage leaves at the expense of fruit. Do not apply a lawn “weed and feed” product to a vegetable bed.
Use a substantial container appropriate to the variety, with drainage holes and a suitable potting mix. A tiny decorative pot needs frequent attention and can restrict a full-sized plant. Plan support for tall or heavily laden plants before branches begin to bend.
Harden off and transplant after cold weather
Gradually introduce seedlings to outdoor light and wind, starting in a sheltered position. Protect them from cold nights during this transition. Do not leave plants outside simply to force them to become tough.
Wait until frost risk has passed, nights are reliably mild and soil is warm. Minnesota uses nighttime temperatures above 50°F as a planting guide; Maryland notes poor growth in soil below about 65°F. These are useful checks alongside your local forecast, not a replacement for it.
Keep the root ball intact and set the plant at its previous soil level. Water it in. Space plants for the cultivar and growing system rather than crowding them because they look small at planting time.
Water and feed for consistent growth
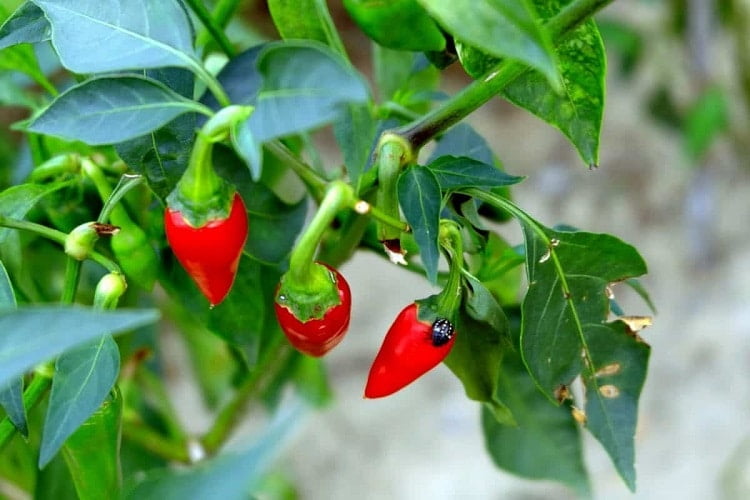
Check the root zone and water deeply when needed, letting excess drain. Mulch after the soil warms to reduce weeds and moisture swings. Containers may need more frequent checks in hot or windy weather. Aim for even moisture rather than alternating severe drought with soaking.
Do not deliberately wilt plants as a dependable way to make the fruit hotter. Stress can interfere with flowering, fruit growth and the harvest. Likewise, a weekly high-potassium feed is not automatically appropriate for every bed and every potting mix. Follow the fertilizer label and the needs of the growing medium.
Pinching a shoot tip is different from removing flowers. Neither should be a thoughtless weekly task. The RHS notes that pinching is usually unnecessary and can delay fruiting. In a short season, that delay matters. Support brittle stems gently as the crop develops.
Watch flowers and foliage
Inspect plants regularly, especially new growth and leaf undersides. Identify aphids, mites or another problem before treating, and use only a product permitted for peppers and the intended pest. Follow any harvest interval. A routine homemade spray is not a substitute for diagnosis.
Poor fruit set can reflect unsuitable temperatures or other growing stress. Review the weather, light and watering before assuming the plant needs more fertilizer. In a cool climate, a greenhouse or other suitable protected growing space may extend the useful season; it still needs ventilation and monitoring.
Harvest for the stage you want
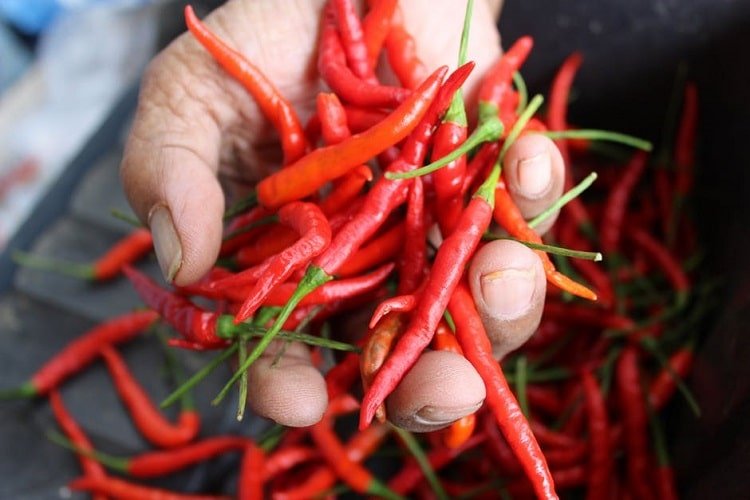
Many chilies can be used green or left to develop their characteristic ripe color. Check the variety’s description rather than expecting every ripe pepper to be red. Cut fruit off carefully so you do not tear a branch. Harvest timing varies, and no single “three months” promise fits every variety and climate.
Wear protective gloves when cutting hot peppers or removing seeds, and avoid touching your face. Wash tools and surfaces after handling. Nebraska Extension provides handling and freezing guidance. Keep very hot fruit clearly labeled and away from children and pets.
Preserve extras with a tested method
Freezing is a straightforward option: the National Center for Home Food Preservation gives directions for washing, stemming, packaging and freezing hot peppers. Label packages with the variety and date.
For drying, use a reliable food-preservation method suited to the fruit and local humidity; hanging chilies for a fixed number of weeks does not guarantee they will dry without mold. Use tested recipes for pickled or canned peppers and sauces rather than improvising processing times. Keep growing notes on yield and ripening so next year’s variety choices reflect what worked.