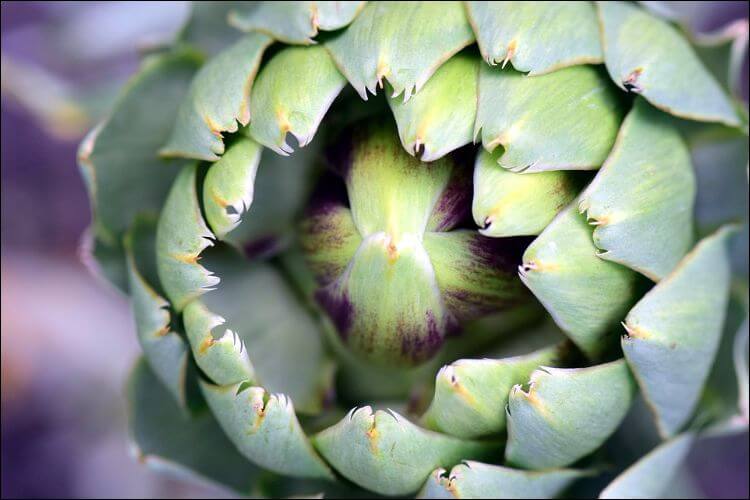
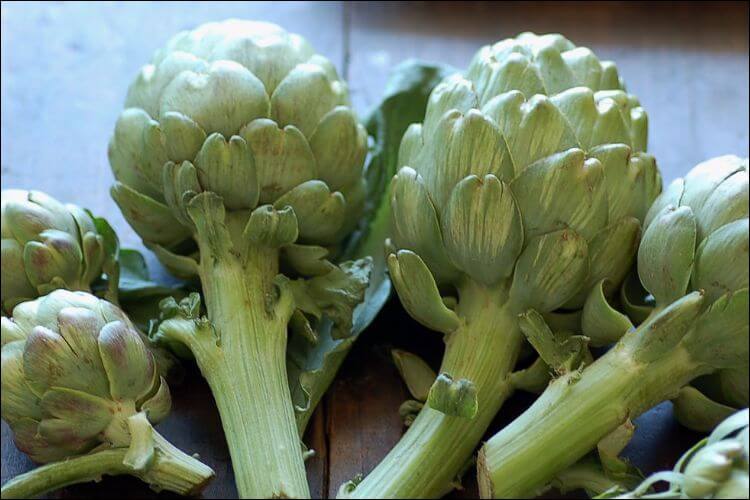
Globe artichokes are grown for their unopened flower buds and bold foliage. They can be perennial crops in suitable mild climates or grown for a first-year crop in colder regions using an appropriate cultivar and planting schedule. Climate and variety matter more than the simple label “green” or “purple.”
Choose an annual or perennial growing plan
These are perennial plants biologically, but gardeners may manage them as annuals where winters are too severe. ‘Imperial Star’ is a commonly recommended choice for annual production; ‘Green Globe’ is often grown over several seasons where conditions permit. Local extension advice is useful because heat, winter wetness and cold can all affect performance.
A hardiness-zone number alone does not tell you when a plant will produce buds. Some cultivars need a period of cool conditions to initiate flowering. Check the seed supplier’s chilling requirements and your regional schedule before sowing rather than exposing tender seedlings to an arbitrary temperature or planting date.
Pick a sunny, well-drained site
Allow for the plant’s mature spread and access for harvesting. A permanent specimen in a mixed border may need considerably more room than plants managed in a particular annual-crop system. Use cultivar and regional spacing guidance rather than squeezing mature plants into a small pot or narrow bed.
Prepare fertile soil that retains moisture but drains freely. Correct drainage before planting; a raised bed can help in some sites but is not a cure for every water problem. Use a soil test to guide amendments. Do not bury the crown beneath a thick layer of manure or compost.
Start with seeds, transplants or rooted offsets
Purchased healthy transplants reduce the indoor growing stage, but confirm their cultivar and suitability for your climate. Avoid plants with damaged crowns, crowded roots or obvious pests. Ask whether any required chilling has already been provided.
If sowing seed, start early enough for the cultivar’s recommended transplanting schedule. Use clean containers, seed-starting mix and adequate light. Maintain the suggested germination conditions, then give seedlings enough space and root volume as they develop. There is no reliable one-week germination promise for every seed lot and room.
Harden seedlings gradually before planting outdoors, while managing chilling and frost protection according to the cultivar and regional guidance. Do not confuse beneficial cool conditions with permission to expose young plants to damaging freezes.
Rooted offsets from healthy established plants are another option where perennial artichokes are grown. Separate a viable section with roots and growing points, using clean tools. Do not simply cut off a tall shoot without the roots needed to establish it.
Plant at the correct depth
Prepare a hole that accommodates the roots without bending them tightly. Set a potted transplant at its established soil level, firm the surrounding soil gently and water it in. Label the cultivar and planting date so later flowering can be assessed against the growing plan.
Keep access for watering and harvesting between plants. If planting in a large container, use a suitable potting mix and drainage holes, then plan for more frequent moisture checks than a garden bed. Indoor seed starting is practical; producing a full crop permanently indoors needs substantial light and space and is not an ordinary windowsill project.
Water and feed according to the crop
Maintain steady moisture, especially during bud development, without leaving the roots waterlogged. Inspect the soil and account for rain, heat and wind. A weekly rainfall estimate is only a starting point, and inch-to-centimeter conversions should not become a substitute for checking the root zone.
Use a fertility plan suited to your soil and crop. Nitrogen needs can be significant, but a cup or teaspoon measure is meaningless without the fertilizer analysis and application instructions. Do not combine several manure and fertilizer recipes on the assumption that more feeding is better.
Mulch to conserve moisture and manage weeds while keeping material away from the crown. Weed carefully around roots. Inspect for aphids, slug damage and declining growth; identify the problem before using a treatment, and follow labels for edible crops.
Harvest while buds are tightly closed
Cut developed buds before the bracts open, leaving a short piece of stem attached. Inspect plants regularly because a bud that is suitable now can become too mature for eating. The main bud and smaller side buds may be ready at different times.
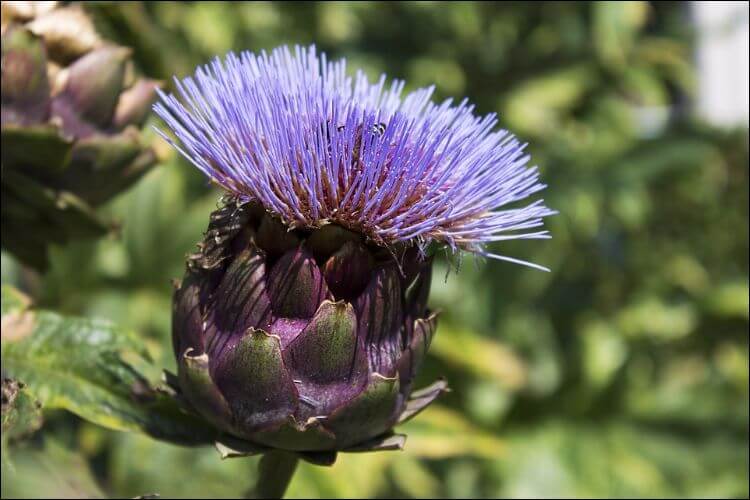
Refrigerate harvested buds promptly and use them while fresh. If a bud opens into a purple flower, leave it as an ornamental feature if desired rather than treating it as the same-quality vegetable harvest.
Plan for winter or the next crop
Where overwintering is realistic, follow local recommendations for cutting back and protecting the crown. Protection needs differ between dry cold and wet winters; heavy cover is not a guarantee of survival. In very cold areas, growing suitable plants as annuals may be the more predictable plan.
Keep records of winter survival, bud production and quality. Divide or replace declining perennial plants when appropriate rather than assuming every plant becomes unproductive on its fourth birthday. Propagate only healthy stock.
Saving seed
To collect seed, leave selected heads to flower and mature fully, then dry and clean the seed before labeled storage. Seed-grown offspring may differ from a named parent or hybrid. For a predictable crop, buying known seed or maintaining a suitable cultivar by vegetative propagation is usually easier to plan.