Are you looking for a safe and stylish way to finish the ends of your composite decking? Look no further! In this article, we will guide you through various methods to ensure a polished and secure end result.
By following these steps, you can enhance the overall appearance of your deck while also prioritizing safety.
Trim the ends with fascia boards, install end caps, or create a picture frame border to give your deck a seamless and professional look.
Consider using bullnose edging for a rounded finish or sanding and smoothing the ends for a sleek appearance.
Deck tiles or pavers can be installed to add a unique touch, and decorative trim can elevate the aesthetics of your deck.
If you’re unsure about any step, don’t hesitate to consult a professional for expert advice.
Get ready to transform your composite decking ends into a beautiful and secure space!
Quick Summary
- Fascia boards are used to trim the ends of composite decking for a polished look and to cover rough edges and exposed ends for safety.
- Corner molding is used for seamless transitions between the deck surface and fascia boards.
- PVC or aluminum can be used for fascia boards, providing durability and a polished appearance.
- Adhesive or screws can be used to install matching end caps, creating a seamless finish and enhancing the appearance of the deck.
Trim the Ends with Fascia Boards
Trimming the ends of composite decking with fascia boards is a quick and stylish way to give your deck a polished and finished look. Not only does it add aesthetic appeal, but it also provides safety by covering any rough edges or exposed ends that could potentially cause injury.
By using corner molding, you can create seamless transitions between the deck surface and the fascia boards, ensuring a professional and clean finish.
When selecting fascia boards for trimming the ends, you have a variety of options. While composite decking manufacturers often offer matching fascia boards, you can also consider alternative materials such as PVC or aluminum. These materials are durable, resistant to rot and insect damage, and can provide a different aesthetic to complement your deck’s design.
To trim the ends with fascia boards, start by measuring the length needed for each board. Cut the boards to size using a saw, ensuring straight and accurate cuts. Attach the fascia boards to the ends of the composite decking using screws or nails, making sure to secure them firmly in place.
Finally, use corner molding to create a seamless transition at the corners, adding a professional touch to the overall appearance of your deck.
Trimming the ends of composite decking with fascia boards not only enhances the look of your deck but also ensures safety by covering any exposed edges. By using corner molding and considering alternative materials, you can achieve a stylish and polished finish that will impress your guests and provide peace of mind.
Install End Caps
When installing end caps on your composite decking, it’s important to choose ones that match the color of your decking to ensure a seamless finish. To secure the end caps in place, you can either use adhesive or screws, depending on your preference and the manufacturer’s recommendations.
By following these steps, you can achieve a professional and polished look for the ends of your composite decking.
Choose end caps that match your decking color
To really make your composite decking look polished and seamless, don’t forget to snag some end caps that perfectly complement the color of your deck. Choosing end caps that match your decking color is essential for a cohesive and aesthetically pleasing finish.
Here are a couple of options to consider when selecting end caps:
-
Match the end caps with the color of your deck boards, creating a seamless transition from the board to the end cap. This’ll give your deck a clean and finished look.
-
Alternatively, you can choose end caps that contrast with the color of your deck boards, creating a visually striking effect. This can add a touch of elegance and sophistication to your deck.
By carefully selecting end caps that match or contrast with your decking color, you can enhance the overall appearance of your deck while also ensuring its safety and longevity. Remember, proper decking maintenance is crucial for maintaining a safe and beautiful outdoor space.
Secure the end caps with adhesive or screws
Ensure a secure and polished look for your deck by using adhesive or screws to fasten the end caps in place. When installing end caps on your composite decking, it’s crucial to choose a reliable method of securing them.
Adhesive and screws are both effective options that’ll provide the stability and durability necessary for a long-lasting deck. Adhesive is a popular choice as it creates a strong bond between the end cap and the deck, ensuring it stays in place even under heavy foot traffic.
Alternatively, screws can be used to secure the end caps, providing an extra level of security. Whichever method you choose, make sure to follow the manufacturer’s instructions and use the appropriate tools for the job.
By properly installing end caps, you can achieve a professional and finished appearance for your composite decking.
Create a Picture Frame Border
To create a picture frame border for your composite decking, you’ll use deck boards to outline the perimeter. This will give your deck a polished and finished look. Cut the boards at a 45-degree angle to achieve a seamless and professional appearance.
By following these steps, you can easily enhance the visual appeal of your deck.
Use deck boards to create a border around the perimeter
Using deck boards to create a border around the perimeter really enhances the finished look of composite decking. It not only adds a stylish touch to your deck but also provides a practical solution for finishing the edges.
Here are three reasons why using deck boards for a decking border is a great choice:
-
Safety: A border made of deck boards helps prevent anyone from accidentally stepping off the edge of the deck, reducing the risk of tripping or falling.
-
Durability: Composite deck boards are designed to withstand the elements, making them a reliable choice for creating a long-lasting border that’ll hold up well over time.
-
Easy Installation: Deck boards are easy to work with and can be installed using standard deck screws. They can be cut to size and easily fit into place, making the installation process quick and hassle-free.
By using deck boards to create a border around the perimeter of your composite decking, you not only enhance the overall appearance but also ensure the safety of your deck.
Cut the boards at a 45-degree angle for a seamless look
For a polished and seamless finish, try cutting the boards at a 45-degree angle when creating a border around your deck perimeter using deck boards. This technique not only adds visual appeal to your deck, but it also helps to hide the fasteners used to secure the boards in place. By making angled cuts, you can create a clean and professional look that will impress your guests and make your deck stand out. Additionally, using hidden fasteners ensures that there are no visible screws or nails that could pose a safety hazard. These hidden fasteners also help to maintain the integrity of your composite decking by reducing the risk of water damage and rot. So, take the extra time to make those angled cuts and use hidden fasteners for a truly polished and safe finish.
| Angle Cuts | Hidden Fasteners | Safety |
|---|---|---|
| Creates a polished look | Hides screws and nails | Ensures safety |
| Adds visual appeal | Maintains decking integrity | Reduces risk of water damage |
| Professional and seamless finish | Prevents rot | Enhances safety precautions |
Use Bullnose Edging
To create a polished and professional look for your composite decking, you can use bullnose edging. This type of edging is designed to round off the edges, giving them a smooth and finished appearance.
To secure the edging, you can use either screws or adhesive, ensuring that it stays in place for years to come.
Install bullnose edging to round off the edges
Make your composite decking stand out with a sleek and polished finish by installing bullnose edging to round off those edges. This not only adds a touch of elegance to your deck, but it also provides safety by preventing any sharp corners or edges that could potentially cause accidents.
When it comes to installing curved edging, bullnose is a popular choice due to its smooth and rounded profile. It seamlessly blends with the rest of the decking, giving it a cohesive and finished look. While there are alternative edging options available, bullnose edging is often preferred for its durability and ability to withstand the elements.
So, take the necessary steps to ensure a safe and stylish deck by installing bullnose edging to round off the edges of your composite decking.
Secure the edging with screws or adhesive
Achieve a secure and polished look for your deck by elegantly fastening the edging with screws or adhesive. When it comes to securing the edging, you have the option to use screws or adhesive. Both methods have their pros and cons.
Using screws provides a strong and durable hold, ensuring that the edging stays in place even under heavy foot traffic. However, it requires drilling and can be time-consuming. On the other hand, adhesive offers a quick and easy installation process. It creates a seamless finish and eliminates the need for drilling. However, it may not be as strong as screws and could potentially come loose over time.
If you prefer alternative methods of securing the edging, you can consider using hidden fasteners or clips. These options provide a clean and sleek appearance, as they are not visible on the surface of the deck. However, they may require additional tools and expertise for installation.
Take into consideration the specific needs of your deck and choose the method that best suits your preferences and desired level of security.
| Method | Pros | Cons |
|---|---|---|
| Screws | Strong hold | Time-consuming |
| Adhesive | Quick | Less durable |
| Hidden fasteners/clips | Clean appearance | Additional tools required |
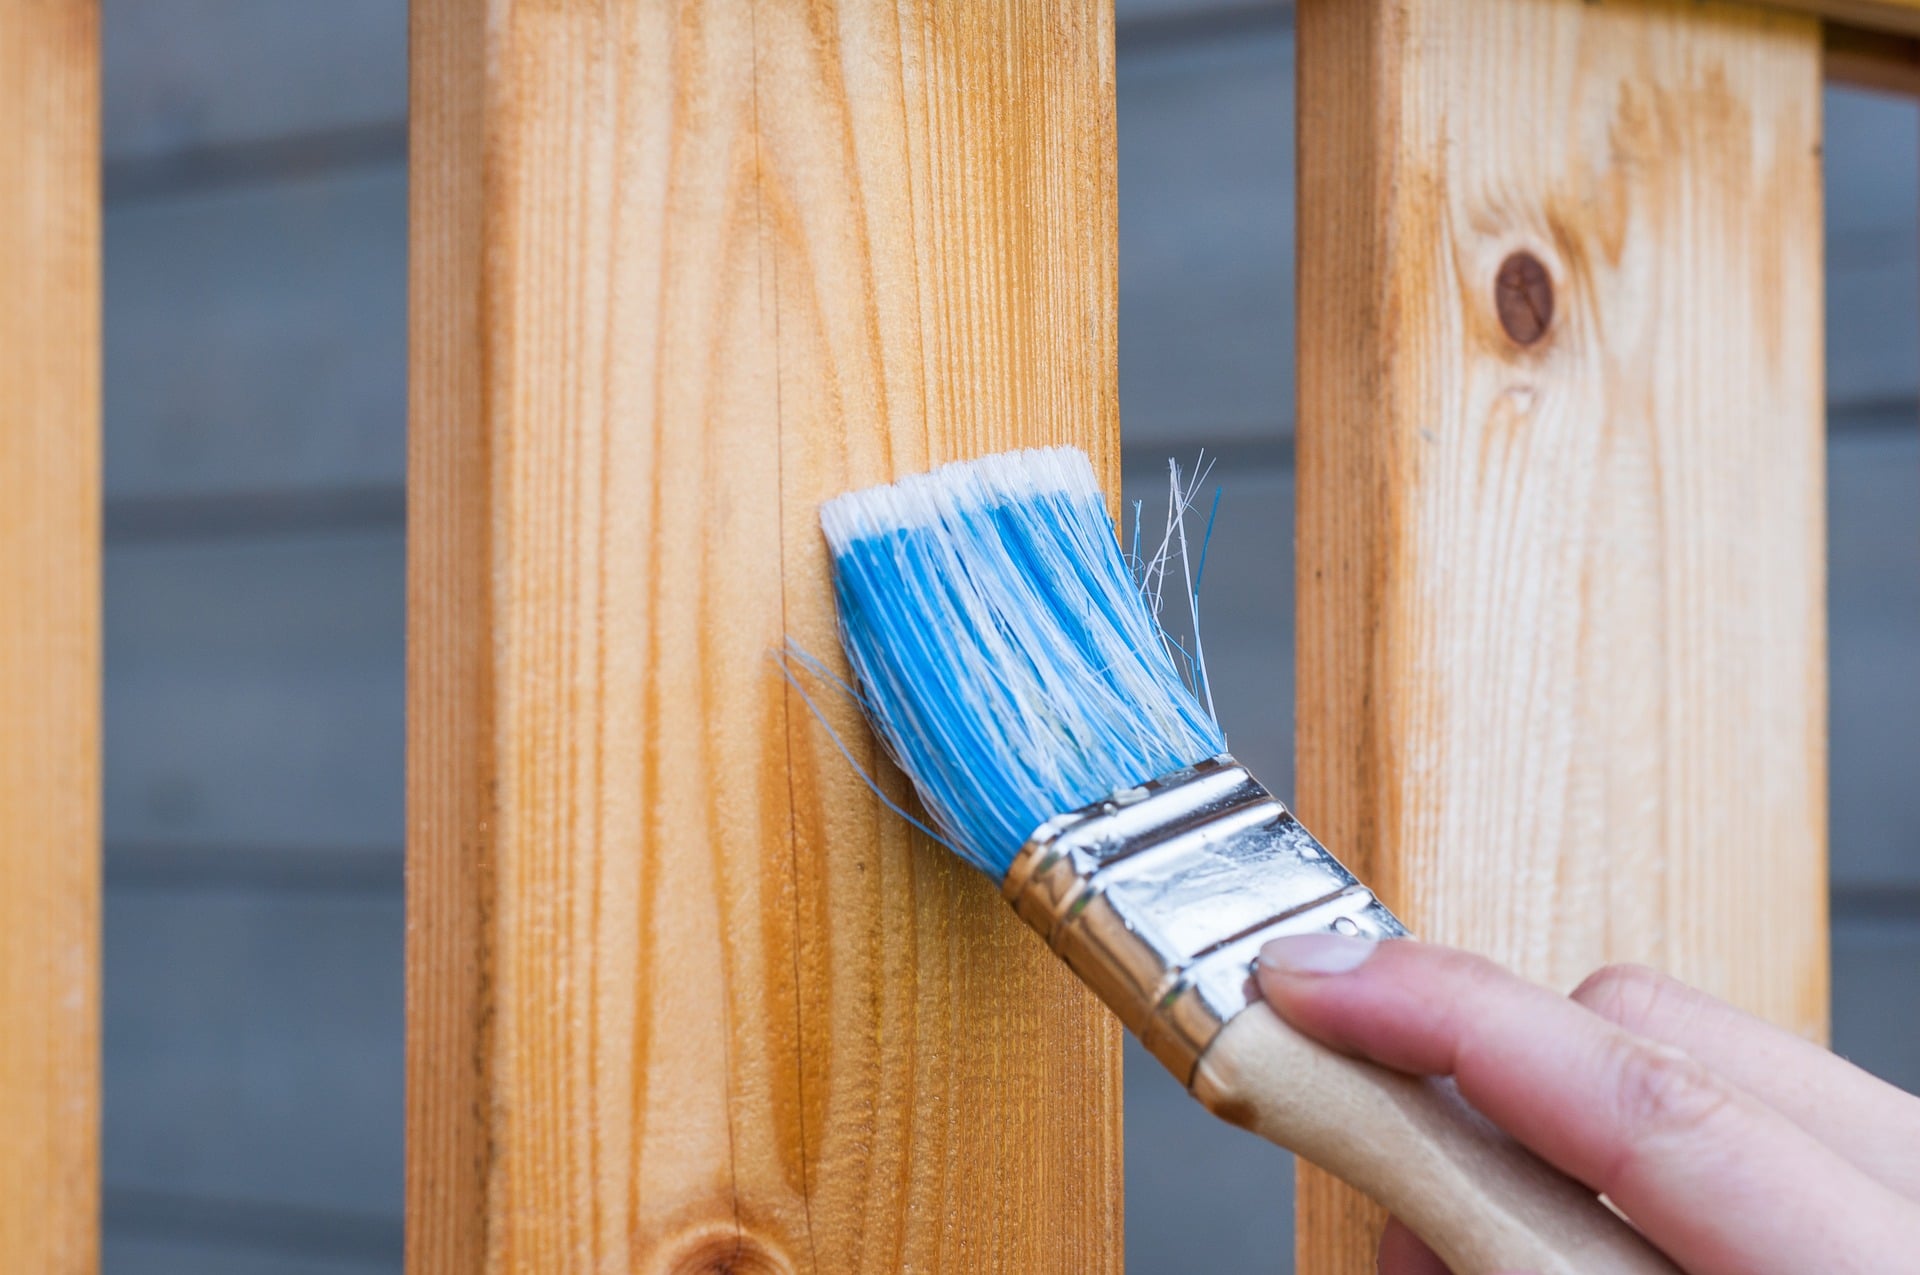
Sand and Smooth the Ends
Smooth and sand the ends of your composite decking to create a polished and professional finish. By following this important step, you not only enhance the overall appearance of your deck, but you also ensure safety for you and your family.
When sanding the ends, it’s crucial to use the right sanding technique to achieve the desired results. Start by using a medium-grit sandpaper and gently sand the edges in a circular motion. This’ll help remove any rough edges or splinters that may cause harm.
After sanding, make sure to thoroughly clean the area to remove any dust or debris.
Alternatively, you can also consider using alternative finishes to further protect and enhance the ends of your composite decking. One option is to apply a clear sealant or protective coating to prevent moisture penetration and potential rotting. Another option is to use a matching color wax or filler, which can help fill in any gaps or imperfections and create a seamless finish.
Whichever finish you choose, make sure to carefully follow the manufacturer’s instructions for proper application.
Smoothing and sanding the ends of your composite decking is an essential step in creating a safe and aesthetically pleasing deck. By using the right sanding technique and considering alternative finishes, you can achieve a polished and professional look that’ll last for years to come.
Install Deck Tiles or Pavers
Now that you’ve sanded and smoothed the ends of your composite decking, it’s time to take the next step in finishing them off. One option you have is to install deck tiles or pavers.
This not only adds a polished look to your deck but also provides a safer surface for you and your family to enjoy.
Deck tiles are a great choice for those who want a quick and easy installation process. Simply place the tiles over the ends of your decking and secure them in place. These tiles come in a variety of materials and designs, allowing you to choose the one that best suits your style.
Pavers, on the other hand, offer a more permanent solution. By installing pavers on the ends of your composite decking, you create a sturdy and durable surface that will last for years to come. Pavers can be made from concrete, stone, or even rubber, providing you with plenty of options to choose from.
By incorporating deck tiles or pavers into your composite decking, you not only enhance the overall appearance of your deck but also improve its safety. So why wait? Start your deck tile or paver installation today and enjoy a finished deck that’s both stylish and secure.
Add Decorative Trim
To enhance the visual appeal of your deck, why not add decorative trim that adds a touch of elegance and sophistication to your outdoor space? One option to consider is installing a decorative railing around the perimeter of your composite decking. This not only provides a beautiful finishing touch, but also adds an extra layer of safety to your deck.
When it comes to decorative railings, there are a variety of options available. You can choose from different materials such as wood, metal, or even alternative materials like vinyl or composite. Each material has its own unique look and durability, so be sure to choose one that suits your personal style and preferences.
To help you make an informed decision, here is a table showcasing some popular decorative railing materials:
| Material | Pros | Cons |
|---|---|---|
| Wood | Classic and natural look | Requires regular maintenance |
| Metal | Sleek and modern appearance | Can be expensive |
| Vinyl | Low maintenance and durable | Limited color options |
| Composite | Resistant to rot and insects | Can be more costly upfront |
By adding decorative trim, such as a stylish railing, to your composite decking, you can create a beautiful and safe outdoor space that you can enjoy for years to come. Remember to choose the material that best suits your needs and always prioritize safety when making any additions to your deck.
Consult a Professional
If you want to take your deck to the next level, it’s time to consult a professional who can help you bring your vision to life. Hiring a contractor is a great way to ensure that the ends of your composite decking are finished properly and safely. A professional will have the knowledge and experience to recommend the best methods and materials for your specific project. They can also provide guidance on how to achieve a polished and seamless look for your deck.
When it comes to finishing the ends of composite decking, there may be some DIY options available. However, it is important to investigate these options thoroughly to ensure that they meet safety standards and will provide a long-lasting result. While DIY projects can be fun and cost-effective, they may not always be the best choice for critical aspects of your deck, such as the finishing touches.
By consulting a professional, you can have peace of mind knowing that your deck will be expertly finished and safe for use. They can offer valuable advice and recommendations based on their expertise, ultimately helping you achieve the deck of your dreams. So, don’t hesitate to reach out to a professional contractor and take your deck to the next level.
Frequently Asked Questions
What are the benefits of using fascia boards to trim the ends of composite decking?
Using fascia boards to trim the ends of composite decking offers several benefits. They provide a finished look, hide the ends, and protect against moisture. Additionally, using hidden fasteners ensures a safer and smoother surface, eliminating the risk of tripping. Alternatives to fascia boards may not provide these benefits.
Can end caps be used on all types of composite decking?
End caps can be used on most types of composite decking for a safe and secure finish. However, if end caps are not available, there are alternative options such as using a saw to trim the ends neatly.
How do I create a picture frame border on my composite decking?
To create a seamless transition and add a touch of style to your composite decking, you can create a picture frame border. By using contrasting colors, you can enhance the aesthetic appeal of your deck while ensuring safety.
What is bullnose edging and how does it enhance the appearance of composite decking ends?
Bullnose edging is a safe and attractive alternative to enhance the appearance of composite decking ends. It provides a smooth, rounded edge that not only looks great, but also reduces the risk of accidents and injuries.
Is sanding and smoothing the ends of composite decking necessary for a professional finish?
Sanding and finishing the ends of composite decking is not necessary for a professional finish. There are alternative methods, such as using end caps or trim pieces, that can provide a polished look without the safety risks of sanding.
Conclusion
So there you have it! With these various methods, you can easily finish the ends of your composite decking to create a polished and professional look. Whether you choose to trim the ends with fascia boards, install end caps, create a picture frame border, use bullnose edging, sand and smooth the ends, install deck tiles or pavers, add decorative trim, or consult a professional, you have plenty of options to choose from.
So go ahead and give your composite decking the finishing touch it deserves!