Stain a wood deck only after confirming that the boards are sound, the surface is prepared, and the weather fits the specific product. Cleaning, drying time, coat count and cure time vary between finishes. The label for your stain takes priority over a generic calendar or temperature range.
1. Inspect the deck and choose a compatible finish
Remove furniture and check boards, fasteners, steps and railings. Repair damaged wood and investigate soft spots or movement before covering them with stain. Structural problems need repair rather than a cosmetic coating.
Identify any existing paint, stain or sealer. A new penetrating stain may not work over a film-forming coating. Read the new product’s preparation instructions to determine whether cleaning, stripping or another approach is required. Test a small area for appearance and absorption before treating the whole deck.
Confirm that the coating is approved for your decking material. Ordinary wood stain is not automatically suitable for composite or PVC boards. If an older painted surface may contain lead, obtain appropriate advice before sanding or scraping it.
2. Clean with a suitable product
Sweep away debris, including material trapped between boards. Use a cleaner intended for the surface and follow its dilution, application, protective-equipment and rinsing instructions. Protect nearby plants and other surfaces as the label directs, and manage runoff accordingly.
Do not mix bleach with laundry detergent or other cleaners. A homemade mixture can be hazardous or damage the surface. The CDC’s bleach guidance warns against mixing bleach with other cleaners or disinfectants.
If pressure washing is permitted for the material, use the equipment and decking manufacturer’s directions. Excessive pressure or an unsuitable tip can gouge wood. A cleaner surface does not justify damaging the boards.
3. Let the wood dry and finish preparation
Rinsing leaves moisture in the wood. Allow it to dry to the stain manufacturer’s requirements; two days is not a universal rule. Shade, humidity, rainfall and wood condition all affect drying. Use a moisture measurement if the product specifies one.
Address rough fibers or splinters using the preparation method and abrasive grade the finish manufacturer recommends. Remove dust before coating. Do not sand a suspect old painted finish until its hazards have been assessed.
Check the forecast for the entire application and initial drying period. Follow the product’s air and surface temperature limits, rain-free interval and instructions about direct sun. Spring is not automatically better than another season.
4. Apply the specified amount
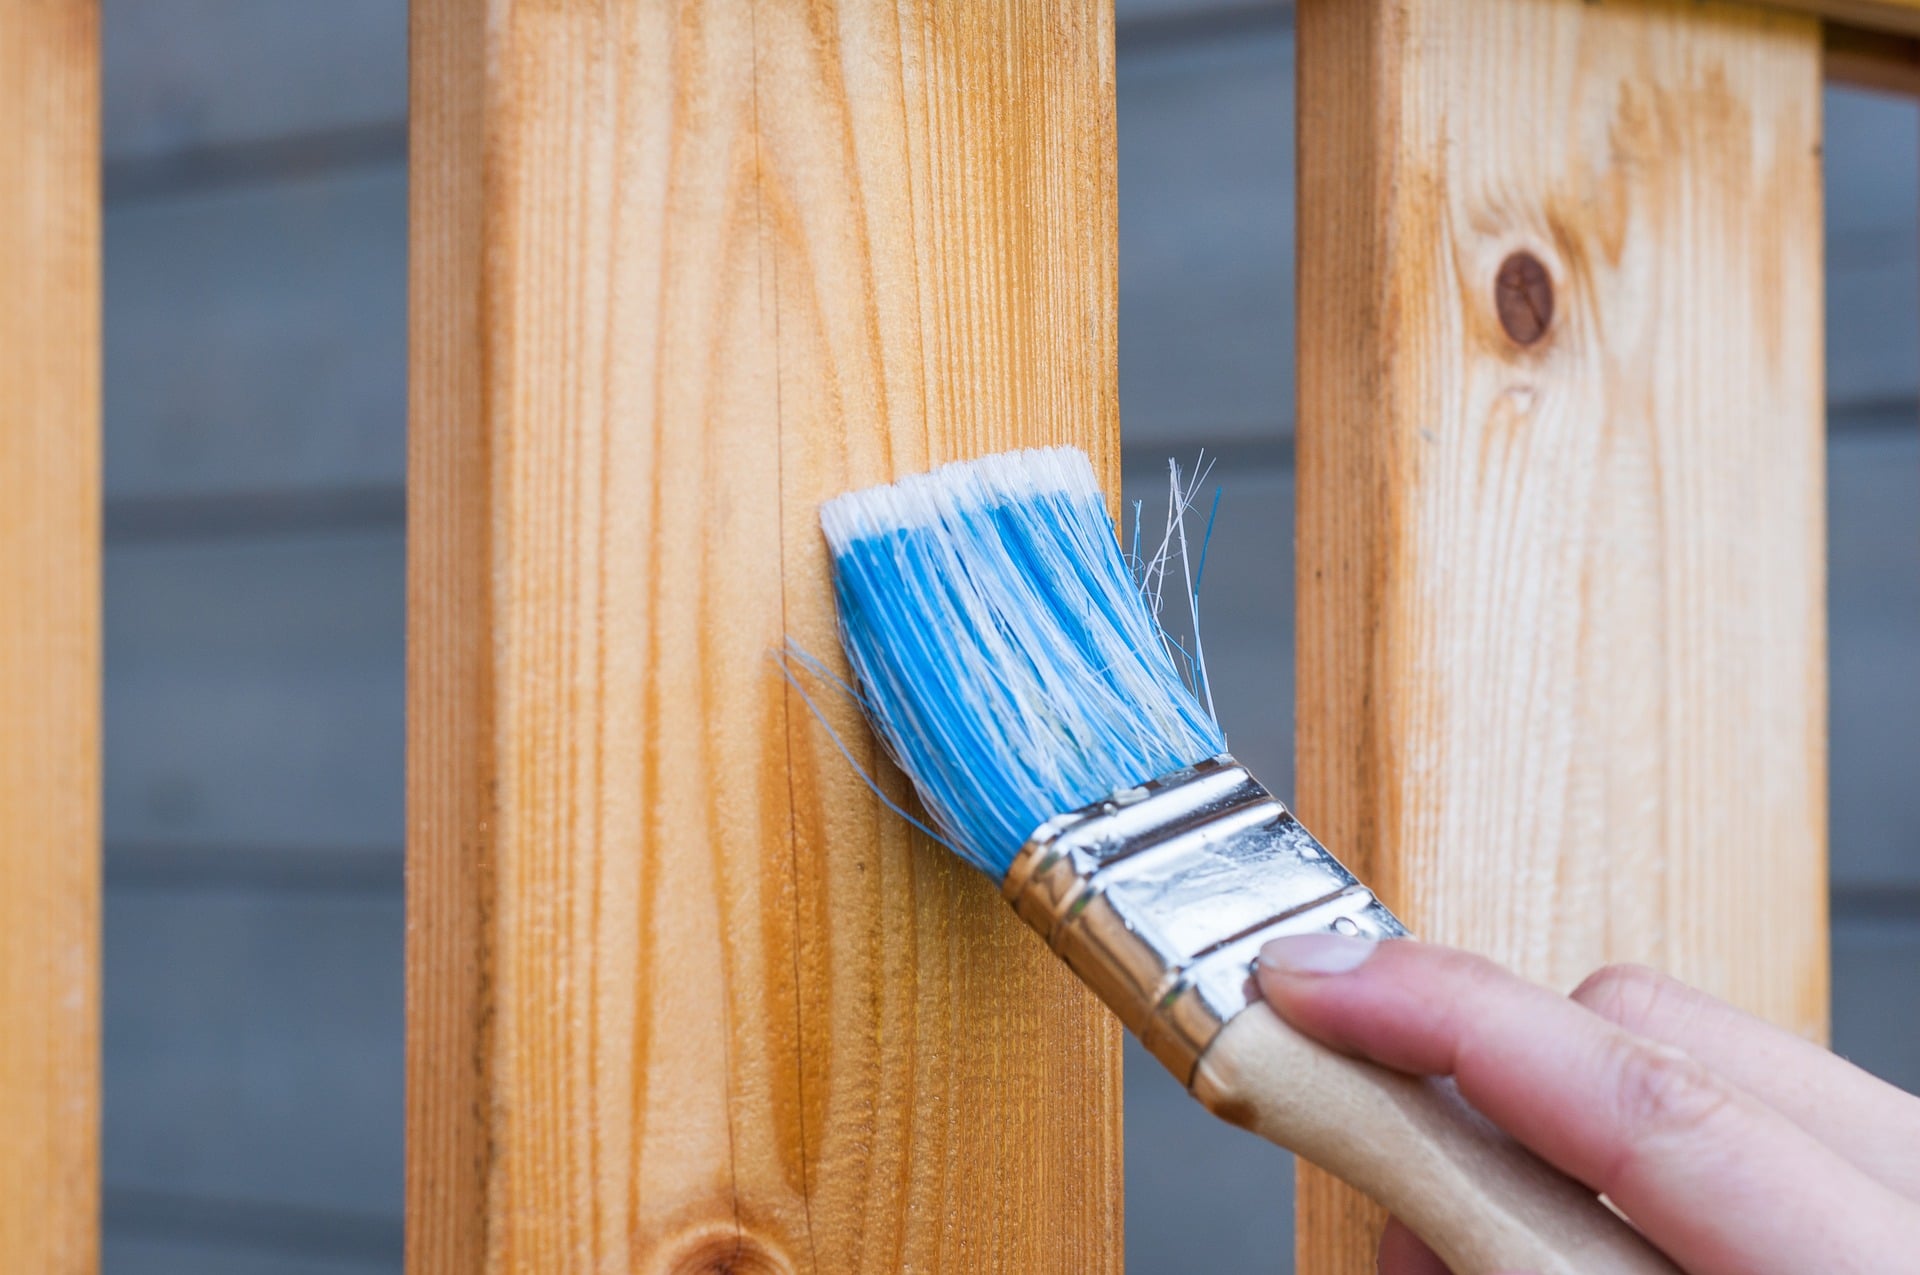
Stir and apply as directed, using a suitable brush, pad or roller. Work in manageable sections and maintain a wet edge where instructed. Plan your route so you can finish without walking across fresh coating.
Apply the number of coats and coverage rate on the label. Some products call for one coat; others require a second coat within a particular window. More stain is not necessarily more protection: avoid puddles and heavy buildup.
Behr’s deck-staining instructions illustrate why preparation, applicator choice and recoating directions must be matched to the selected finish rather than generalized to every stain.
5. Allow curing and clean up safely
Keep people, pets and furniture off the deck for the specified periods. Dry to the touch is not the same as ready for foot traffic or fully cured. Cool or humid conditions can extend the wait.
Clean tools using the method on the label. Follow the product’s instructions for used rags and waste, especially oil-containing materials that can self-heat; do not leave them crumpled in a pile or ordinary waste bin. Use local disposal guidance for leftover coating and contaminated materials.
Record the product, color and application date. Inspect the deck periodically so the next maintenance decision is based on wear and condition rather than automatically adding another coat every year.