Drying dill is a simple and effective way to preserve its flavors so you can enjoy the aromatic herb year-round. Whether you want to dry dill for culinary purposes or to save it for future use, there are several methods you can try. In this article, we will explore different drying methods for dill and provide you with easy steps to follow.
By drying dill, you can extend its shelf life and ensure that its distinct taste and aroma are not lost. This is especially useful when you have an abundant supply of fresh dill and want to enjoy its flavors long after the growing season.
In this article, we will cover four different drying methods for dill: air drying, dehydrating with a food dehydrator, oven-drying, and drying in the microwave. Each method has its own advantages and considerations, so you can choose the one that fits your needs and resources best.
Before we dive into the specific drying methods, it’s important to prepare the dill properly. Start by removing any brown or yellow leaves, as these may affect the flavor and quality of the dried dill. Then, give the dill a gentle rinse in cool water to remove any dirt or debris that may be on the leaves.
Now that you’re ready to dry dill, let’s explore each method in detail so you can choose the one that suits you best.
Air Drying Dill
Air drying is the simplest and most natural method to dry dill. By utilizing this method, you can preserve the delightful flavors of dill for several months to come. The benefits of air drying dill include minimal equipment requirements, cost-effectiveness, and the retention of its distinct flavor.
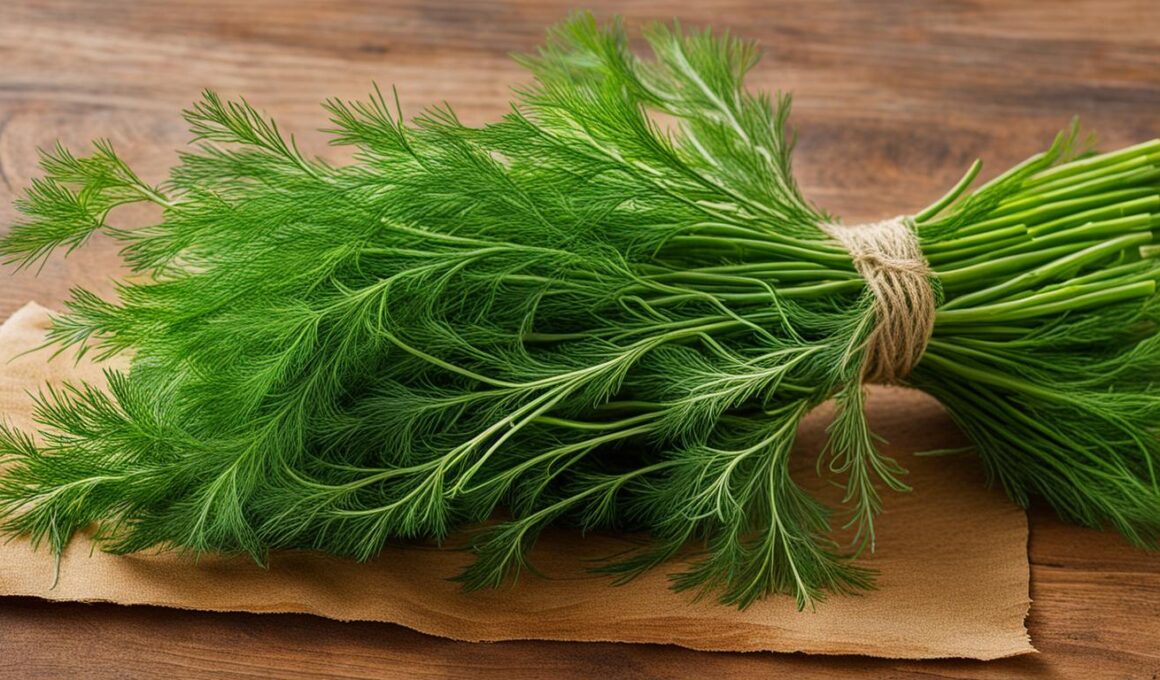
To air dry dill, start by gathering fresh dill bundles. Ensure the dill is clean by thoroughly rinsing it with cool water and gently patting it dry. Next, tie the dill into small bundles using a string, making sure to secure them tightly. Once bundled, hang the dill upside down in a dry and well-ventilated area, such as a pantry or an open space in your kitchen.
Air drying dill typically requires approximately two weeks to fully dry, but the result is well worth the wait. The drying process removes moisture from the dill while preserving its distinctive aroma and flavor qualities. Once dry, carefully remove the dried leaves from the stems and store them in an airtight container, preferably in a cool and dark place.
While air drying dill is a straightforward process, there are a few considerations to keep in mind. High humidity levels can increase the risk of mold and mildew formation during the drying process. To minimize this risk, ensure the drying area is well-ventilated and free of excess moisture. Additionally, it’s essential to regularly inspect the dill during the drying period to remove any leaves that may have discolored or developed mold.
Through the process of air drying, you can easily and affordably preserve dill’s unique flavors to enhance your culinary creations long after its harvest season.
Dehydrating Dill with a Food Dehydrator
Dehydrating dill with a food dehydrator is a popular method for quickly and efficiently drying dill leaves. By using a food dehydrator, you can preserve the flavor and aroma of dill while also extending its shelf life. Here’s how you can effectively dehydrate dill using a food dehydrator:
- Start by washing the dill leaves and patting them dry with a paper towel. This step ensures that any dirt or impurities are removed before drying.
- Next, take a sharp knife and cut the dill into smaller, manageable pieces. This allows for faster and more even drying.
- Prepare the food dehydrator trays by placing a single layer of dill leaves on each tray. Avoid overcrowding the trays to ensure proper airflow.
- Set the food dehydrator to a low temperature, typically between 95-100°F. This gentle heat will slowly and evenly dry the dill leaves without causing them to lose their essential oils.
- Allow the food dehydrator to run for approximately 4-6 hours, or until the dill leaves are completely dried and brittle to the touch.
- Once the dill leaves are adequately dehydrated, remove them from the trays and let them cool completely.
- Store the dried dill leaves in an airtight container to maintain their freshness and flavor. They can be stored for up to a year.
Using a food dehydrator to dry dill offers several benefits. Firstly, it is a quick method that allows you to preserve dill without waiting for weeks as with air-drying. Additionally, dehydrating dill with a food dehydrator helps retain its natural flavors and aromas, ensuring that you enjoy the full essence of dill in your culinary creations. Lastly, using a food dehydrator extends the shelf life of dried dill, allowing you to have a readily available supply for future use.
While food dehydrators offer numerous advantages, it’s essential to consider their cost and space requirements. Food dehydrators can be an investment, and they take up counter space in your kitchen. However, if you frequently dry herbs like dill or enjoy experimenting with various dehydrated foods, a food dehydrator can be a worthwhile addition to your culinary arsenal.
Now that you know how to dehydrate dill using a food dehydrator, you can easily preserve this flavorful herb for a myriad of recipes. Whether you’re making homemade pickles, seasoning blends, or herbal tea mixes, having dried dill on hand will add a burst of flavor and freshness to your dishes. Enjoy the convenience and benefits of using a food dehydrator to dry dill!
Oven-Drying and Microwave Drying
When it comes to drying dill, there are two additional methods you can consider: oven-drying and microwave drying. Both methods offer their own advantages and disadvantages, so let’s take a closer look.
Oven-Drying Dill
Oven-drying involves spreading the dill on a baking sheet and placing it in a preheated oven at its lowest setting. The gentle heat gradually removes the moisture from the dill, resulting in dried leaves that can be stored for later use.
Pros of Oven-Drying Dill:
- Quick drying time of 1-2 hours
- Relatively straightforward process
Cons of Oven-Drying Dill:
- May cause some loss of flavor and nutrients
Microwave Drying Dill
If you’re short on time, microwave drying can be a convenient option. Simply place the dill on a microwave-safe plate and cook it in short bursts until it’s completely dry.
Pros of Microwave Drying Dill:
- Quick drying time, usually within minutes
Cons of Microwave Drying Dill:
- Potential for uneven drying and loss of essential oils
- Requires close attention to prevent burning or overcooking
Whether you choose oven-drying or microwave drying, it’s important to monitor the process closely to avoid any unwanted results. The ultimate goal is to retain the flavors and nutrients of the dill so that you can enjoy its wonderful taste in your favorite recipes.
Can Drying Dill at Home Affect My Cat’s Safety?
Yes, drying dill at home can affect your cat’s safety. While dill is not toxic to cats, other herbs like lilacs can be harmful. It’s essential to keep all potentially toxic plants out of reach and ensure proper ventilation when drying herbs indoors to protect your cat’s safety.
Conclusion
In conclusion, drying dill is a practical and efficient method to preserve its flavors for long-term use. Whether you choose to air dry, use a food dehydrator, oven-dry, or microwave dry, each method has its own advantages and considerations.
Air drying dill is the simplest and most cost-effective method, although it may take up to two weeks. Dehydrating dill with a food dehydrator is a faster option, preserving the flavor and allowing for longer storage. Oven-drying and microwave drying are quicker methods, but they may result in some loss of flavor and essential oils.
To ensure the best results, it is important to follow the proper steps for each method and store the dried dill in an airtight container. Consider factors such as time, equipment availability, and desired storage duration when selecting a drying method for dill. By doing so, you can enjoy the delightful flavors of dill all year round.