A splash pad can bring hours of fun to both kids and adults. But it can soon get expensive if you have to drive a distance to get to a local park that has a splash pad. A homemade splash pad in your own backyard is an excellent option.
Today I am going to discuss what a splash pad is, the materials you will need to make your own, the average cost, how to make your own, creative splash pad designs, and why a splash pad kit can be helpful. I hope this article will inspire you to build your own splash pad. So let’s get started.
What Is a Splash Pad?
A splash pad is an outdoor play area with sprinklers, fountains, nozzles, and other devices or structures that spray water. It is usually placed on a cement slab, but some DIY splash pads can be made using a tarp. A splash pad is basically like a mini-water park.
Materials Needed
Here are the materials you will need to build your own backyard splash pad. Remember that you can make adjustments if you need to, such as using a tarp rather than cement.
- 3/4 inch PVC pipe coupling
- 3/4 inch 90 degree PVC pipe elbow
- PVC Slip Tee, 3/4-Inch
- 3/4-Inch PVC FIP Ball Valve
- Neon spigots
- Cement mix
- Kiddie pool
- Baby slide (optional)
Average Cost
The cost will vary depending on what you buy and if you hire someone to help you build it. Additionally, if you buy a splash pad kit, the price may go up. If you will be making your own, the supplies you will need shouldn’t cost any more than $100. However, if you wish to place the splash pad on cement and have to hire someone to pour the cement, you will need to budget an additional amount of money.
How to Build a Splash Pad
Now it is time to learn how to build a backyard splash pad. There are many ways to build a splash pad. You can pour and use a cement pad, which is the type of splash pad I will be going over today, or you may wish to make a splash pad using a tarp.
Some people have even made their backyard splash pad on a hill so that it is like a water slide too. Remember to let your imagination run wild. There are many creative ideas you can try.
Later in this article, I will share with you some of those creative DIY splash pad ideas. But for now, it is time to learn the steps necessary to make your own concrete splash pad.
Step 1:
The first step to make your own DIY splash pad is to pour the cement in your desired area. If you already have a cement slab, you are ready for the next step. It doesn’t have to be an exact cement slab square. You can even use your driveway. Or you may use a tarp instead of cement and skip this step completely. But if you don’t have a cement slab, you will need to make one. Here are the steps to pouring the cement:
- Clear out the area. Make sure the area where you will pour the cement is free of rocks, grass, shrubs, and weeds. Clear out everything until only the soil is exposed.
- Prepare your sub-base. The sub-base is any material that the cement will rest on. Small rocks will make a good sub-base. Sometimes the soil itself is used, but this is rare. The soil would need to be very compact in order for you to use it as the sub-base.
- Begin mixing the cement. Begin mixing the cement by following the instructions that came with the cement.
- Pour the cement. Once you have mixed the cement, pour it onto the prepared area. Using a screed (2’ x 4’ wood), smooth the cement. Allow the cement to dry.
Step 2:
This next step is relatively easy. Connect the PVC pipes and make adjustments along the way. For example, perhaps you want the hose to attach at the corner instead of in the middle. Just make minor adjustments that will make your DIY splash pad suited to you.
Also, it is your choice for where you want the “sprinklers” to go. When you find a spot where you would like to add a sprinkler, you will connect the PVC pipes with a PVC slip tee, and then attach the neon spigot.
The nice thing about these sprinklers is that you can adjust the height just by pushing them up or down. Therefore, if it is squirting water too high, simply push the spigot down.


Step 3:
Technically, you can be done making your DIY splash pad after completing Step 2. But if you want to make your DIY splash pad extra fun, continue reading.
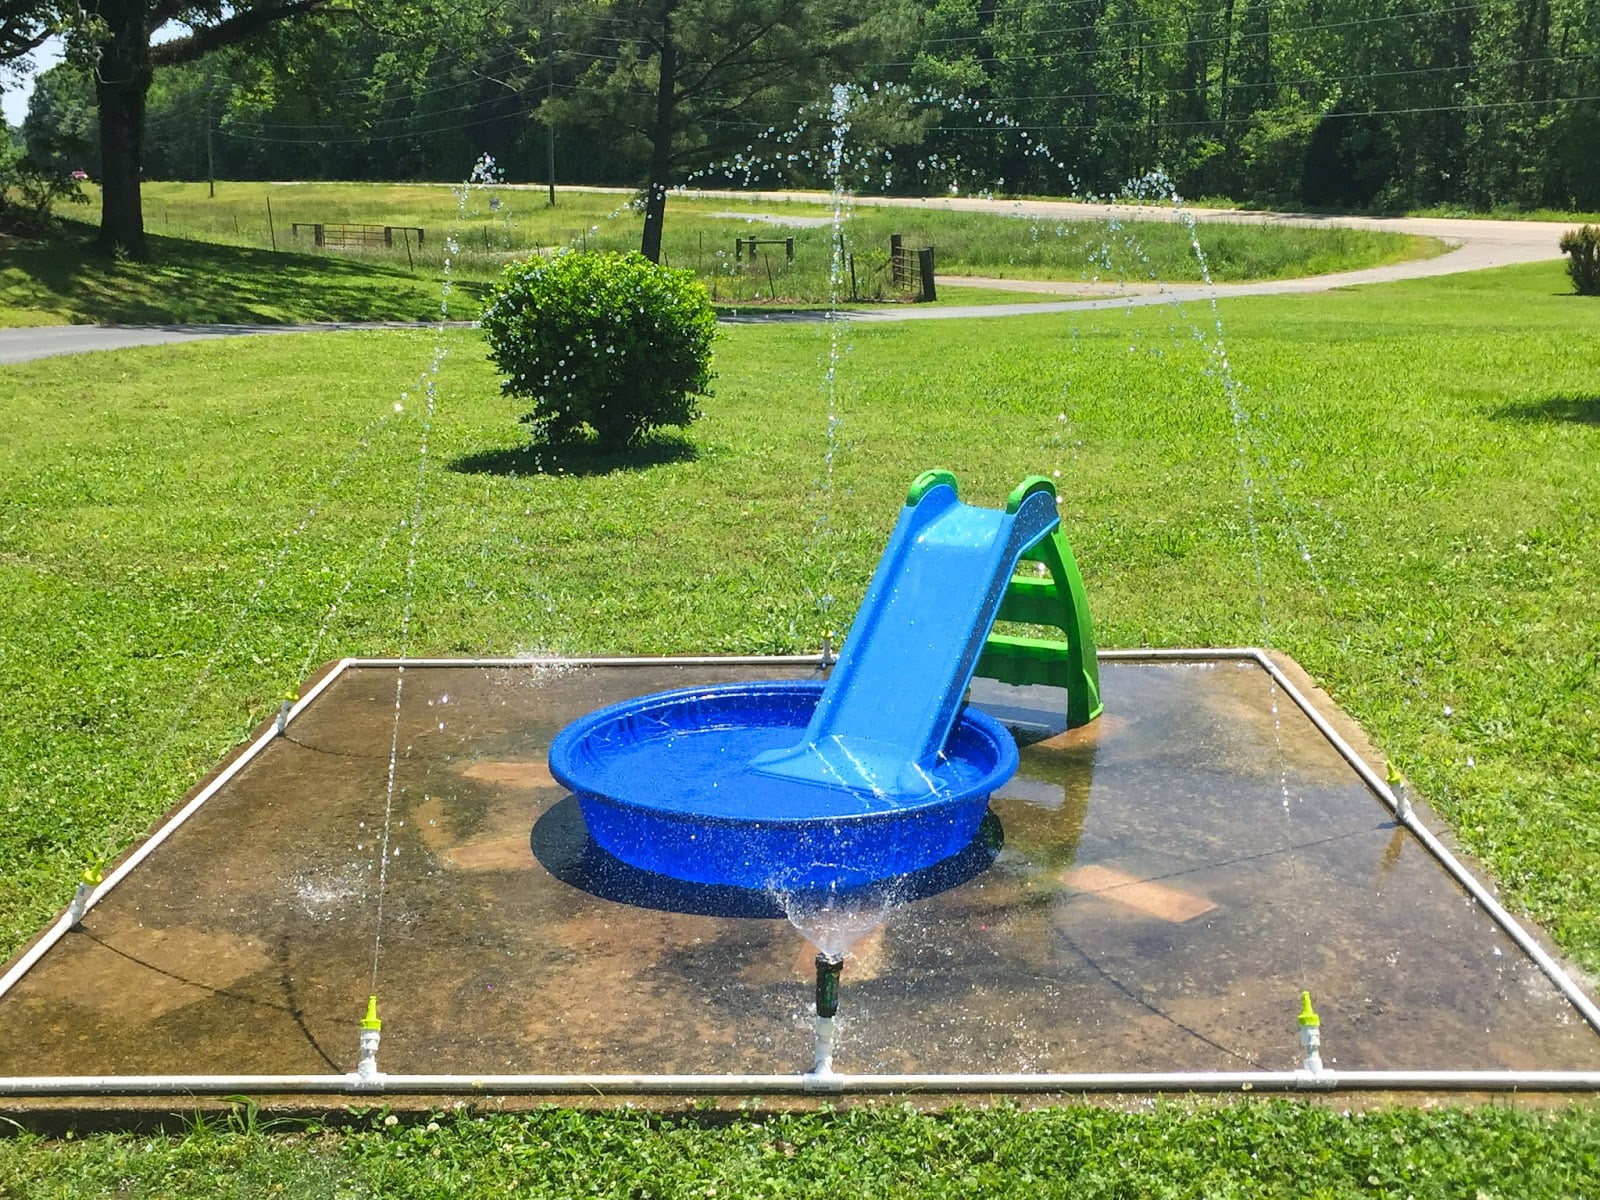
Take a kiddie pool and set it in the middle of the cement slab. Then, using a baby slide, set the end of the slide into the kiddie pool so that your child will slide into the water. This setup is more for young children.
If you have older children or if you want a backyard splash pad to play in (splash pads are for adults too!), you will want to replace the small kiddie pool and baby slide with a larger pool and a larger slide. Remember to keep the setup safe.
Remind your children that when they slide down the slide they cannot dive into the water. Also, make sure the slide is stable and won’t slide away due to the slippery water.
After completing this step, you are officially finished creating your DIY splash pad. Hours of fun are awaiting you and your kids, so go get started on building your backyard splash pad!

Image Source: Little White House Blog
DIY Splash Pad Ideas
There are many backyard splash pad designs and ideas. From a cement splash pad to a DIY splash pad with a tarp, the ideas are endless. In this section, I will share some DIY splash pad designs that may inspire you to make your own creative splash pad. Enjoy!
Stepping Stone Splash Pads
This is a great option for those who don’t have or want a cement slab. As you can see, each splash pad is similar to a stepping stone. Your children can have fun trying to jump onto each splash pad. You can make your own rules and games.
Ideas include that kids have to skip and step when they jump, or they can only jump onto the blue splash pads.

Image Source: Apartment Therapy
High Sprinkler
Get ready to get super soaked after playing in this splash pad. As you can see, the water shoots up in the air, causing a large amount of water to rain down onto the splash pad.
Another nice feature of the splash pad pictures is that it was placed in the middle of a green forest. Depending on where you live, you could make your splash pad in the same way.

Image Source: Apartment Therapy
Connect It to a Pool
Not only does this splash pad have several sprinklers spraying with water, but there is also a swimming pool connected to the splash pad. This allows some of your children to swim in the water while others play on the splash pad.
If you already have a pool, it is a fun idea to connect your splash pad to your pool. If you don’t have a pool, you could make one.

Image Source: Apartment Therapy
Tile Splash Pad
A tile splash pad is a great way to make your DIY splash pad unique and creative. The sprinklers do not spray out much water, but you can make adjustments if needed.

Image Source: Apartment Therapy
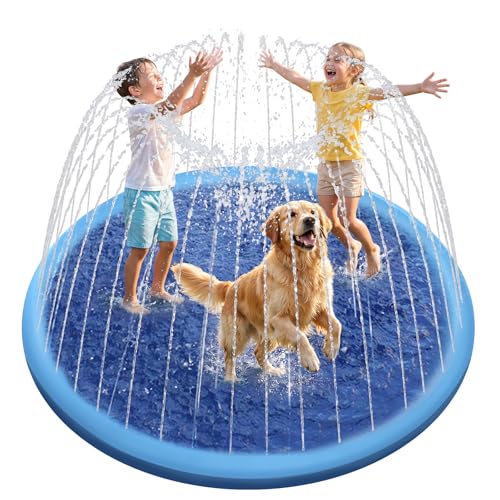
Portable Splash Zone
Are you looking for a portable splash zone? Look no further than “My Splash Pad,” a company that sells portable splash pads. Among their many products are portable animal shaped statues that squirt water, portable pads that spray water, and dog water park supplies.

Image Source: My Splash Pad
Should I Use Splash Pad Kits?
Do you feel that building a splash pad is too difficult for you to handle? No problem! That is why splash pad kits exist. While building a splash pad is not hard to do, a splash pad kit can make the job even easier for you.
A splash pad kit also called a splash pad installation kit, is used for both commercial splash pads (parks) and residential splash pads (home splash pads). There are many sites where can purchase splash pad kits. One such place is called www.diysplashpadkits.com.
Not only do they sell splash kits, but they also sell splash kit accessories and supplies. Another great place to buy DIY splash pad kits is online at Amazon. The Rain Deck Nozzle Splash Pad Kit is a perfect option for those who want a kit that contains all the tools needed.
Final Thoughts
I hope this article has helped you understand how to build a splash pad. In this article, I discussed what a splash pad is, the materials you will need to build your own, the estimated cost, how to build a splash pad, creative splash pad ideas, and what a splash pad kit is.
As you can see, splash pads are not hard to make. Some people have been able to complete their DIY splash pad in 40 minutes, while others took slightly longer.
If you feel like building a splash pad is too challenging, an alternative idea it to purchase a splash pad kit. Splash pad kits come with all the tools you will need and make building a splash pad much easier. Good luck and enjoy your new splash pad!
Last update on 2026-04-13 at 11:48 / Affiliate links / Images from Amazon Product Advertising API