Are you looking to transplant your daylilies to ensure robust growth and a flourishing garden? Knowing the best time for transplanting daylilies is key to their successful establishment in their new location. Whether you’re a seasoned gardener or a beginner, this article will provide you with valuable insights to help you make the most of this gardening task.
Transplanting daylilies is a common practice among gardeners, thanks to the plant’s hardy nature and its ability to increase in clump size each year. This growth pattern allows gardeners to divide the clumps and transplant them to other areas of their garden.
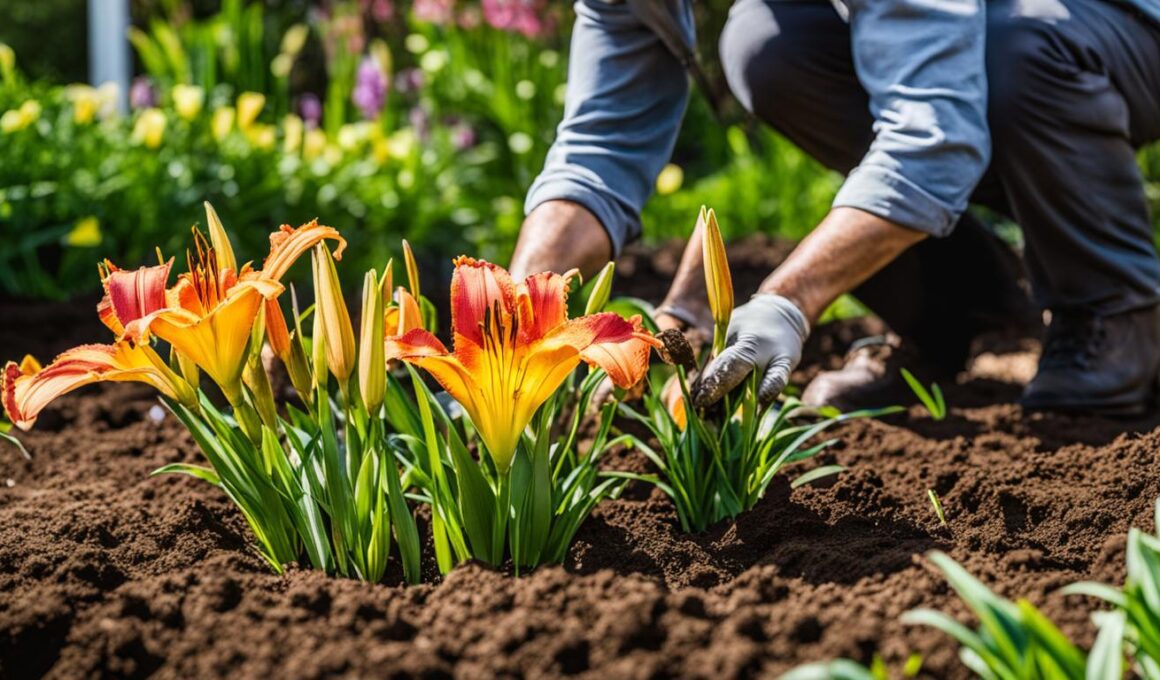
The ideal season for transplanting daylilies is in the spring when the shoots are just beginning to emerge. This time of year offers cooler temperatures and gentle spring rains, which are beneficial for newly divided and transplanted plants as they recover from the transplant shock. However, for gardeners in southern regions, the fall season can also be suitable, especially after the intense heatwaves of summer have subsided.
By transplanting daylilies at the right time, you give them the best chance to establish themselves and thrive in their new environment. It’s an opportunity to rejuvenate each plant and enjoy more beautiful blooms in the following season.
In the upcoming sections, we will provide you with helpful tips on how to prepare for the transplant, divide the clumps, choose the right divisions, and care for your daylilies after transplanting. By following these guidelines, you can ensure the successful transplanting of your daylilies and enjoy their beauty for years to come.
Tips for Transplanting Daylilies
Before transplanting daylilies, it’s crucial to prepare the new planting site properly. Daylilies thrive in full sun, requiring at least six to eight hours of direct sunlight each day. Ensure that the chosen location has well-draining soil to prevent waterlogged roots, as waterlogged soil can lead to root rot and hinder plant growth.
- Prepare the New Planting Site: Choose a spot in your garden that receives ample sunlight and has well-draining soil.
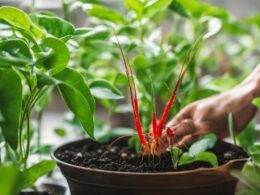
- Dig and Divide: When it’s time to dig up your established daylily clump, carefully remove the plant from the ground, keeping the roots intact. Examine the clump to determine how many divisions to make.
- Choose Proper Divisions: Once you’ve decided how many divisions you’ll make, use a clean and sharp garden knife to slice through the root system. It’s important to make clean cuts to ensure the plants have the best chance of thriving.
- Air Dry the Divisions: After dividing the clump, place the divisions in a shady spot to air dry. This will help the cuts callus over, reducing the risk of disease and promoting healthy regrowth.
Planting and Caring for Transplanted Daylilies
Now that you have divided your daylilies and prepared the new planting site, it’s time to plant and care for your transplanted daylilies. Follow these steps to ensure their successful establishment and growth.
Planting Depth
When planting your daylily divisions, dig a hole slightly larger than the root ball. Create a mound of soil mixed with compost in the center of the hole. Arrange the roots of the division over the mound and plant it at the same depth as the surrounding soil. This ensures proper root development and stability.

Watering
After planting, fill in the hole with soil, ensuring there are no air pockets around the roots. Once planted, give the transplant a thorough watering to settle the soil and provide essential moisture. Consistent watering is crucial during the initial stages to promote root growth and establishment.
Fertilizing
About two weeks after transplanting, apply a balanced liquid or granular fertilizer to your daylilies. This provides them with the necessary nutrients for healthy growth and vibrant blooms. Follow the instructions on the fertilizer packaging for the correct application amount and technique.
Weed Control
To prevent weed competition and ensure your transplanted daylilies receive adequate nutrients and water, it’s important to keep the daylily beds weed-free. Regularly inspect the area and remove any weeds or unwanted vegetation that may hinder the growth of your daylilies.
By following these planting and care tips, you’ll give your transplanted daylilies the best chance to thrive in their new location. Remember to pay attention to the planting depth, provide consistent watering, fertilize appropriately, and keep the beds weed-free. With proper care, your daylilies will reward you with beautiful blooms season after season.
Conclusion
Transplanting daylilies is a rewarding task that allows you, as a gardener, to expand your collection and rejuvenate each plant for more beautiful blooms in the following season. By following the tips mentioned above, you can ensure successful transplanting and promote the robust growth of your daylilies.
Remember to carefully choose the best time for transplanting – ideally in spring or fall depending on your region’s climate. Prepare the new planting site by ensuring it receives enough sunlight and has well-draining soil enriched with compost. When dividing the daylily clumps, handle them with care to avoid damage and place the divisions in a shady spot to air dry.
After transplanting, provide proper care by planting the divisions at the right depth, watering them regularly, and applying a balanced fertilizer after a couple of weeks. It’s also essential to keep the daylily beds free from weeds to prevent competition and ensure adequate resources for your plants.
With the right practices, your daylilies will thrive in their new location and continue to beautify your garden for years to come. Enjoy the process of transplanting and watch as your daylilies flourish with renewed vitality and abundant blossoms!
Is the Transplanting Process for Daylilies Similar to Planting Elephant Ear Bulbs?
When considering the planting elephant ear bulbs timing, it’s important to note that the transplanting process for daylilies is quite different. While planting elephant ear bulbs usually occurs in the spring after the last frost, daylilies can be transplanted in either spring or fall for best results.
Can I Transplant Begonias in Winter?
Yes, you can transplant begonias that go dormant in winter. It’s best to do it in early fall before the cold weather sets in. Make sure to choose a well-draining location and water thoroughly after transplanting. This will help them survive the winter and bloom again in the spring.