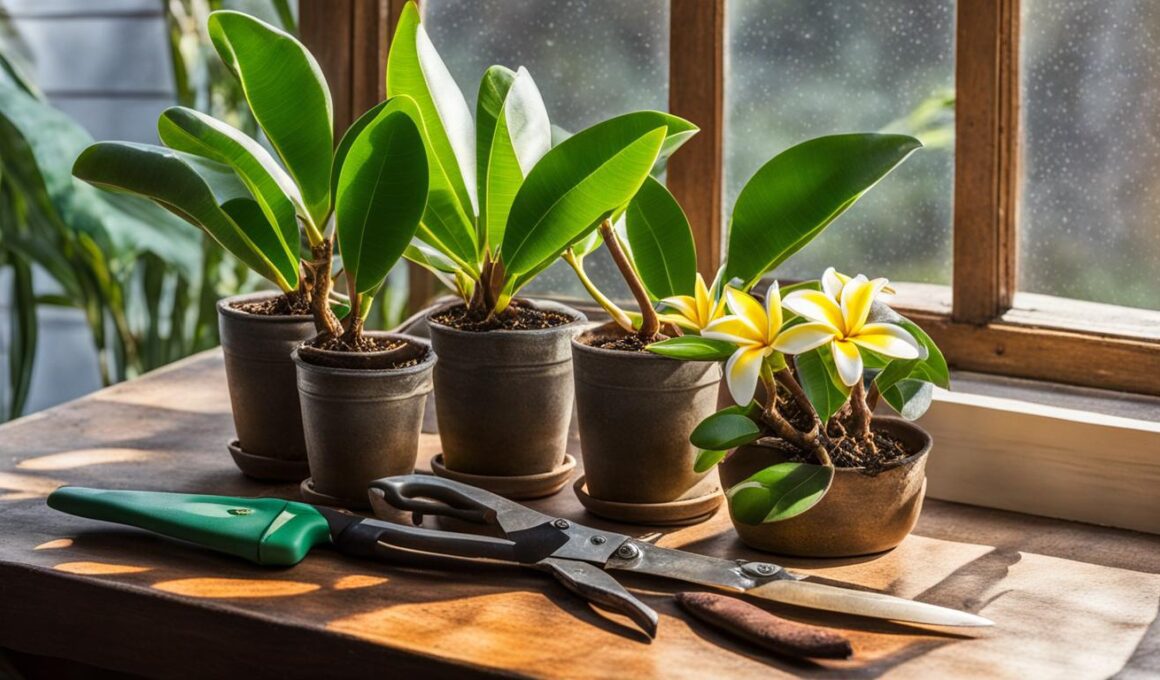
Propagating plumeria is a great way to expand your collection or share your favorite plants with friends. But knowing the right time to propagate is crucial for success. According to Nan Sterman, spring and summer are the best seasons to propagate plumeria from cuttings. During these warmer months, the plant is more active and has a higher chance of successfully rooting. It’s important to select a healthy branch, make a clean cut, and use powdered sulfur to prevent fungus and sap leakage. The cutting should then be placed in a well-draining potting mix and kept in a warm and protected spot with indirect light until new leaves appear.
Key Takeaways:
- Propagating plumeria is most successful in the spring and summer months.
- Select a healthy branch and make a clean cut to increase chances of success.
- Use powdered sulfur to prevent fungus and sap leakage.
- Place the cutting in a well-draining potting mix and provide indirect light.
- Monitor the cutting closely until new leaves appear.
Selecting a Healthy Branch for Propagation
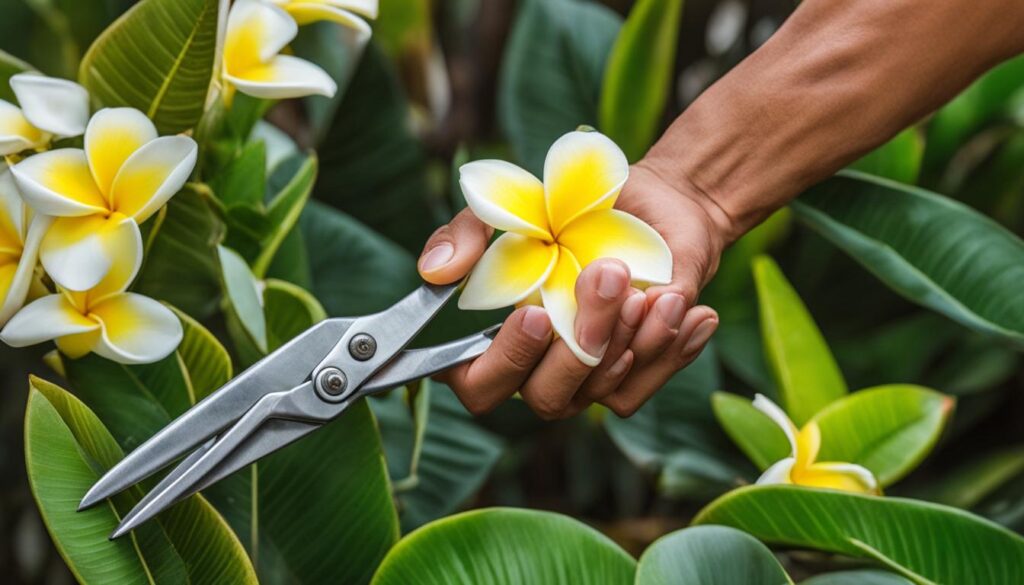
When it comes to propagating plumeria, selecting a healthy branch is crucial for successful propagation. A healthy branch on the mother plant is typically brown or grayish in color and should be 12 to 18 inches long. It should also feel firm along its entire length. It’s important to choose a branch that can be removed without damaging the plant, as this will help maintain the overall health of the mother plant.
When selecting a branch for propagation, it’s best to avoid cutting a branch that would mar the appearance of the mother plant or expose its trunk to excessive sunlight. Look for a branch that is easily accessible and can be removed cleanly. This will ensure successful propagation and prevent any unnecessary damage to the mother plant.
By carefully selecting a healthy branch for propagation, you can increase the chances of success and enjoy the rewards of growing your own plumeria plants.
Why choose a healthy branch?
A healthy branch is more likely to have sufficient nutrients and energy to produce new roots and grow into a thriving plumeria plant. By selecting a healthy branch, you are giving your propagated cutting the best chance for success.
What to avoid when selecting a branch?
- Avoid selecting branches that would mar the appearance of the mother plant.
- Avoid selecting branches that would expose the trunk of the mother plant to excessive sunlight.
- Avoid selecting branches that are difficult to access or remove without damaging the surrounding plant.
What to look for in a healthy branch?
- Look for a branch that has a brown or grayish surface.
- Look for a branch that is 12 to 18 inches long.
- Feel the branch to ensure it is firm along its entire length.
Proper Cutting Technique for Plumeria Propagation
When it comes to propagating plumeria, mastering the proper cutting technique is essential for success. By following these steps, you can increase the chances of successful plumeria propagation and ensure the health and vitality of your new plants.
1. Selecting the right tools
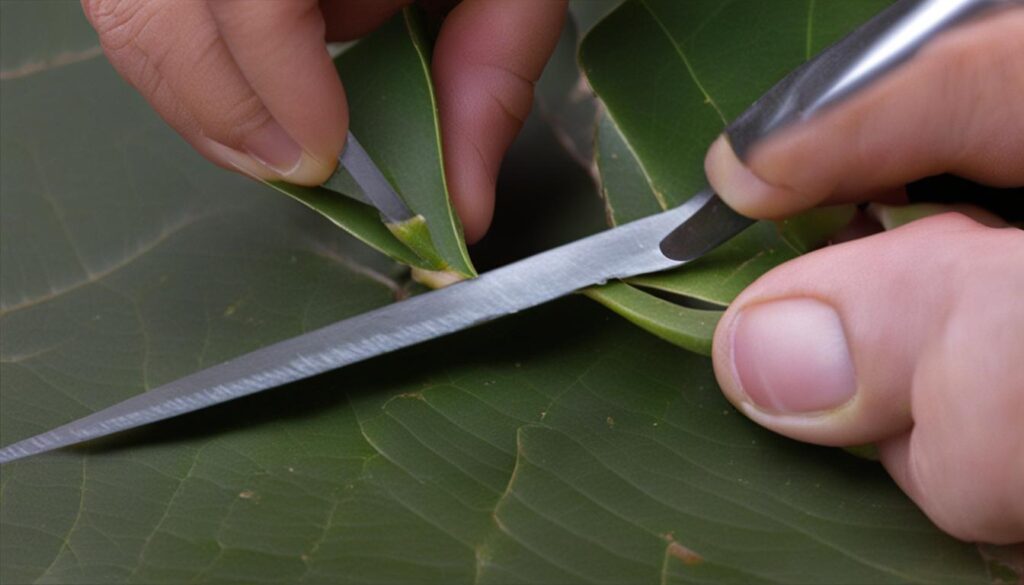
First and foremost, it’s important to use a very sharp knife or razor knife when making your cuttings. This will ensure a clean cut that promotes proper healing and reduces the risk of infection. Before starting, make sure to sterilize your tools with rubbing alcohol or a bleach solution to further minimize the chance of introducing any pathogens.
2. Making the cut
When making your cut, it’s crucial to cut the branch flush at the base, leaving no stub behind. This will promote proper healing and prevent the formation of rot or disease. Take a close look at the cut end of the branch and clean up any jagged edges, ensuring a smooth and even surface.
3. Applying powdered sulfur
After making the clean cut, dip the cut end of the branch into powdered sulfur. This serves two important purposes: it helps prevent fungus from taking hold and causing rot, and it also helps prevent sap leakage. By applying powdered sulfur, you can give your plumeria cutting the best chance of successfully rooting and establishing itself as a new plant.
By following these proper cutting techniques, you can greatly improve your chances of successful plumeria propagation. Remember to always use sharp and sterilized tools, make clean cuts, and apply powdered sulfur to promote healthy rooting. With patience and care, you’ll be on your way to propagating beautiful plumeria plants to enhance your garden or share with others.
Creating the Ideal Environment for Rooting Plumeria Cuttings
Creating the ideal environment is crucial when it comes to rooting plumeria cuttings. By providing the right conditions, you can increase the chances of successful propagation. After preparing the cutting, it’s important to allow the end to form a callus. This can be done by wrapping the cutting in plastic wrap or placing it in a pot of damp coconut coir for about two weeks. The callus formation is essential for the cutting to develop roots.
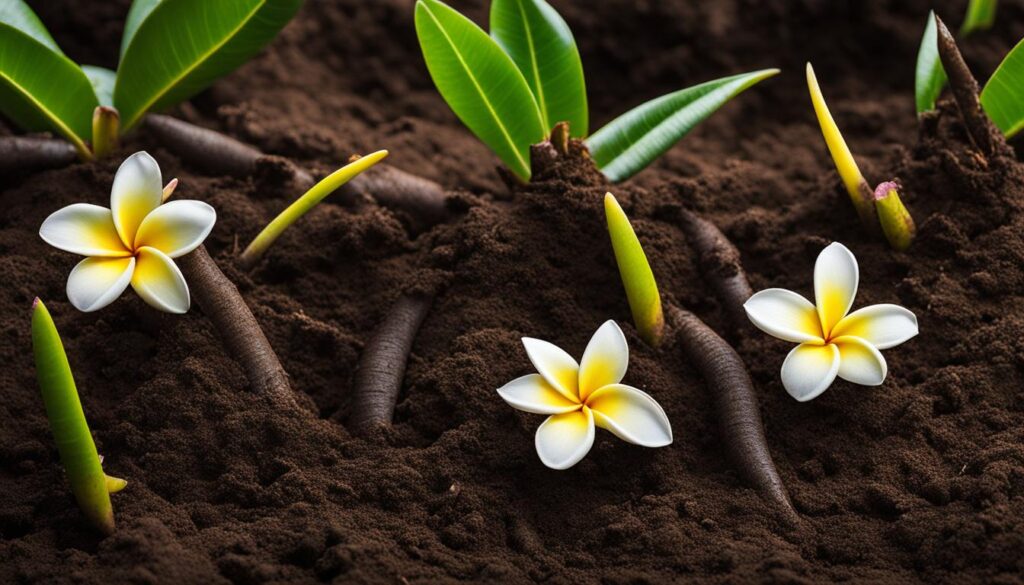
Once the callus has formed, it’s time to prepare the potting mix. Fill a one-gallon plastic nursery pot with a well-draining mix of cactus mix combined with perlite or pumice. This will provide the right balance of moisture and airflow for the cutting. Insert the cutting 1 1/2 to 2 inches deep into the potting soil, making sure it is securely anchored in place with a stake.
When it comes to the environment, it’s important to avoid direct sunlight as it can cause the cutting to overheat and potentially rot. Instead, place the potted cutting in a warm and protected spot with indirect light. This will allow the cutting to receive the necessary warmth and light without being exposed to harsh conditions. Additionally, it’s important to water the potting soil only when new leaves appear, as overwatering can lead to root rot.
Summary:
- Allow the cutting to form a callus by wrapping it in plastic wrap or placing it in damp coconut coir.
- Fill a one-gallon plastic nursery pot with a well-draining mix of cactus mix and perlite/pumice.
- Insert the cutting 1 1/2 to 2 inches deep into the potting soil and secure it with a stake.
- Place the potted cutting in a warm and protected spot with indirect light.
- Water the potting soil only when new leaves appear.
Caring for Rooted Plumeria Cuttings – Ensuring Healthy Growth
Once your plumeria cutting has successfully rooted, it’s important to provide proper care and monitoring to ensure healthy growth. By following these guidelines, you can help your newly rooted cuttings thrive and develop into beautiful plumeria plants.
1. Monitor the Rooted Cuttings
Regular monitoring is essential during the early stages of growth. Gently tug on the cutting to check if it has firmly rooted. If the rooted cutting resists being pulled out, it is a sign of successful rooting. However, if it comes out easily, the cutting may need more time to develop roots. In such cases, reinsert the cutting, water it, and wait for another month before testing again.
2. Gradual Acclimation to Sunlight
Once new leaves have fully unfurled, you can gradually acclimate the rooted plumeria cutting to sunlight. Start by placing it in a shaded area with indirect light for a few hours a day. Gradually increase the exposure to sunlight over a period of several weeks. This gradual acclimation will help prevent shock and sunburn, allowing the cutting to adapt to full sun exposure.
3. Watering and Drainage
Proper watering is crucial for the health of rooted plumeria cuttings. Water the potting soil only when new leaves start to appear. Avoid overwatering, as it can lead to root rot. Ensure that the potting mix has good drainage to prevent waterlogged soil. It’s beneficial to use a well-draining mix of cactus mix combined with perlite or pumice to provide optimal growing conditions for the plumeria.
4. Transplanting into a Permanent Spot
Once the rooted plumeria cutting has acclimated to sunlight and established a healthy root system, it can be transplanted into a permanent spot with full sun exposure. Choose a location in your garden or landscape that receives at least 6 to 8 hours of direct sunlight each day. Prepare the planting hole and backfill it with well-draining soil. Gently remove the cutting from its pot, taking care not to disturb the roots, and place it in the hole. Firmly pack the soil around the base of the cutting, ensuring it is securely anchored in place.
By closely monitoring your rooted plumeria cuttings and providing the necessary care, you can ensure their healthy growth and development into vibrant plumeria plants. With patience and attention to detail, you will be rewarded with the beauty and fragrance of these tropical treasures in your garden.
Propagating Plumeria from Cuttings – A Simple and Rewarding Process
Propagating plumeria from cuttings is a simple and rewarding process. It allows you to create new plants and expand your collection without much hassle. By following the proper techniques and providing the right environment, you can increase the chances of successful plumeria propagation.
Plumeria cuttings can be easily rooted by selecting a healthy branch and making clean cuts. It’s important to use a sharp and sterilized tool to prevent infection. Once you have the cutting, provide it with an ideal environment. Use a well-draining potting mix and avoid direct sunlight to prevent rotting. Regular monitoring and careful care are crucial for ensuring the success of the rooted cuttings.
As the plumeria cutting takes root and new leaves unfurl, you can gradually acclimate it to sunlight. This prevents any shock to the plant and promotes healthy growth. Finally, when the cutting is fully acclimated, it can be planted in a permanent spot with full sun. With patience and care, you can enjoy the satisfaction of growing your own plumeria plants and beautifying your garden.
Tips for Successful Plumeria Propagation:
- Always use sharp and sterilized tools for cutting plumeria branches to prevent infection.
- Provide the cutting with an ideal environment by using a well-draining potting mix and avoiding direct sunlight.
- Monitor the cutting closely and only water when new leaves appear.
- Acclimate the rooted cutting gradually to sunlight to prevent shock.
- Transplant the plumeria into a permanent spot with full sun once it has fully acclimated.
Tips for Successful Plumeria Propagation
When it comes to propagating plumeria, there are several tips that can help increase your chances of success. By following these tips, you can ensure that your plumeria cuttings thrive and grow into beautiful plants.
Use Sharp and Sterilized Tools
It is important to use sharp and sterilized tools when cutting plumeria branches. This helps prevent infection and promotes a clean cut, which is essential for successful propagation. Make sure to sterilize your tools with rubbing alcohol or a bleach solution before each use.
Create an Ideal Environment
The environment for rooting the plumeria cuttings plays a crucial role in successful propagation. Use a well-draining potting mix combined with perlite or pumice to provide proper drainage. Avoid placing the cuttings in direct sunlight, as this can lead to rotting. Only water the potting soil when new leaves appear to prevent overwatering.
Monitor and Acclimate the Cuttings
Monitor the plumeria cuttings closely to ensure they are rooting properly. Gently tug on the cutting to check for resistance, which indicates successful rooting. If the cutting hasn’t rooted, reinsert it, water, and wait for another month before testing again. Once the cuttings have rooted, gradually acclimate them to sunlight by increasing their exposure over time. This will prevent shock and help them adapt to their new environment.
By following these tips, you can increase your chances of successful plumeria propagation. Remember to use sharp and sterilized tools, create an ideal rooting environment, and monitor and acclimate the cuttings properly. With patience and care, you can successfully propagate plumeria and enjoy the beauty of these plants in your garden.
Conclusion:
Propagating plumeria can be a rewarding and fulfilling process, allowing you to expand your collection and share the beauty of these plants with others. By following the recommended techniques and creating the ideal environment, you can increase your chances of successful plumeria propagation.
Remember to select a healthy branch from the mother plant and use proper cutting techniques to ensure a clean cut. Providing the cutting with a well-draining potting mix and protecting it from direct sunlight will promote successful rooting. Monitoring and caring for the rooted cutting, acclimating it gradually to sunlight, and finally transplanting it into a permanent spot with full sun will complete the propagation process.
With patience, care, and attention to detail, you can enjoy the satisfaction of propagating and growing your own plumeria plants. So go ahead and get started on your plumeria propagation journey, and soon you’ll be rewarded with beautiful and vibrant plants that will enhance your garden and bring joy to your life.
Are Plumeria Plants Suitable for Planting in January?
Yes, Plumeria plants are popular plants to plant in January. These tropical beauties thrive in warm climates and can be planted in pots or directly in the ground. As long as they receive plenty of sunlight and well-draining soil, they can flourish during the winter months.
FAQ
When is the best time to propagate plumeria from cuttings?
According to Nan Sterman, the best seasons to propagate plumeria from cuttings are spring and summer.
How do I select a healthy branch for plumeria propagation?
Look for a healthy branch on the mother plant that is 12 to 18 inches long, has a brown or grayish surface, and is firm along the entire length.
What is the proper cutting technique for plumeria propagation?
Use a very sharp knife or razor knife to make a clean cut flush at the base of the branch. Dip the cut end into powdered sulfur to prevent fungus and sap leakage.
How do I create the ideal environment for rooting plumeria cuttings?
Wrap the cutting in plastic wrap or place it in a pot of damp coconut coir for two weeks to allow the end to form a callus. Use a well-draining mix of cactus mix combined with perlite or pumice in a one-gallon plastic nursery pot.
How do I monitor and care for rooted plumeria cuttings?
Gently tug on the cutting to check if it has rooted. Transplant the plumeria into a permanent spot with full sun once it has fully acclimated.
What are some tips for successful plumeria propagation?
Use sharp and sterilized tools, provide an ideal environment, monitor the cutting closely, acclimate the rooted cutting gradually to sunlight, and transplant it into a permanent spot with full sun.


