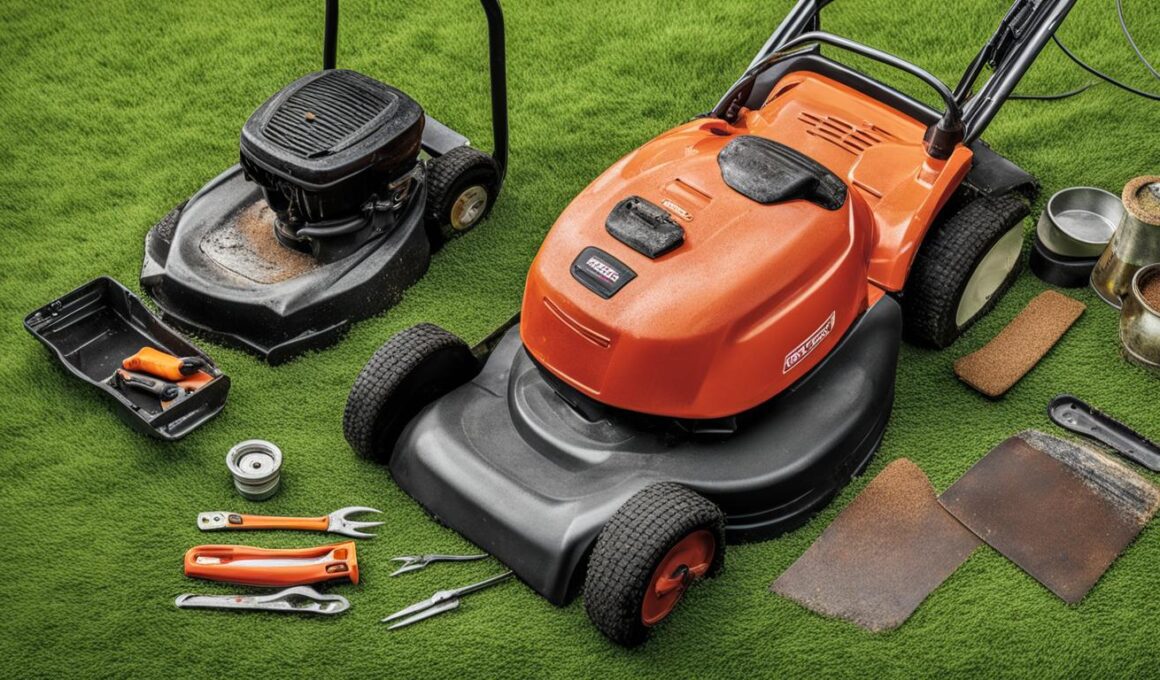
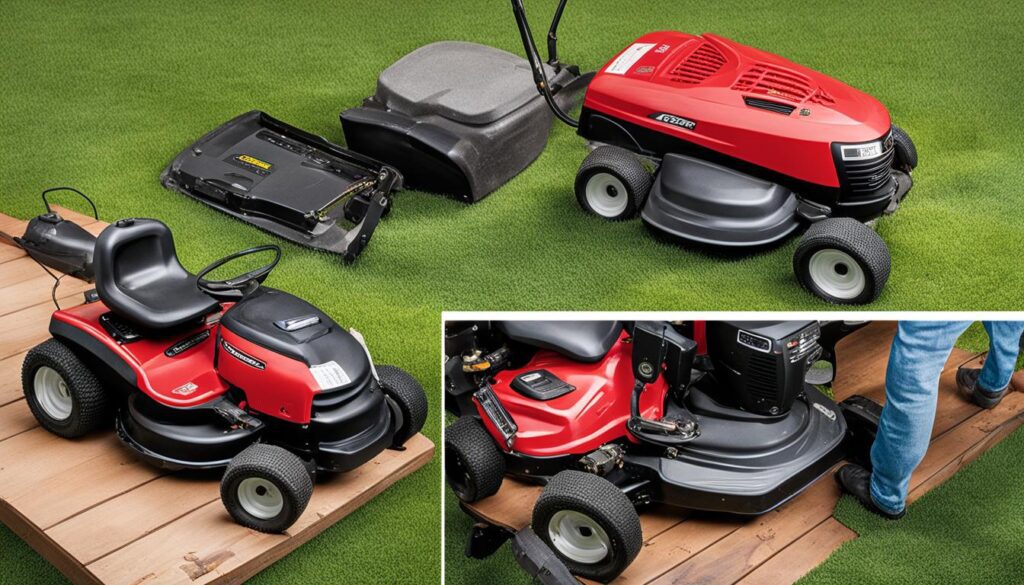
If your lawn mower deck has a rust hole or a tear, it can affect the performance of your mower and lead to grass clippings spewing out. But there’s no need to panic! With a few simple tools and materials, you can repair lawn mower deck and get it back in shape. In this guide, we will walk you through the step-by-step process of lawn mower deck repair, from removing rust to patching a hole. So let’s get started and get your mower back in top condition!
Tools and Materials Needed for Lawn Mower Deck Repair
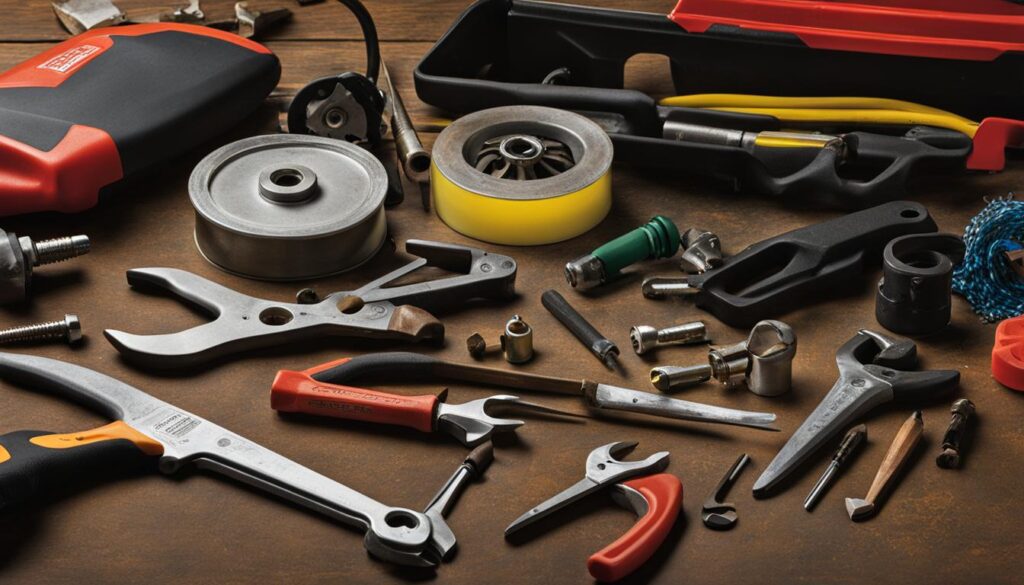
Before you can start repairing your lawn mower deck, you’ll need to gather a few tools and materials. The essentials for lawn mower deck repair include:
- Hammerite Kurust: This rust removal solution is crucial for addressing any rust on your lawn mower deck. It helps convert the rust into a stable surface, ensuring a strong repair.
- Wire brush: Use a wire brush to thoroughly clean the surface of the deck and remove any loose paint, dirt, or debris. This will prepare the deck for rust removal and patching.
- Old paint brush: An old paint brush will come in handy for applying Hammerite Kurust to the rusty areas of your lawn mower deck. Make sure to choose a brush that is suitable for applying liquids.
- Fastglass Glass Fibre Kit: This kit contains all the materials you need for patching holes in your lawn mower deck. It typically includes glass fiber strips, resin, gloves, a mixing cup, and an application brush.
- Lawnmower cleaning brush with a scraper: Investing in a lawnmower cleaning brush with a built-in scraper can be beneficial for general maintenance. It will help you remove grass clippings and debris from hard-to-reach areas of your mower deck.
These tools and materials can be easily sourced from retailers like Halfords or online marketplaces such as Amazon.
With these tools and materials at your disposal, you’re well-prepared to tackle the repair process and restore your lawn mower deck to its optimal condition.

Step-by-Step Lawn Mower Deck Repair Process
Now that you have the necessary tools and materials, let’s walk through the step-by-step process of repairing your lawn mower deck. First, you’ll need to remove any rust from the deck using a wire brush and apply Hammerite Kurust to convert the rust into a stable surface.
Step 1: Remove rust
Start by using a wire brush to scrub away any rust or corrosion on the surface of your lawn mower deck. Be sure to remove as much rust as possible, paying special attention to any areas with visible damage. This will provide a clean surface for the repair process.
Step 2: Apply Hammerite Kurust
Once the rust has been removed, it’s time to apply Hammerite Kurust. This rust converter will treat any remaining rust and transform it into a stable surface. Using an old paint brush, generously apply the Kurust to the affected areas, ensuring full coverage. Allow the Kurust to dry according to the manufacturer’s instructions, usually around 24 hours.
Step 3: Patch any holes
With the rust addressed, it’s time to patch any holes in your lawn mower deck using the Fastglass Glass Fibre Kit. Cut strips of glass fibre from the kit and place them over the holes, ensuring they cover the entire damaged area. Apply the provided resin to the fibre strips, using a brush to evenly distribute the resin. Be sure to build up layers if necessary, allowing each layer to dry before adding the next.
Step 4: Allow the glass fibre to harden
Once the glass fibre and resin have been applied, allow them to harden completely. This usually takes a few hours but can vary depending on the temperature and humidity in your area. Check the manufacturer’s instructions for specific drying times.
Step 5: Sand down the repaired area
Once the glass fibre has hardened, you can begin sanding down the repaired area for a smooth finish. Use sandpaper with a medium grit and gently sand the patched section, blending it in with the rest of the deck. Take your time and ensure the repaired area matches the surrounding surface.
Step 6: Prime and paint the deck
Finally, it’s time to protect your lawn mower deck from future rust by priming and painting it. Apply a high-quality primer to the entire deck surface, following the manufacturer’s instructions. Once the primer is dry, choose a paint color that matches your mower and apply it evenly to the deck, using smooth brush strokes or a paint sprayer. Allow the paint to dry completely before using your mower.
By following these step-by-step instructions, you can successfully repair your lawn mower deck and ensure optimal performance. Remember to always prioritize safety and consult your mower’s manual for any specific instructions or precautions. Now, let’s move on to the conclusion and summarize what we’ve learned in this repair guide.
Can I Use Similar Techniques from Sprinkler Head Adjustment for Lawn Mower Deck Repair?
When it comes to lawn maintenance, the ability to adjust sprinkler heads easily can also come in handy for lawn mower deck repair. Just as you fine-tune the water flow of sprinkler heads, you can apply similar techniques to ensure proper cutting height and evenness for your lawn mower deck.
Conclusion
Repairing a lawn mower deck may seem like a daunting task, but with the right tools and a step-by-step process, it can be easily accomplished. By taking the time to address rust and patch any holes, you can extend the lifespan of your mower and ensure it continues to work effectively. Remember to prioritize maintenance and take preventative measures to avoid further damage to your lawn mower deck. With the information in this guide, you’re well-equipped to tackle any repair and keep your mower in top shape. Happy mowing!


