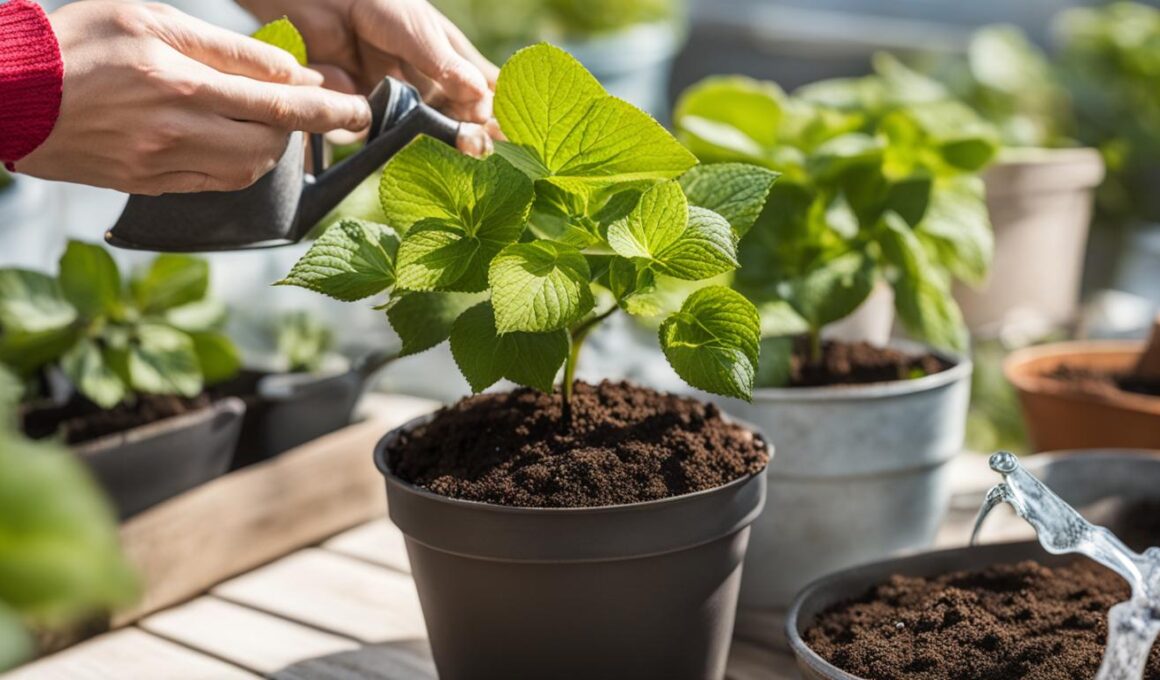
Are you looking to give your hydrangeas a fresh start or move them to a more suitable spot in your garden? Transplanting hydrangeas can be a simple process that allows you to rejuvenate your plants and ensure their optimal growth. Whether you’re moving a single hydrangea or an entire shrub, this guide will provide you with the necessary steps and tips to transplant your hydrangeas successfully.
Transplanting hydrangeas involves carefully uprooting the plant and relocating it to a new location. This can be done for various reasons such as changing the landscape design, adjusting sunlight exposure, or improving soil conditions. By following the proper techniques, you can ensure minimal stress on the plant and promote its healthy growth in the new environment.
Before you begin the transplanting process, it is important to understand the best time for such an endeavor. Hydrangeas are best transplanted during their dormant period, which is in the fall or winter. This allows the plant to establish its roots before the active growing season begins. By transplanting during this period, you minimize the risk of transplant shock and give your hydrangeas the best chance of thriving in their new location.
However, it’s crucial to note that hydrangeas can be transplanted at any time of the year, provided it’s not during the heat of summer. If you’re planning to transplant during the warmer months, make sure to take extra care in providing enough water and shade to reduce stress on the plant.
To ensure a successful hydrangea transplantation, it’s important to follow some essential tips. These tips include preparing the new planting hole, pruning, watering, and providing proper care and maintenance after transplanting. By adhering to these guidelines, you can increase the chances of your hydrangeas adapting to their new surroundings and thriving in their new home.
Remember, transplanting hydrangeas is all about giving your plants the opportunity to flourish in a new environment. By choosing the right time, following the proper techniques, and providing the necessary care, you’ll be rewarded with beautiful, healthy hydrangeas that enhance the beauty of your garden.
The Best Time to Transplant Hydrangeas
The best time to transplant hydrangeas is in the fall or winter when the plant is dormant. This is the period when the plant is not actively growing, and it ensures that the plant is less likely to experience transplant shock. Transplanting hydrangeas during this time allows them to establish their roots before the growing season starts.
In cooler climates, November is an ideal month for transplanting hydrangeas. The weather is cooler, and the risk of extreme heat is minimized. In warmer climates, transplanting can be done between December and February, taking advantage of milder temperatures. However, it’s important to avoid transplanting during the heat of summer, as this can stress the plant and interfere with its ability to establish in its new location.
If you missed the fall or winter window, don’t worry! Hydrangeas can be transplanted at any time of the year if necessary. Just keep in mind that transplanting during the spring should be done early, before the plant starts actively growing and producing new leaves.
By choosing the best time to transplant hydrangeas, you give them the best chance for successful establishment and growth in their new location. Now that you know when to transplant, let’s dive into some tips for ensuring a successful hydrangea transplantation in the next section.
Tips for Successful Hydrangea Transplanting
Transplanting hydrangeas can be a delicate process, but with these helpful tips, you can ensure a successful transplantation and ensure the continued health and beauty of your plants.
1. Choose the Right Time: The best time to transplant hydrangeas is during their dormant period in the fall or winter. This allows the plant to establish roots before the growing season begins. However, if necessary, hydrangeas can be transplanted at any time of the year, except during the hot summer months.
2. Prepare the New Location: Before transplanting, prepare the new location by ensuring it has well-draining soil and receives the appropriate amount of sunlight for the specific type of hydrangea. Hydrangeas thrive in moist, fertile soil with partial shade.
3. Dig the Hole: Dig a hole that is at least twice the width and depth of the hydrangea’s root ball. This provides enough room for the roots to spread out and establish themselves in the new location.
4. Water Thoroughly: Before and after transplanting, water the hydrangea thoroughly to ensure it stays hydrated. This helps prevent transplant shock and aids in the establishment of the plant in its new environment.
5. Prune if Necessary: If the hydrangea has excessive foliage or damaged branches, prune them back before transplanting. This allows the plant to conserve energy and focus on root development.
6. Handle with Care: When transplanting, be gentle with the hydrangea’s roots to minimize damage. Lift the plant by its root ball and avoid pulling on the stems or leaves.
7. Mulch: After transplanting, apply a layer of organic mulch around the base of the plant. This helps retain moisture, suppresses weeds, and insulates the roots during extreme weather conditions.
8. Monitor and Maintain: Keep a close eye on the transplanted hydrangea for the first few weeks to ensure it adapts well to its new location. Continue to provide adequate water and monitor for any signs of stress or disease.
9. Patience is Key: Remember, it may take some time for the hydrangea to fully recover and thrive in its new environment. Be patient and provide proper care and maintenance for optimal results.
By following these tips, you can successfully transplant your hydrangeas and enjoy their beauty in a new location. Remember to choose the right time, prepare the new location, handle with care, and monitor their progress. With a little patience and attention, your hydrangeas will have a smooth transition and continue to flourish.
Conclusion
Transplanting hydrangeas can be a rewarding experience that allows you to give your plants a fresh start or better accommodate their needs. By following the steps and tips provided, you can successfully transplant your hydrangeas and enjoy a thriving garden.
When transplanting hydrangeas, it’s important to carefully choose the right time. Fall or winter, when the plant is dormant, is the best time for transplantation. This reduces the risk of transplant shock and gives the plant a chance to establish roots before the growing season begins. However, hydrangeas can be transplanted at any time of the year, as long as it’s not during the summer heat.
In addition to timing, providing proper care and maintenance is crucial for successful transplanting. Monitor the plant for any signs of stress or issues and make sure to water it regularly. Give your hydrangeas a little patience and attention, and they will adapt to their new location and continue to flourish.
So, whether you want to give your hydrangeas a fresh start or better meet their needs, follow these guidelines for a successful transplant. With careful planning and proper care, your hydrangeas will thrive in their new home and bring beauty and joy to your garden.
Can the same method be used to transplant hydrangea and deadhead dianthus?
Yes, the same method can be used to transplant hydrangea and deadhead dianthus. When deadheading dianthus for beginners, make sure to trim the flower stem just above a set of leaves to encourage new growth. When transplanting hydrangeas, dig a hole twice the width of the root ball and water thoroughly after planting.


