Transplanting ferns can be a delicate process that requires careful timing and preparation. If done correctly, it can result in a successful move and thriving ferns in their new location. Whether you’re a seasoned gardener or a beginner, these fern transplanting tips will help ensure your ferns make a smooth transition.
Before diving into the transplanting process, it’s important to know the specific needs of your fern species. Most ferns prefer shady areas with damp, fertile soil. Understanding their preferences will help you choose the perfect new location for your ferns.
The best time to transplant ferns is in early spring when new growth is just starting to emerge. This is when the ferns are still dormant and less likely to suffer from transplant shock. However, potted ferns can be transplanted at any time, although it’s best to avoid their active growth period. By transplanting at the right time, you give your ferns the best chance to establish themselves in their new home.
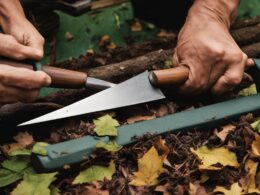
When it’s time to transplant, dig up the entire fern clump, being careful not to damage the delicate fronds. Lift the clump from the bottom to minimize harm. Once the fern is lifted, move it to its new location, cover the roots with soil, and water it well. Providing proper care and attention in the initial stage will help your ferns settle and thrive in their new environment.
For larger ferns, you may also consider cutting back the foliage. This helps redirect energy towards root development and allows the fern to establish its root system more effectively. However, be mindful not to over-prune, as this can stress the fern. Finding the right balance is key.
It’s worth noting that in many areas, it is illegal to transplant ferns from the wild. So, be sure to only transplant ferns from your own property or purchase them from reputable sources.
When to Transplant Ferns
The best time to transplant ferns is in early spring, just as new growth is beginning to emerge. This is when the ferns are still dormant and less likely to suffer from transplant shock. Transplanting in the early spring allows the ferns to establish their root systems and acclimate to their new environment before the summer heat sets in. During this time, the air temperature is generally mild, and the soil is moist, providing optimal conditions for successful transplantation.
When it comes to potted ferns, they can generally be transplanted at any time of the year. However, it’s essential to be cautious during their active growth period, as disturbance may disrupt their growth cycle. If you choose to transplant potted ferns during their active growth phase, it’s recommended to do so with extra care to minimize any potential stress. To ensure a smooth transition, prepare the new planting area in advance, incorporating organic matter into the soil to improve drainage and provide essential nutrients.
If possible, try to schedule the transplanting process in the evening or on a cloudy day. This can help reduce the stress on the ferns by minimizing sun exposure and evaporation. It’s also crucial to water the ferns thoroughly after transplanting to ensure the soil is adequately moist. Adequate hydration is essential for promoting root growth and minimizing transplant shock.

Remember, if you’re considering transplanting ferns from the wild, be aware of the legal regulations in your area. In many regions, it is illegal to transplant ferns from their natural habitats. To be ethical and environmentally responsible, only transplant ferns from your own property or purchase them from legitimate sources.
How to Transplant Ferns
When transplanting ferns, it’s crucial to dig up the entire clump, ensuring that you get as much of the root ball as possible. To prevent damage to the delicate fronds, it’s best to lift the clump from the bottom using a garden fork or spade.
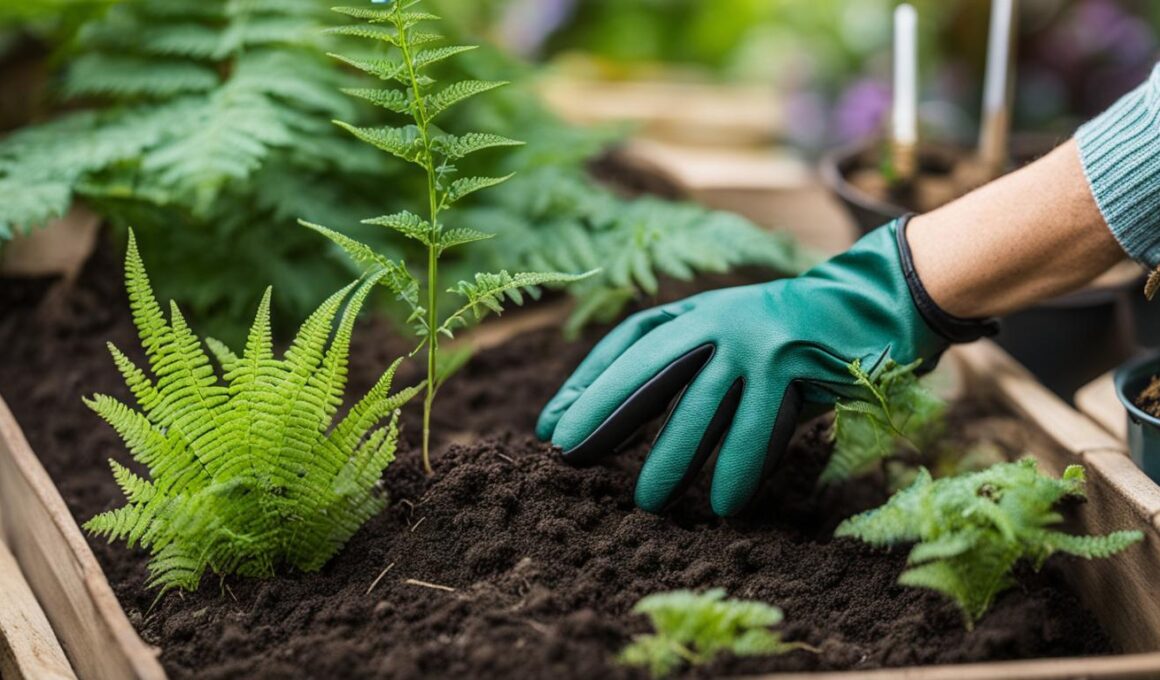
Once the fern clump is lifted, carefully move it to the prepared location. Cover the shallow roots with a few inches of well-draining soil, making sure not to bury the crown of the plant. This will help create a stable environment for the fern to establish itself in its new home.
After planting, give the fern a thorough watering to help settle the soil and promote root growth. Consider adding a layer of organic mulch around the base of the plant to retain moisture and suppress weeds.
For larger ferns, it can be beneficial to cut back the foliage to redirect energy towards root development. Prune away any brown or damaged fronds, leaving only the healthy ones. This will encourage the fern to focus its resources on establishing strong roots.
In addition to transplanting mature ferns, spring is also an ideal time to divide large clumps. Use a sharp knife or spade to cut through the center of the clump, dividing it into smaller sections. Alternatively, you can gently pull apart the fibrous roots. Replant the divisions in a new location, ensuring they are watered regularly until they become established.
Remember to provide adequate water and monitor the soil moisture levels during the establishment period. Ferns prefer moist, but not waterlogged, soil. Adding compost or other organic matter to the planting area can also provide additional nutrients to support healthy growth.
Can I Use the Same Transplanting Techniques for Sun-Loving Ferns?
When transplanting sun-loving ferns, it’s essential to choose the best sun-loving fern varieties for your specific environment. Different varieties have different transplanting needs, so it’s important to research and find the best techniques for each type. Proper research will ensure successful transplantation and healthy, thriving ferns in your garden.