How to Make a Fairy House: The Adventure
Not so long ago, we presented you with 12 creative DIY backyard playground ideas for your kids to love. Perhaps older kids do not believe in fairies anymore, but the smaller ones will cheer at the idea of going on a quest to find the exact right materials for the fairy house, to learn how to build it, where to place it, and how to decorate it to please these enchanted creatures. This is why the first step you need to take is to lay out the adventure plan.1. A Trip to Your Garden: Location, Location, Location
The first thing you need to establish together with the little ones is the spot where you are going to place the fairy house. Fairy houses can take a lot of forms and shapes and they can be built in many places. Preferably, you should pick a remote, peaceful, and quiet location, far away from traveled garden pathways. It can be set in a bushy area for privacy, the base of a tree or the side of a rock for safety, nearby the garden pond for beauty, and so on. Now that you all decided on the best location, it is time to design your future fairy house!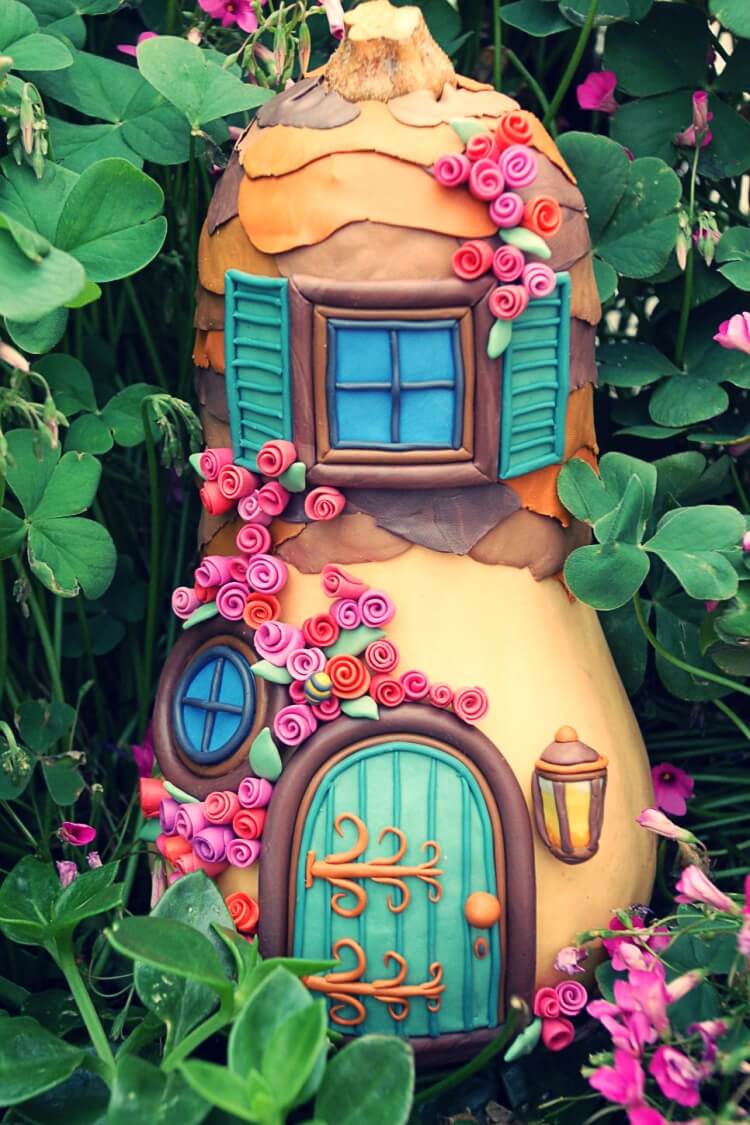
2. Imagine and Design Your Fairy House
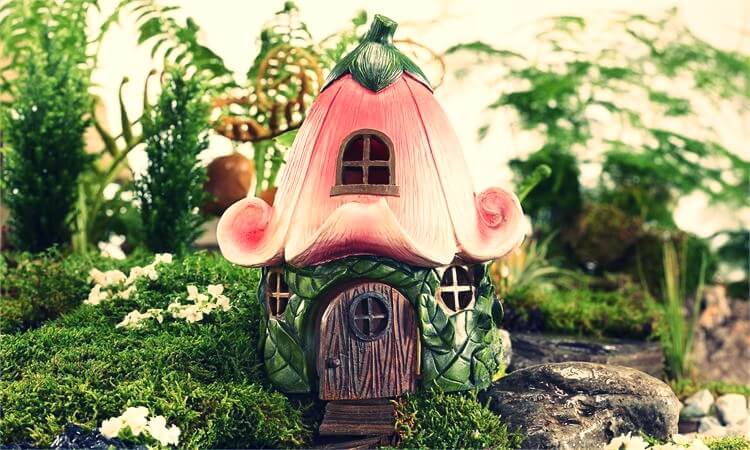
In order to decide what materials you will use for the fairy house, you need to design it. Fairy houses can look any way you want them to: short and round or tall and thin; like castles or like cottages; simple and rustic or ornate and colored, and so on. Engage the children in imagining, drawing, and planning of the fairy house. Do you want to get your kids out of the house to play? This is the way to do it!- EXTRA TIP: This is a very important educational moment, so pay attention to it! Even if a fairy house is a thing of magic, it still needs to be buildable. Do not get carried away by imagination and steer your kids into designing all the parts of the building correctly: choose the door place, make sure the house has windows and a stable foundation, pick a roof type that will not collapse etc. You need to physically be able to build the house and the final result should be a house.
- EXTRA TIP: Here are some activities you might want to begin with in order to turn the fairy house building project into a veritable amusing and educational quest:
- Go to a Renaissance Fair or a carnival so your kids can get inspired;
- Read books and stories with and about fairies, so your kids will learn better what fairies want and like;
- Watch some movies and cartoons to get a sense of how fairy houses look and how fairies live in their homes.
3. Decide on What Material You Will Use to Build the Fairy House
Since your main goal is to build a charming little home for the fairies, but a home nonetheless, make sure you pick the right materials or pre-made components for the structure. Fairy houses allow you plenty of creativity, but they should match the design you agreed upon and the overall setting of your garden.- EXTRA TIP: If you have a beach house, the materials will differ from a house in a plain or in a hill area for instance. The style of the fairy house should match the overall landscape, because fairies who live in the woods have different expectations from a house than fairies who live at the seaside.
- Tree logs, sticks, twigs, branches, moss, pinecones, nuts, dry grasses, dry flowers, acorns and so on – for a rustic cottage
- Shells, colored glass, beach pebbles – for a seaside villa
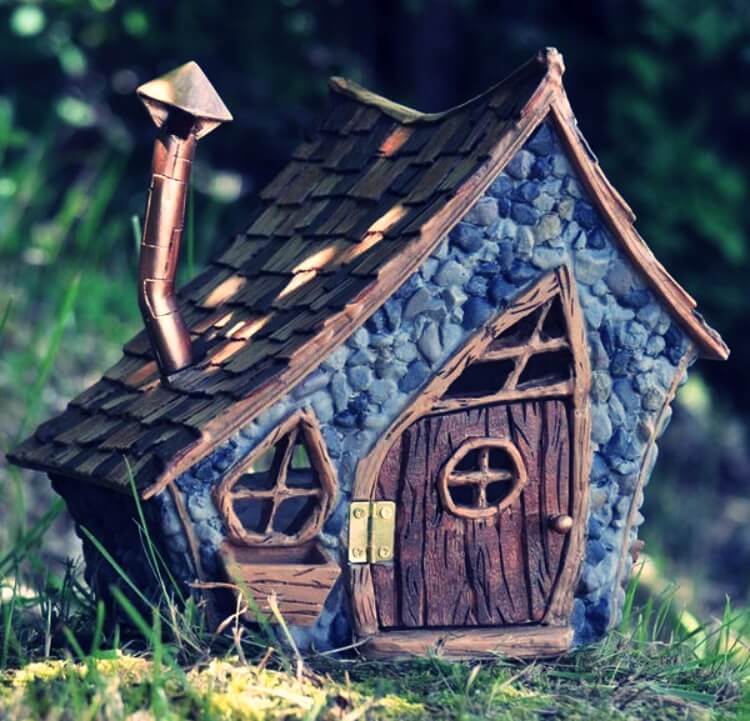
- Stones, pebbles, marbles, bricks – for a stone mansion
- Dry hollow gourd and polymer clay – for an enchanted castle
- An already-made dollhouse or an already-made bird house – for a classic, effortless house
- A wicker basket (or other fairy-friendly natural container) – for a rustic but effortless garden shed
- EXTRA TIP: Another important lesson here is to remind your kids that all building projects also need accessories. You should have around aluminum foil, rope, wood glue, wire, glue gun, nails, paint, button, carton, cardboard, recycled plastic, gardening tools, and so on.
4. Gathering Materials for your Fairy House: The Epic Journey
This is the moment you have all been waiting for: the journey to gather all the materials you need. Like any other project, this one can also turn into an educational and fun one for the entire family. Besides teaching your kids how to make a fairy house, you will be teaching them how to pick the right twigs and toss the wrong ones, how to differentiate among different types of woods and stones, how to make decisions, appreciate sizes and weights, collaborate, plan, solve problems, and so on. Here are some tips and tricks on how to explore the sense of wonder in your children and turn this activity into the epic journey they so dream of:- Explore your garden (or surroundings) to gather the necessary materials and store the ones you picked in a safe, dry place. Remember that glue does not work on wet materials (sticks or stones for example), so you need to pick either only the dry ones or let the materials dry naturally back home.
- Take a road trip to the nearby forest or beach to look for the perfect materials. Birch tree bark looks beautiful and willow branches are indeed magical, so consider them as well.
- Take a learning trip to a nursery or visit a landscaping/lawn care service company (you have collaborated with already, so they can know you are coming) and let your kids ask the professional landscape specialists for advice and materials in order to learn more about how to make a fairy house.
- Go to a specialized bricolage store and purchase materials and accessories so the kids have a full experience in constructions, like real engineers and builders.
Can I Incorporate a Fairy House into My Rock Garden Design?
Can I incorporate a fairy house into my rock garden design? Absolutely! Adding a whimsical touch like a fairy house can enhance the enchantment of your rock garden. To do this, make sure to choose a small-scale fairy house that complements the natural elements of your garden. With the right rock garden ideas and instructions, you can create a magical space that both fairies and humans will enjoy.
How to Make a Fairy House: The Construction Process
Now that you have the location, the architecture (design), and the materials, it is time to put the workforce in motion. If the plans you laid out in the beginning require some time and some effort due to the complexity of the construction, divide the kids into teams or pairs and delegate tasks and responsibilities. If you are a small group that can finish the project in one day, let’s get to do some teamwork, shall we?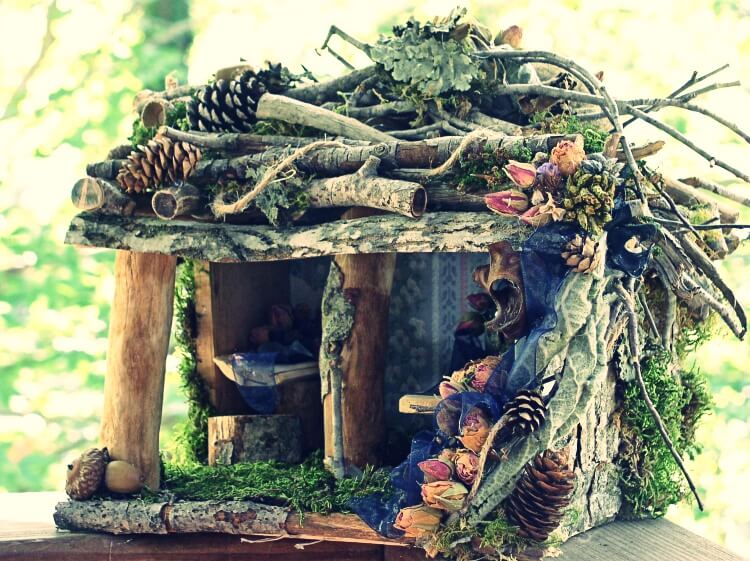
5. Set Up the Work Space
Display all the materials you gathered and all the accessories on a table outside nearby the construction site. Allow the kids to take turns picking up the items.6. Start With the Foundation
All good fairy houses (DIY creative projects or a family adventure for that matter) begin with a strong foundation.- Dig a few square inches of soil to prepare the foundation in case you build the house on location and line the foundation with flat and durable materials like stones or wood for stability;
- Build the house on a plastic tray or platter to easily move it from the workspace to its final destination in the garden. Lay the tray with leaves, grasses, moss, and a layer of soil, other greenery or flower petals so the house blends in with the garden.
7. Build the House Exterior
If you have a pre-made house (dollhouse, basket, birdhouse, gourd etc.), place the outside structure to fit comfortably on the tray or inside the foundation and leave enough room for exterior house add-ons such as a porch, a yard, a fairy garden, a playground, and so on. If you only have the materials, now it is the time to start building. Here are some ideas, but of course, only your imagination, creativity, and skills are the limits in actually building the fairy house:- Stack, glue, wire, or nail together wood elements;
- Glue together stone elements;
- Use paper towel tubes for towers or chimneys;
- Use colored clay for ornamental patches (and exterior insulation) or for windows;
- Decorate, insulate, and finish the exterior with grasses, flowers, colored paper, moss, dirt, leaves, pebbles, and everything nice you gathered and decided to use.
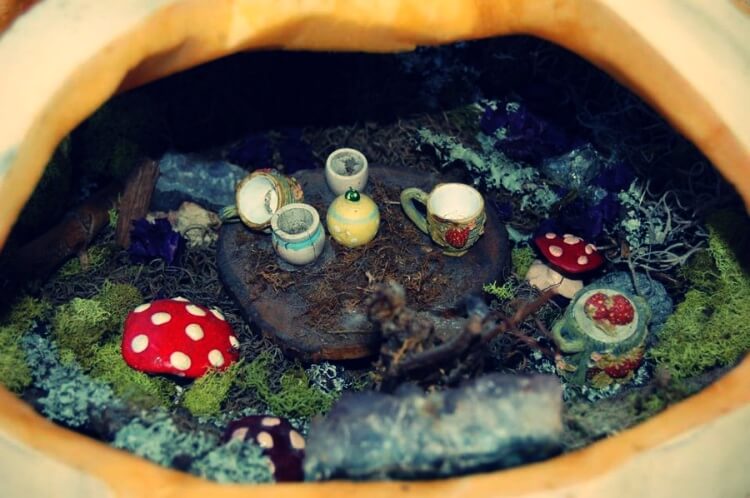
8. Interior Design at its Finest
When it comes to the interior decorations, you can take advantage and allow your children to exercise their fine motor skills, attention to detail, and creativity. To make the fairy house a warm and welcoming home for your fairies, make sure you design and decorate every element.- Cover the house floor with soft, natural, pleasant padding like moss, leaves, flowers, sand, twigs, colored paper, scraps of cloth, and so on;
- Pad the interior walls with colored scraps of glued paper, colored polymer clay, glued leaves, and scraps of cloth or leather;
- Do not forget about window curtains;
- Add doll furniture (you bought or you repurposed from old dollhouses); use plastic or ceramic (repurposed, old, or broken here and there) teacups, small plates, or bowls padded with soft cloth to make your own furniture.
- Sprinkle some glitter here and there, because we all know fairies love glitter and they will feel like home.
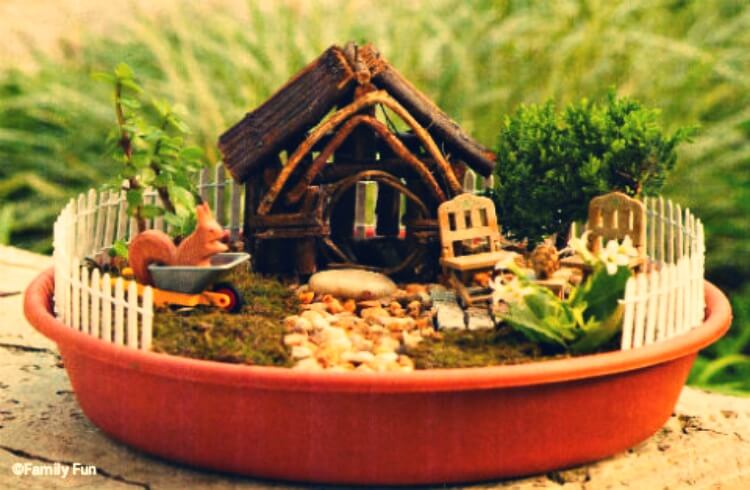
9. Finish with the House’s Landscape
Building a fairy garden, porch, or patio requires the same attention and imagination as building the actual house. Decorate the landscape using the leftover materials or a few new ones you get the next day (which gives you the opportunity to continue the project):- Make a fantasy fairy garden with potting soil and some miniature-potted plants for a year-round landscape to attract the fairies.
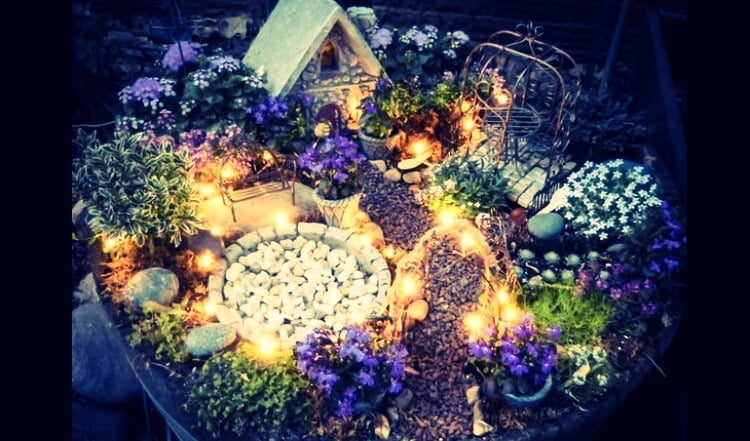
- Add some magical lighting with small garden lamps placed around the house. Use some eerie yellow, colored, or white Christmas lights (battery-powered or plugged in a safe outdoor special outlet). The night is the time of magic so magic lighting adds that final touch of fantasy any fairytale-like realm needs and deserves.
- You can also add some doll furniture on the porch to allow fairies to have fun outside the house in summer evenings. Fairy garden furniture and decoration ideas can be the goal of a new and exciting project altogether!