Follow this step-by-step guide to learn how to install a French drain and create a drier and healthier landscape. If you’re tired of dealing with water pooling in your yard or basement, a French drain can be the solution you need. By properly installing a French drain, you can effectively manage excess water and prevent moisture-related problems.
A French drain is a trench filled with gravel or rock that redirects water away from an area. It provides an underground pathway for water to escape, keeping your yard drier and preventing water damage. Installing a French drain may sound complicated, but with this easy-to-follow guide, you’ll be able to tackle the task with confidence.
Throughout this guide, we’ll walk you through each step, from planning the location to ongoing maintenance. By the end, you’ll have all the information you need to install a French drain and enjoy a drier and healthier landscape. Let’s get started!
Plan the Location
Before you begin installing your French drain, it’s crucial to plan the location properly. Take note of where the excess water is pooling in your yard and decide where you want it to be directed. Ensure that the trench and pipe system will effectively drain the water from a higher elevation and release it at a lower elevation.
It’s important to direct the water away from your home to prevent any potential damage. Check if there are any retention ponds or nearby bodies of water that can serve as outlets for the runoff water.
Before proceeding, make sure to obtain the necessary drainage permissions for your area. Check if there are any zoning restrictions in your neighborhood that may impact the installation of your French drain.
Remember, it’s essential to confirm that the water issue you’re experiencing is not caused by any underground pipe leakage that may require repair before installing the French drain.
By carefully planning the location of your French drain, you can effectively direct the water away from your home and ensure a successful drainage system.
Dig a Trench
Once you have planned the location, it’s time to dig a trench for your French drain. Before digging, always check for underground utility lines and pipes to avoid any accidents. The trench should be about 18 inches deep and 9 to 12 inches wide. A slope of at least 1 percent is required for proper drainage, which means the drain should slope down at least one inch for every ten feet of pipe. Use shovels or consider renting a trencher to get the job done efficiently.
Line the Trench with Filter Fabric
To keep your French drain free of dirt, silt, and tree roots, it’s important to line the trench with water-permeable filter fabric. This fabric acts as a barrier, preventing these materials from clogging the drain and ensuring proper functioning.
Using filter fabric for your French drain is crucial in preventing dirt and tree root clogs. The fabric allows water to flow through while capturing and preventing debris from entering the drain. This not only helps maintain the efficiency of your drainage system, but also prolongs its lifespan.
When lining the trench, make sure to leave at least 10 inches of excess filter fabric on each side to fold over the pipe and gravel later. This will provide an additional layer of protection against soil infiltration and help maintain the integrity of the drain over time.
Remember, the filter fabric is an essential component of your French drain, as it prevents clogs and ensures effective water flow. Take the time to properly line the trench before proceeding with the installation process.

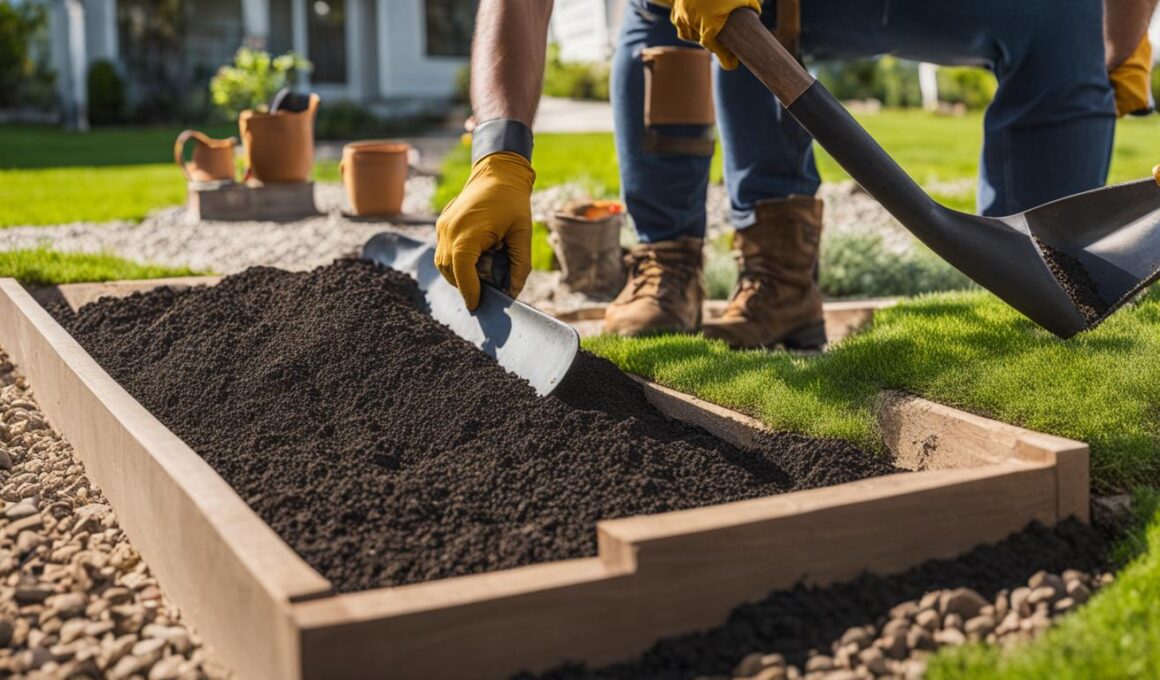
Pour the Gravel Bedding
After lining the trench with filter fabric, it’s time to pour and compact about 3 inches of gravel or landscaping stone along the bottom of the trench. This gravel will act as bedding for the drainage piping, allowing the water to flow freely.
Using gravel bedding is essential for the proper installation of a French drain. The gravel acts as a stable base for the drainage piping, ensuring that it remains in place and allows water to pass through. Make sure to evenly distribute the gravel along the trench and compact it to create a solid bed.
By providing a reliable foundation, the gravel bedding acts as a vital component of the French drain system, facilitating effective water drainage and preventing potential pipe damage. It also helps to minimize soil erosion and maintain the overall stability of the drain.
Hook Up the Pipe Connections
To complete the installation of your French drain, it is essential to hook up the pipe connections. This step ensures proper water flow and drainage throughout the system.
Install an inlet grate: Begin by installing an inlet grate at the point where water pools the most. This grate will act as the entry point for water into the drain. Make sure to position it in a way that allows easy access for maintenance and cleaning.
Secure the necessary fittings: Once the inlet grate is in place, secure the fittings required to connect your pipe system. These fittings will allow a seamless connection from the inlet grate to the water outlet point.
Choose the right pipe: Depending on your specific needs, you can either use a flexible drainage hose or a more durable PVC pipe. If you require a curved drain, a flexible drainage hose will provide the necessary flexibility. On the other hand, if you want a longer-lasting system, opt for PVC pipe.
Drill holes for a perforated pipe: If you decide to use PVC pipe, it is important to drill holes approximately 6 inches apart along the length of the pipe. These holes allow the water to enter the pipe and flow properly. Ensure that the drainage holes in the perforated pipe are pointed downwards to direct the water in the right direction.
Test the flow: Before finalizing the installation, it is crucial to test the flow of the drain. Pour water into the inlet grate and observe how quickly and smoothly the water flows through the system. This test will help you identify any issues and make necessary adjustments.
Set the Pipe Drain in the Trench
Lay the connected pipe structure in the trench on top of the layer of crushed stone, ensuring that the drainage holes in the perforated pipe are pointed downwards. This will allow the water to flow into the pipe. Test the flow of the drain by pouring water into the inlet grate.

Cover with Gravel and Filter Fabric
Now that you have laid the pipe drain in the trench, it’s time to cover it with gravel and a layer of filter fabric. This step is essential to ensure the proper functioning of your French drain.
To cover the pipe, pour approximately 3 inches of gravel or crushed stone over it. The gravel acts as a filtering material, allowing water to flow freely while preventing dirt and debris from clogging the drain.
Next, take the excess filter fabric that you left when lining the trench and wrap it over the layer of gravel. This additional layer of filter fabric provides an extra barrier against dirt, silt, and other particles that can potentially clog the drain. It helps keep your French drain clean and efficient.
Remember, proper coverage with gravel and filter fabric is crucial for the long-term functionality of your French drain. It ensures that the water is effectively filtered as it flows through the drain system, preventing any potential blockage that can hinder drainage performance.
With the pipe covered and protected, you’re one step closer to completing your French drain installation. The next section will guide you through the final steps of backfilling with topsoil and ongoing maintenance.
Backfill with Topsoil
Now that you have completed the installation of your French drain, it’s time to backfill the trench with topsoil to cover the entire drain system. This step is crucial to ensure proper function and aesthetics of your drainage system.
Start by gradually filling the trench with topsoil, layer by layer, making sure to compact it firmly as you go along. This will help stabilize the drain and prevent settling over time.
Be sure to cover the entire length of the drain system with topsoil, ensuring that there are no gaps or exposed areas. This will provide a smooth and even surface for your landscape and prevent any debris or vegetation from entering the drain.
While backfilling, pay special attention to the area around the inlet grate. It is important to temporarily cover this area with a protective barrier to prevent any stones or soil from falling into the drain during the backfilling process or later on.
Once the entire trench is backfilled and compacted, you can take additional steps to enhance the look of your landscape. You may consider reseeding the surface to promote grass growth or covering it with landscaping stones for a more decorative touch.
By backfilling the French drain, you will effectively conceal the drain system, allowing it to seamlessly blend into your landscape while effectively managing excessive water.
Can I Use Native Plants to Enhance the Drainage System in My French Drain Installation?
Yes, utilizing Sacramento native plants for garden in your French drain installation can significantly enhance the drainage system. These plants are adapted to the local climate and soil conditions, making them ideal for managing excess water in your yard. Plus, they add natural beauty and support local biodiversity.
Ongoing Maintenance
Regular maintenance is crucial to ensure that your French drain functions effectively and keeps your landscape dry. By following a few simple steps, you can keep your drain in optimal condition and prevent any potential problems.
Start by inspecting and cleaning the inlet grate and outlet point regularly. Check for any debris, leaves, or dirt that may have accumulated. Clearing any blockages ensures that water can freely enter and exit the drain system, preventing any potential backups or flooding.
When necessary, flush out any debris that may have accumulated in the drain. By doing so, you can prevent clogs and maintain a smooth flow of water. Simply use a hose to flush out any dirt or debris from the inlet grate, allowing the water to wash it away.
In the event that your French drain breaks or becomes clogged, you may need to undertake repairs or inspection. Depending on the issue, you may need to dig up part of the drain to identify and resolve the problem. Regular inspections will help detect any issues early on, allowing for prompt repairs and preventing further damage.
For those seeking a simpler maintenance solution, consider using a gravel-free drainage system. Gravel-free systems offer easier accessibility for inspections and repairs, as they do not require the removal and replacement of gravel. This can save you time and effort, making ongoing maintenance a breeze.