Are you interested in growing your own vanilla and enjoying the sweet aroma and rich flavor of homegrown vanilla beans? Cultivating vanilla may seem challenging, but with the right knowledge and proper care, you can successfully grow this tropical orchid in your own home. In this comprehensive guide, we will walk you through the step-by-step process of growing vanilla, from creating the ideal environment to harvesting and curing the delightful vanilla beans.
Growing vanilla at home requires a tropical environment, so if you don’t live in a tropical climate, you may need to construct a greenhouse. The temperature should be kept above 65°F and the humidity maintained at 85%. Vanilla orchids thrive in indirect sunlight and need a trellis or stake for the vines to climb. Regular watering, light misting, and weakly weekly fertilizing are essential for the plant’s growth.
Hand-pollination is necessary for vanilla beans to develop, and it may take 6-9 months for the beans to mature. Once the pods turn yellow, it’s time to harvest them and follow the curing process to prepare the vanilla beans for use.
By growing your own vanilla, you can experience the joy of cultivating a unique and exquisite ingredient. Join us as we embark on this rewarding journey of growing vanilla, and soon you’ll be savoring the flavors of your very own homegrown vanilla beans.
Choosing the Right Environment for Growing Vanilla
Vanilla orchids thrive in a tropical climate, making it essential to provide the right growing conditions to ensure a successful harvest. If you live in an area with a tropical climate, you’re in luck as vanilla orchids will flourish naturally in your region. However, if you don’t have the luxury of a tropical climate, don’t worry! You can still cultivate vanilla at home by constructing a greenhouse.
The temperature is a crucial factor in creating the ideal environment for vanilla orchids. During the day, the temperature should be maintained above 65°F (18°C) and at night, it should fall within the range of 65-75°F (18-24°C). This temperature range mimics the conditions of a tropical climate and allows the orchids to thrive.
Adequate humidity is also vital for the successful growth of vanilla orchids. To create a suitable environment, it is recommended to maintain a humidity level of 85%. This can be achieved by using a humidifier in the greenhouse or by placing a tray of water near the plants to increase moisture in the air.
When it comes to sunlight, vanilla orchids prefer indirect light to prevent scorching of their delicate leaves. It is recommended to provide the plants with around 6 hours of indirect sunlight per day. Placing the orchids near a window with sheer curtains or using shade cloth in the greenhouse can help filter the sunlight and protect the plants from direct exposure.
To support the vertical growth of vanilla vines, it is important to install a trellis or stake in the planting location. This will allow the vines to climb and create a visually stunning display as well as provide proper support for the plant’s development.
Planting and Caring for Vanilla Orchids
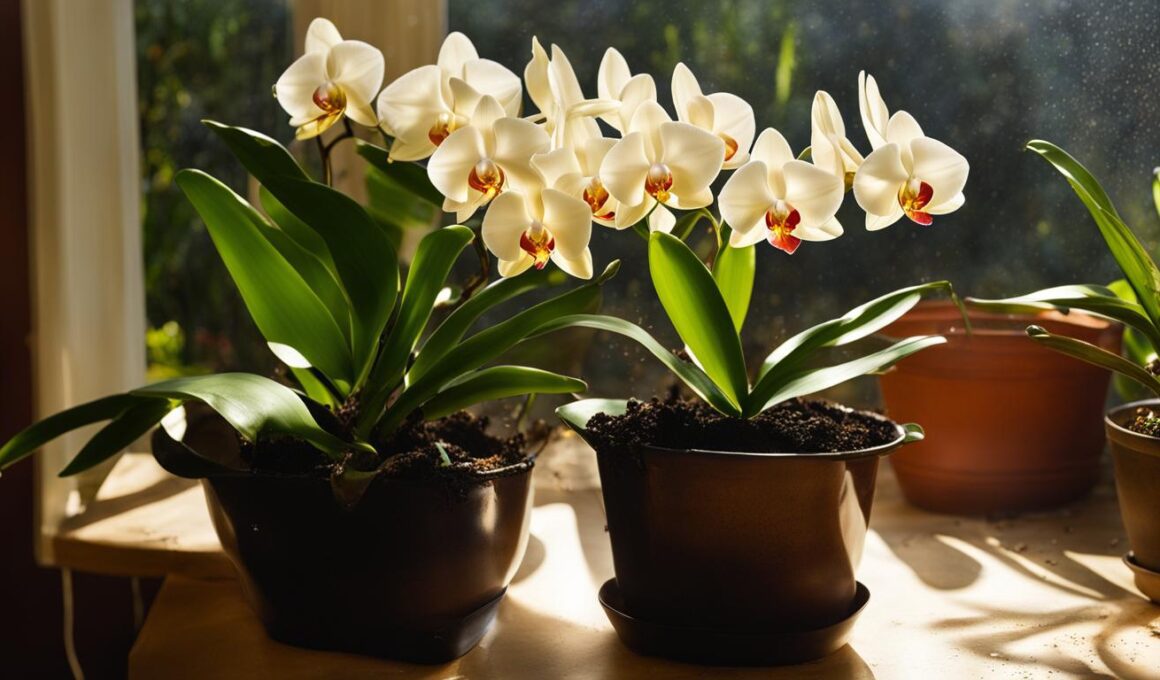
Now that you have your vanilla cutting, it’s time to plant and care for your vanilla orchid. Follow these steps to ensure the healthy growth of your plant:
- Choose a potting medium: Use a mix of fir bark and peat moss, or a potting medium specifically formulated for orchids. This will provide the right balance of drainage and moisture retention for your vanilla orchid.
- Check the pH: The potting medium should have a neutral pH level of 6.6 to 7.5. You can use a pH testing kit to verify the acidity or alkalinity of the medium.
- Plant the cutting: Bury the bottom 2 leaf joints of the vanilla cutting in the potting medium and lightly tamp it down to secure the plant.
- Watering: After planting, lightly water the orchid with distilled water. Make sure not to oversaturate the plant, as excessive moisture can lead to root rot.
- Sunlight: Vanilla orchids thrive in indirect sunlight. Provide your plant with at least 6 hours of indirect sunlight per day. Placing it near a window or in a well-lit room is ideal.
- Misting: Vanilla orchids require high humidity. Mist the leaves of the orchid daily with distilled water to mimic the humid conditions of their natural habitat.
- Fertilizing: During the growing season, fertilize the orchid weakly and weekly. Use a high-nitrogen liquid fertilizer specifically formulated for orchids. This will provide the necessary nutrients for the plant’s healthy development.
Caring for your vanilla orchid requires attention to detail and regular maintenance. By providing the right environment and following these care instructions, you’ll be on your way to growing your own delicious vanilla beans.

Harvesting and Curing Vanilla Beans
Once you have successfully hand-pollinated your vanilla orchids within the 12-hour pollination window, it’s time to start the exciting journey of harvesting and curing your precious vanilla beans. To ensure a bountiful harvest, transfer the pollen from the flowers to the female parts using a chopstick or cotton swab.
After a successful pollination, the flowers will wilt, and within a week, green pods will begin to form. Keep a close eye on the pods and harvest them when they turn a vibrant yellow color and elongate. This indicates that the beans inside are ripening and ready to be harvested.
The next step is the crucial curing process, where the harvested vanilla beans are transformed into the aromatic wonders we are all familiar with. Start by blanching the beans in hot water to kill off any bacteria and to initiate enzymatic reactions that will enhance the flavor and aroma. Next, gently sweat the beans by placing them in a blanket-lined box, allowing them to rest and develop their distinct characteristics.
To further enhance the quality of the vanilla beans, alternate between drying them under the sun and sweating them for 7-14 days. In this process, the beans release moisture and develop their unique sweet fragrance. Finally, air dry the beans for 8-20 days at a temperature of 95°F and a humidity level of 70%, until they reach a soft, leathery texture that is perfect for storage and use.
Can I Use Vanilla in Making Mint Oil?
Of course, you can use vanilla in making mint oil at home. Adding a few drops of vanilla extract to your homemade mint oil can enhance its fragrance and add a subtle sweetness to the overall aroma. Experimenting with different essential oil combinations is a great way to customize your own signature scents.