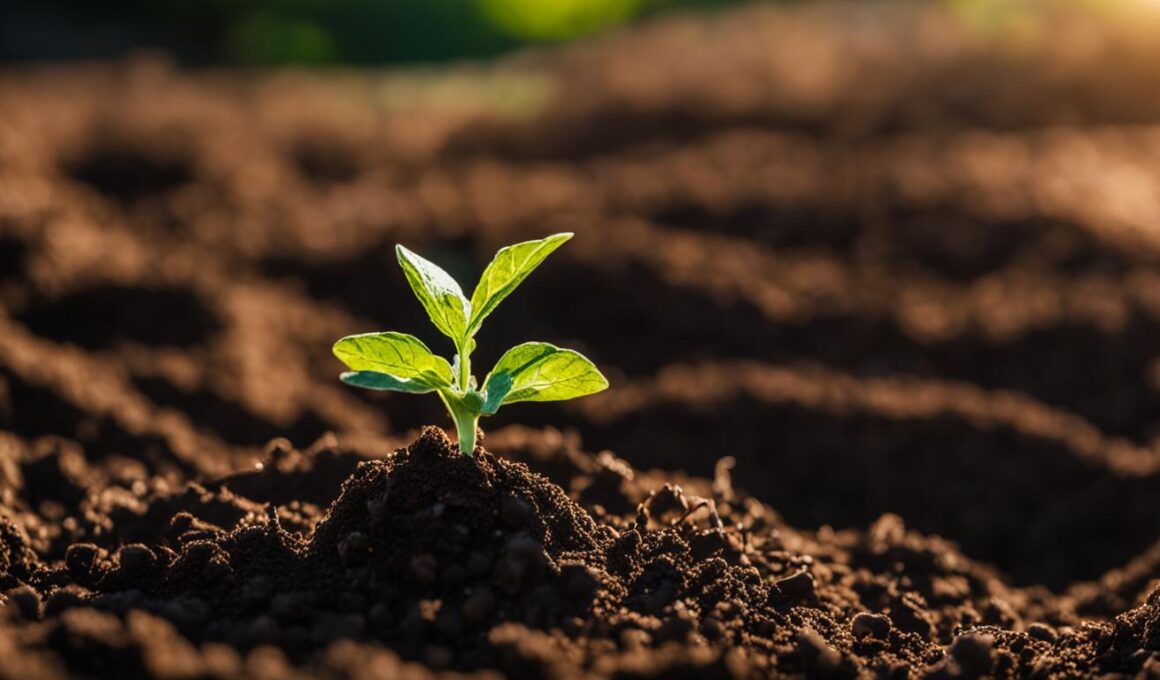
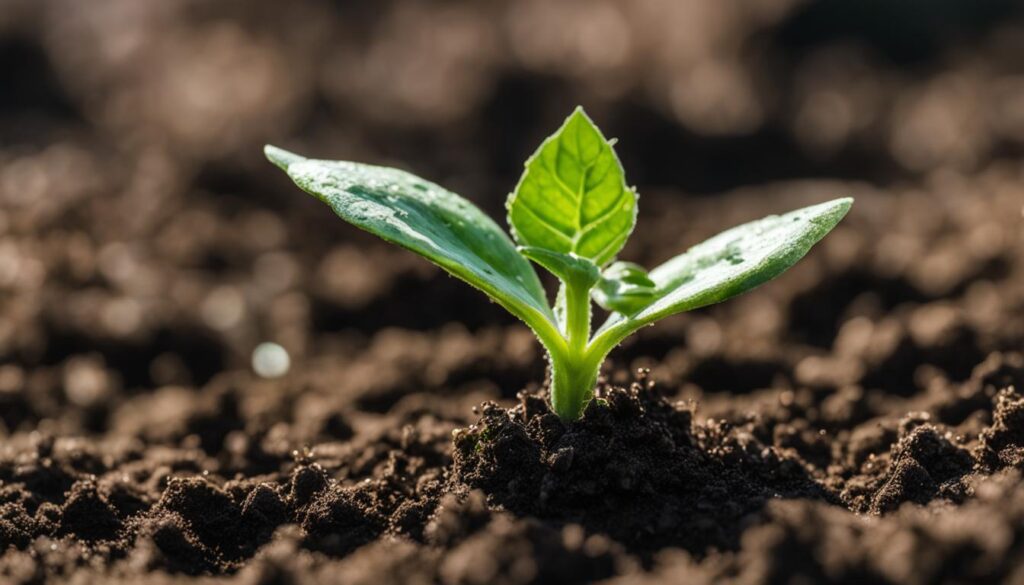
If you’re looking to grow your own fresh and juicy watermelons, germinating watermelon seeds is the first step. Whether you’re a seasoned gardener or a beginner, this guide will help you successfully germinate watermelon seeds and enjoy the satisfaction of growing watermelons from scratch.
Growing watermelon from seeds offers a variety of benefits. Not only can you choose from numerous watermelon varieties, but you also have control over the entire growth process, ensuring the use of organic methods and avoiding chemical additives. Plus, there’s nothing quite like the taste of a homegrown watermelon!
When it comes to watermelon seed germination, you have two options: planting the seeds directly into the garden or starting them indoors. Both methods have their advantages, so let’s explore each one in more detail.
If you decide to plant watermelon seeds directly into the garden, it’s essential to wait until the soil has warmed up. At a depth of four inches, the soil temperature should reach at least 65 degrees Fahrenheit (18 degrees Celsius). Watermelon seeds germinate faster in soil temperatures ranging from 70 to 95 degrees Fahrenheit (21 to 35 degrees Celsius).
It’s important to give watermelons enough time to mature before the first frost. Watermelons grow on spreading vines and require plenty of garden space, typically around 20 square feet per plant. Ensure that you plant them in nutrient-rich, well-draining soil that warms up early and receives ample sunlight during the growing season.
If space is limited, there are small watermelon varieties available that can be grown on trellises. When planting in mounds, create mounds about 8 to 10 inches high, spaced 3 feet apart in rows with 5 feet on either side. Watermelon seeds should be sown about ¾ to 1 inch deep and gently watered to moisten the soil without washing out the seeds.
Watermelon plants require consistent watering, preferably about 1 to 2 inches of water per week. You can use a sprinkler or a spray hose attachment for irrigation. Once the seedlings grow to a few inches tall and develop two sets of true leaves, thin them to one seedling per mound.
Watch for flower buds to appear, which typically happens four to eight weeks after planting. Fertilize the plants once a month throughout the growing season with a higher phosphorous fertilizer, such as 5-10-10. Harvest watermelons when the stem thins out, turns grayish-brown, and becomes dry. The melon should also have a pale or faint yellow spot where it touches the soil.
If you prefer starting watermelon seeds indoors, begin the process two to three weeks before the last frost in spring. Plant the seeds in biodegradable pots or containers that can be transplanted directly into the garden without disturbing the roots. Use a sterile seed starting mix or potting soil and sow 2-3 seeds per pot.
Ensure the soil temperature stays between 80 and 90 degrees Fahrenheit (27 to 32 degrees Celsius) for optimal germination. You can use a germination mat to maintain constant temperatures. After the seeds sprout, lower the temperature to around 75 degrees Fahrenheit (24 degrees Celsius). When it’s time to transplant the seedlings outdoors, make sure the soil has warmed up to at least 70 degrees Fahrenheit (21 degrees Celsius) and avoid disturbing the roots during transplantation.
Seedless watermelons have also become a popular choice among gardeners. Although they have a unique germination process, they can be just as delicious as their seeded counterparts. Seedless watermelon seeds are tetraploid (4n) and require pollination by standard diploid plants to produce triploid (3n) fruit.
To germinate seedless watermelon seeds successfully, use well-drained potting mix and avoid overwatering. Nicking the rounded end of the seed, wrapping the seed tray in plastic wrap, and maintaining a soil temperature of 85 degrees Fahrenheit (29 degrees Celsius) can all increase your germination success. Once the seeds sprout, resume regular watering and maintain a constant temperature until they are ready for transplanting.
Growing watermelons from seeds can be a rewarding experience, and following these steps will help you achieve successful germination. So get started and enjoy the taste of fresh, homegrown watermelons straight from your garden!
Starting Watermelon Seeds Indoors
If you prefer to start watermelon seeds indoors, you have the advantage of getting a head start on the growing season. Begin this process about two to three weeks before the last frost in spring to ensure optimal conditions for germination. By starting watermelon seeds indoors, you can protect them from unpredictable weather and provide them with a stable and controlled environment for successful growth.
To get started, gather biodegradable pots or containers that can be easily transplanted into the garden without disturbing the delicate roots of the seedlings. This will allow for a smooth transition when it’s time to plant them outside.
For ideal germination, use a high-quality sterile seed starting mix or potting soil. This will provide the necessary nutrients and moisture retention for the seeds to thrive. Place two to three watermelon seeds in each pot, following the recommended spacing guidelines for the specific variety you are growing.
- Note: Remember to label each pot with the seed variety and date of planting to keep track of your progress.
Next, it’s important to create a favorable environment for germination. Aim to maintain a soil temperature between 80-90°F (27-32°C) to provide the optimal conditions for the watermelon seeds to sprout. Using a germination mat can help you maintain a constant and precise temperature during this critical phase of growth.
Note: A germination mat is an electric heating mat that helps regulate the soil temperature and creates an ideal germination environment for seeds.
Once the seeds have sprouted, which typically happens within 7-10 days, lower the temperature to around 75°F (24°C). This temperature adjustment will ensure that the seedlings continue to grow strong and healthy.
As the frost-free date approaches and the soil outdoors has warmed to at least 70°F (21°C), the watermelon seedlings will be ready for transplantation. While transferring them to the garden, take care not to disturb the roots and handle the delicate seedlings with care.
If you live in a region with a warm winter climate, you can also directly sow watermelon seeds in the garden during midwinter for an early summer harvest.
To summarize, starting watermelon seeds indoors offers you the opportunity to gain a head start on the growing season and provide your seeds with optimal conditions for germination. By following these steps and ensuring proper temperature control, you can enjoy healthy and robust watermelon plants ready to thrive in your garden.
Benefits of Starting Watermelon Seeds Indoors:
- Provides a head start on the growing season
- Protects seeds from unpredictable weather conditions
- Allows for a controlled and stable environment
- Ensures optimal germination conditions
- Enables careful root protection during transplantation
- Suitable for regions with warm winter climates
Tips for Germinating Seedless Watermelon Seeds
Seedless watermelons are a popular choice among home gardeners. Contrary to the belief that seedless watermelons are less sweet, they can be just as delicious as their seeded counterparts. To grow seedless watermelons, you need to understand their unique seed germination process.
Seedless watermelon seeds are actually tetraploid (4n), which means they have twice the number of chromosomes as normal diploid (2n) seeds. To achieve triploid (3n) fruit, seedless watermelon plants need to be pollinated by standard diploid plants. The ratio for proper pollination is 3 seedless transplants for every 1 seeded transplant.
When germinating seedless watermelon seeds, use a well-drained potting mix and be cautious not to overwater them. Nicking the rounded end of the seed, wrapping the seed tray in plastic wrap, and maintaining a soil temperature of 85°F can all increase germination success.
Once they sprout, resume watering and provide a constant temperature until they are ready for transplanting.
Conclusion
Germinating watermelon seeds is the first step towards growing your own delicious watermelons. Whether you choose to plant them directly into your garden or start them indoors, following a few key steps can ensure successful germination. Creating a warm and welcoming environment for the seeds is essential. Make sure the soil temperature is optimal, ranging between 70-95°F, and provide proper spacing to allow the watermelon plants to grow and spread comfortably.
Proper watering is crucial for watermelon seed germination. Water the seeds gently to moisten the soil without washing them away. As the seedlings grow, provide them with 1 to 2 inches of water per week, ensuring the plants receive enough hydration.
If you’re interested in growing seedless watermelons, remember that they have a unique germination process. Pay attention to the planting ratio and germination conditions to achieve successful growth. By understanding the needs of watermelon seeds and following the tips provided in this watermelon seed germination guide, you can enjoy a bountiful harvest of juicy watermelons that you’ve grown from seeds in your own backyard.
Can the Same Germination Process be Used for Strawberry Seeds as for Watermelon Seeds?
When starting strawberry seeds at home, it’s important to note that the germination process for strawberries differs from that of watermelon seeds. While watermelon seeds require warmer temperatures and constant moisture, strawberry seeds need a period of cold stratification before they can germinate. So, the processes for both seeds are not the same.


