Do you dream of a flat and level backyard? Uneven ground not only looks unsightly, but it can also make maintaining your yard and using it for outdoor activities a real challenge. Fortunately, leveling your backyard is not as difficult as it may seem. You can achieve a beautifully level yard with just a little bit of effort and the right tools. In this article, we’ll guide you through the easy steps to flatten your backyard, so you can enjoy the outdoor space of your dreams.
Key Takeaways
- Having a level backyard is important for both aesthetics and functionality.
- Assessing your backyard’s current state is the first step towards leveling it.
- You’ll need certain tools and materials for backyard leveling, depending on the technique you choose.
- There are several techniques to choose from, including adding topsoil, using a tiller, or hiring professional grading services.
- With our step-by-step guide, you can level your backyard yourself and achieve a professional-looking finish.
Assessing Your Backyard’s Current State
Before you can begin leveling your backyard, you need to assess its current state. This will help you determine the extent of the work that needs to be done and which techniques and tools to use.
Here are the steps to follow:
Step 1: Check for Slopes
Walk around your backyard to identify any slopes or uneven areas. Look for areas that are noticeably higher or lower than the rest of the yard. You can also use a string level or a water level to check for slopes.
Step 2: Measure the Grade
Use a line level or a surveyor’s level to measure the grade of your backyard. This will help you determine how much soil needs to be moved to level the yard. Measure the slope in both directions and take the average to get an accurate reading.
Step 3: Identify Areas that Need Leveling
Based on your observations and measurements, identify the areas of your backyard that need leveling. Make a map or sketch of your yard, marking the areas that need attention. This will help you plan your leveling project and ensure that you don’t miss any areas.
By following these steps to assess your backyard’s current state, you’ll have a better idea of the work that needs to be done to level your yard. Now, you’re ready to move on to the next step: gathering the tools and materials you’ll need.
Tools and Materials for Backyard Leveling
Before you begin the backyard leveling project, ensure you have all the necessary tools and materials. Here’s a list of the essentials:
| Tool/Material | Function |
|---|---|
| Shovel | For digging and moving soil |
| Rake | To level soil and debris |
| Tape measure | To measure the grade of your yard |
| Wheelbarrow | To transport soil, rocks, or other materials |
| Level | To ensure a smooth and even grade |
| Topsoil | To level low spots or add thickness to soil |
| Gravel | To improve drainage and prevent erosion |
If you’re planning on doing the leveling yourself, you may need to rent additional equipment, such as a tiller or a plate compactor. Check with your local rental company to determine the availability and costs of these tools.
Note: When purchasing soil or other materials, buy slightly more than you think you’ll need to account for any unexpected changes in the project scope.
Backyard Leveling Techniques
There are various techniques you can use to level your backyard, depending on the extent of grading required. Here are some options to consider:
1. Adding Topsoil
One of the simplest ways to level a backyard is by adding topsoil. This method is ideal for minor grading work and can be completed in just a few hours. The process involves:
| Steps | Description |
|---|---|
| Step 1 | Remove any debris and vegetation from the area that needs to be leveled. |
| Step 2 | Measure the area and calculate how much topsoil is needed to achieve a level surface. |
| Step 3 | Spread the topsoil evenly over the area, ensuring that the surface is level. |
| Step 4 | Use a garden rake to spread the topsoil smoothly over the entire area. |
| Step 5 | Water the area lightly to help settle the topsoil. |
| Step 6 | Check the surface again once the water has dried and add more topsoil if necessary. |
2. Using a Tiller
If your backyard requires more extensive grading, you may need to use a tiller to break up the soil and create a level surface.
Here’s how:
- Remove any debris and vegetation from the area that needs to be leveled.
- Mark the boundaries of the leveled area using stakes and string.
- Set the tiller to the desired depth and make passes over the area, working in a crisscross pattern.
- Use a rake to smooth out any bumps or ridges.
- Water the area, and check the surface again for levelness.
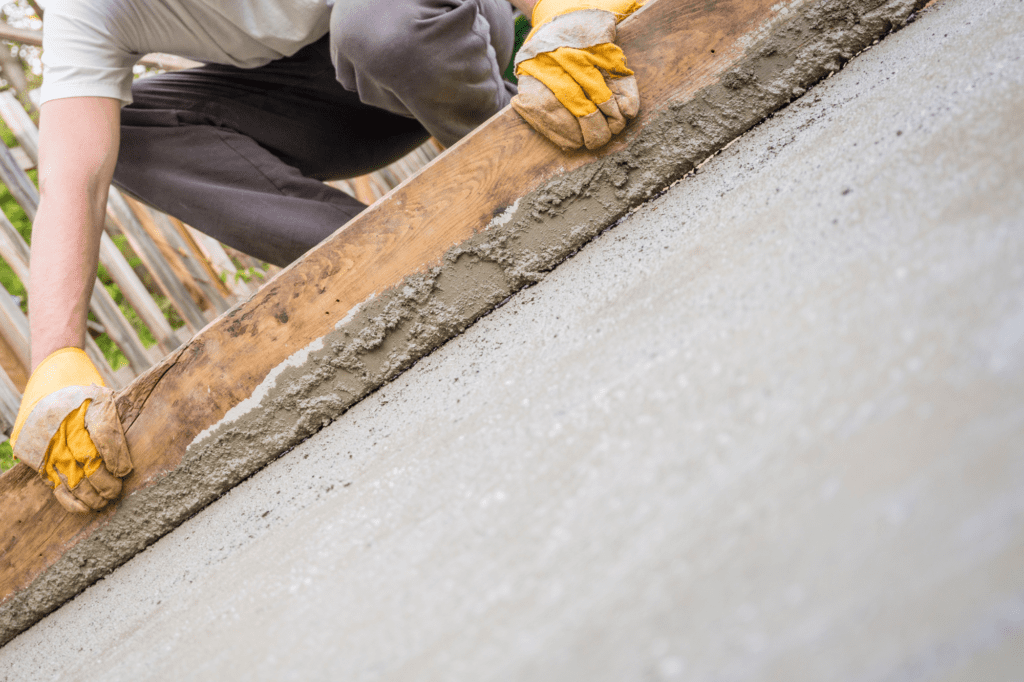
3. Hiring Professional Grading Services
If your backyard requires significant grading or leveling work, it may be best to hire a professional grading service. These companies will have the necessary equipment and expertise to ensure that your backyard is graded correctly and safely.
Tip: When choosing a professional grader, be sure to research their experience, past projects, and customer reviews to ensure that they are a reputable service.
By using one of these techniques, you can level your backyard and create a space that is safe, functional, and aesthetically pleasing.
DIY Backyard Leveling Step-by-Step Guide
Now that you have assessed your backyard and gathered the required tools and materials, it’s time to start the leveling process. Follow these step-by-step instructions to achieve a level and beautiful backyard:
- Prepare the area: Begin by removing any debris, rocks, or large objects from the area you want to level. Use a rake or shovel to clear the ground and make sure there are no obstructions.
- Measure the slope: Use a level tool or a simple water level to measure the slope of your yard. Mark the highest and lowest points and measure the distance between them. This will help you determine how much soil or fill material you need to level the area.
- Add topsoil: If your yard has a minor slope, you can level it by adding topsoil. Spread an even layer of topsoil over the area and use a rake to level the ground. Repeat the process until you achieve the desired result.
- Use a tiller: For a more significant slope, you can use a tiller to level the ground. Run the tiller over the area and break up any clumps of soil. Spread topsoil over the ground and use a rake to level it.
- Hire professional grading services: If your yard has a steep slope or you don’t have the necessary tools and experience, consider hiring professional grading services. They have the expertise and equipment to level your yard effectively.
- Compact the soil: Once you spread the topsoil and leveled the ground, use a lawn roller or a tamper to compact the soil. This will create a firm and stable base for grass or other landscaping features.
- Plant grass: If you plan to grow grass, now is the time to plant the seeds or sod. Water the area regularly and keep it moist until the grass is fully established.
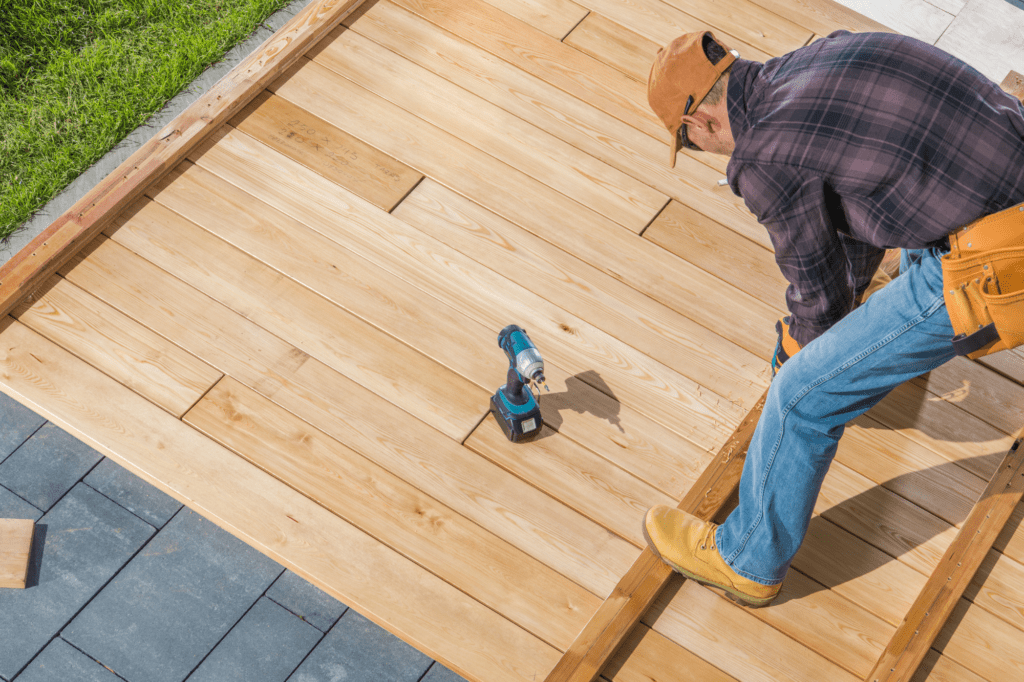
- Add landscaping features: Once your backyard is level and the grass is growing, you can add landscaping features such as flower beds, shrubs, or a patio. Plan the layout carefully and take into account the shape and slope of your yard.
By following these steps and using the appropriate techniques and tools, you can achieve a level and visually pleasing backyard. Remember to take your time, be patient, and enjoy the process of transforming your outdoor space!
Conclusion
Congratulations! You now have all the knowledge you need to level your backyard and transform it into a beautifully landscaped space that you can enjoy. Remember, a level yard not only looks great but also reduces the risk of water damage and enhances the overall safety of your property.
By following the steps outlined in this article, you can achieve a level backyard on your own or with the help of professional services. Whether you choose to add topsoil, use a tiller, or opt for another technique, the key is to take your time and ensure a thorough job is done.
So what are you waiting for? Start assessing your backyard today and get ready to create the perfect outdoor space for your family and friends.
FAQ
Q: Why is it important to have a level backyard?
A: Having a level backyard is important for several reasons. It provides a safe and functional outdoor space for activities such as playing, entertaining, and gardening. It also helps with proper water drainage and prevents erosion. A level yard is aesthetically pleasing and can increase the value of your property.
Q: What are some signs that my backyard needs leveling?
A: Signs that your backyard needs leveling include noticeable slopes or uneven ground, pooling water after rain, difficulty mowing or maintaining the lawn, and plants or grass growing unevenly. If you notice any of these signs, it’s a good idea to assess and level your backyard.
Q: Can I level my backyard myself?
A: Yes, you can level your backyard yourself. It depends on the size and complexity of the job, as well as your skill level and available tools. DIY backyard leveling requires careful planning and execution. However, for larger or more challenging projects, it may be best to hire professional grading services.
Q: What tools and materials do I need for backyard leveling?
A: The tools and materials needed for backyard leveling can vary depending on the technique you choose. Some common tools include a shovel, rake, wheelbarrow, tamper, leveling tool, and measuring tape. You may also need topsoil, compost, sand, or gravel, depending on the condition of your yard.
Q: How long does it take to level a backyard?
A: The time it takes to level a backyard can vary depending on the size, condition, and chosen technique. Smaller projects may only take a few days, while larger or more complicated projects can take several weeks. It’s important to plan ahead and allow enough time to complete the project properly.
Q: Are there any precautions to take when leveling a backyard?
A: Yes, there are some precautions to take when leveling a backyard. Ensure you have the necessary safety equipment, such as gloves and sturdy footwear. Take care when using tools and equipment, and follow the instructions provided. It’s also a good idea to check for underground utilities before digging.