Are you tired of dealing with water pooling in your yard or basement? If so, it’s time to learn how to dig a trench for drainage. This article will guide you through the process of creating an effective drainage system on your property.
First, you need to assess the drainage needs of your property. Identify areas where water tends to accumulate and plan the best route for your trench. Once you have a plan in place, gather the necessary tools and materials, such as a shovel, wheelbarrow, and drainage pipes.
Next, it’s time to start digging the trench. Remember to wear protective gear and take breaks to prevent fatigue or injury. Once the trench is dug, install the drainage pipes and backfill the trench with soil.
Finally, finish the trench by compacting the soil and ensuring proper water flow. Don’t forget to maintain your drainage system regularly to prevent clogs and ensure optimal performance.
By following these steps, you can effectively manage water drainage on your property, keeping it safe and dry. So let’s get started on digging that trench!
Quick Summary
- Assess the drainage needs and identify areas of water accumulation before planning the route of the trench.
- Gather the necessary tools and materials, such as shovels, wheelbarrows, and drainage pipes, to dig the trench and install the drainage system.
- Follow safety precautions, wear protective gear, and take breaks to prevent fatigue or injury while digging the trench.
- Regularly maintain the drainage system by clearing debris, checking for clogs, and adjusting the slope as needed to ensure optimal performance.
Assess the Drainage Needs of Your Property
You’ll need to take a good, hard look at your property and figure out exactly what your drainage needs are. It’s crucial to evaluate existing drainage solutions and determine if they’re effective or need improvement.
Start by inspecting your yard during heavy rainfall to see if there are any areas where water tends to pool or flow towards your home. These are the spots that require immediate attention.
Implementing sustainable drainage systems is key to ensuring the safety of your property. Consider installing a French drain, which is a trench filled with gravel and a perforated pipe that redirects water away from your home’s foundation. This will help prevent water damage and potential flooding.
Additionally, you may need to dig a trench to redirect water to a designated drainage area, such as a dry well or storm sewer.
Safety is of utmost importance when digging a trench for drainage. Before you start, make sure to locate any underground utilities, such as gas lines or electrical cables, to avoid accidents. It’s also essential to wear protective gear, including gloves and safety goggles, to prevent any injuries.
By evaluating your property’s drainage needs and implementing sustainable drainage systems, you can ensure a safe and effective solution for managing excess water.
Plan the Trench Route
First, envision the path where your trench will wind its way through your yard for optimal drainage. Safety should be your top priority when planning the trench route.
Start by determining the trench depth. This will depend on the amount of water you need to drain and the type of soil in your yard. For most residential drainage projects, a trench depth of 12-18 inches should be sufficient. However, if you’re dealing with heavy runoff or clay soil, you may need to dig deeper.
Once you’ve decided on the trench depth, it’s time to consider the trench alignment. The trench should follow the natural slope of your yard to ensure proper water flow. Avoid digging the trench in a straight line, as this can cause water to pool in certain areas. Instead, create a gentle curve or zigzag pattern that allows the water to flow smoothly.
When planning the trench route, be mindful of any obstacles in your yard, such as trees, underground utilities, or structures. You don’t want to accidentally damage any of these while digging the trench. It’s a good idea to mark the route with stakes or spray paint before you start digging, so you have a clear visual guide.
Remember, safety comes first. Always call your local utility companies to locate any underground utilities before digging. This’ll ensure that you don’t accidentally hit any gas, water, or electrical lines while digging your trench.
Gather the Necessary Tools and Materials
To gather the necessary tools and materials for digging a trench for drainage, you’ll need a shovel, pickaxe, and other digging tools. These tools are essential for breaking through the soil and excavating the trench.
Additionally, you’ll need drainage pipes, gravel, and geotextile fabric to create a functional and effective drainage system. Make sure you have all these items on hand before you begin the trenching process.
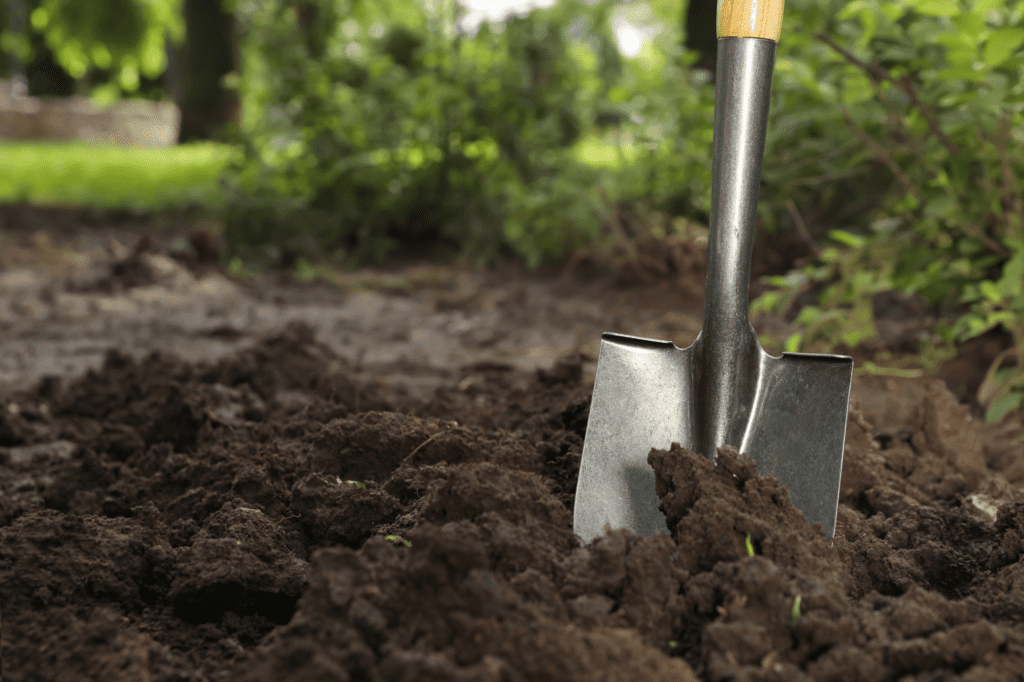
Shovel, pickaxe, and other digging tools
When it comes to digging a trench for drainage, don’t underestimate the power of a good shovel and pickaxe. These tools are essential for a successful excavation and will make your job easier and more efficient. Remember, safety should always be your top priority, so here are some tips to keep in mind when using these tools:
- Use proper pickaxe techniques: Hold the pickaxe with both hands and swing it from your shoulder, using your legs to generate power. Aim for the ground at a slight angle to break up the soil effectively.
- Proper shovel handling: Keep your back straight and use your legs to lift the shovel. Take small scoops of dirt and avoid overloading the shovel to prevent strain or injury.
- Take breaks: Digging can be physically demanding, so make sure to take regular breaks to rest and hydrate.
By following these guidelines, you’ll be able to dig your trench safely and efficiently.
Drainage pipes, gravel, and geotextile fabric
Using drainage pipes, gravel, and geotextile fabric is essential for ensuring proper water flow and preventing soil erosion. When installing geotextile fabric, make sure to choose a high-quality, durable material that can withstand the pressure of the soil and water.
Begin by excavating the trench to the desired depth and width, ensuring it has a slight slope for water to flow. Next, lay the geotextile fabric along the bottom and sides of the trench, overlapping the edges to create a barrier that prevents soil particles from clogging the drainage system.
Then, carefully place the gravel in the trench, ensuring it is evenly distributed and compacted. The size of the gravel should be appropriate for the drainage system, with larger stones used for the bottom layer and smaller stones for the top layer.
Finally, cover the gravel with another layer of geotextile fabric to further prevent soil infiltration and secure the drainage pipes on top. Following these steps will ensure a well-functioning and safe drainage system.
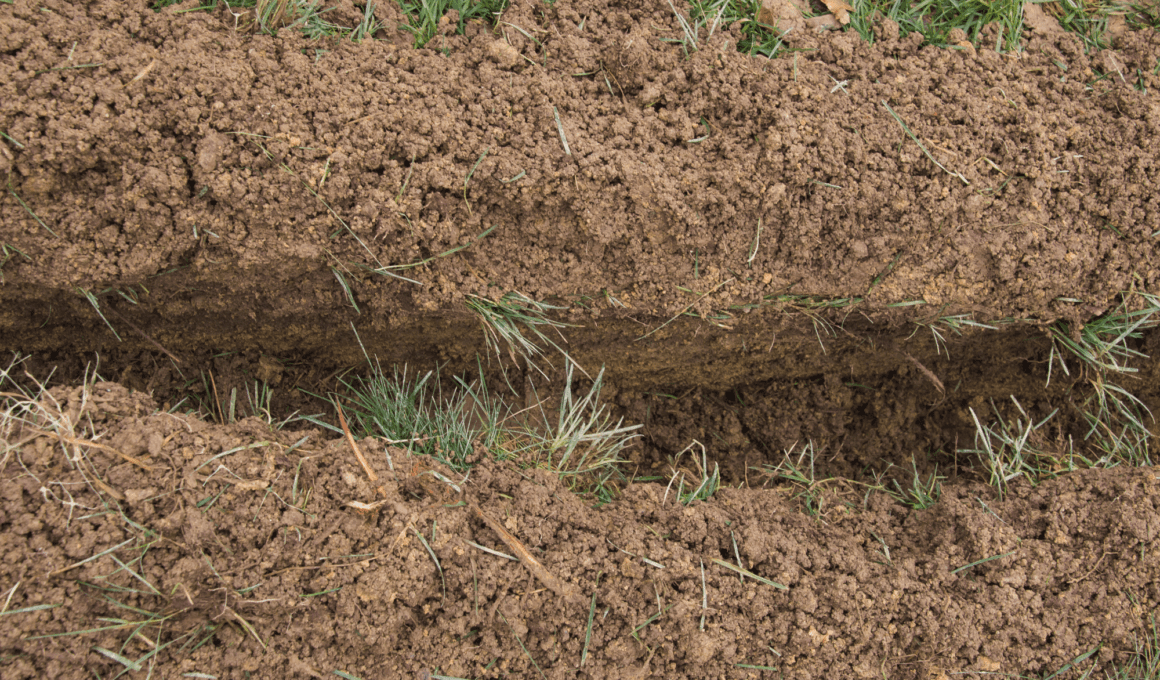
Start Digging the Trench
To start digging the trench for drainage, begin at the lowest point of the drainage area. This will ensure that water flows properly and efficiently.
Dig to the desired depth and width, taking into consideration the amount of water that needs to be drained. Make sure to maintain a consistent width throughout the trench to allow for proper water flow.
Begin at the lowest point of the drainage area
Starting at the lowest point of the drainage area, it’s time to dig a trench for optimal drainage. To ensure a successful project, follow these trenching techniques:
- Determine the drainage slope: Before digging, assess the slope of the area to ensure water flows in the desired direction.
- Mark the trench boundaries: Use flags or stakes to mark the boundaries of the trench, keeping it straight and uniform.
- Start digging: Begin by removing the top layer of soil and progress deeper, aiming for a depth of at least 12 inches.
- Create a slight slope: As you dig, create a gentle slope along the bottom of the trench to promote water flow.
- Maintain safety: Wear protective gear such as gloves and safety glasses, and be cautious of underground utilities.
By following these guidelines, you can dig a trench for drainage that effectively directs water away from your property, ensuring safety and preventing potential damage.
Dig to the desired depth and width
Now that you’ve started digging at the lowest point of the drainage area, it’s time to dig to the desired depth and width. This step is crucial for ensuring proper drainage and preventing future problems.
To do this, maintain a steady pace and use the proper technique. Keep in mind that safety should always be your top priority. Take the necessary precautions to avoid any accidents or injuries. Remember to wear protective gear, such as gloves and safety glasses.
Be mindful of any underground utilities and mark them before digging. Additionally, make sure to stabilize the trench walls to prevent collapses.
By following these guidelines, you can create a well-built trench that will effectively drain water and keep your surroundings safe.
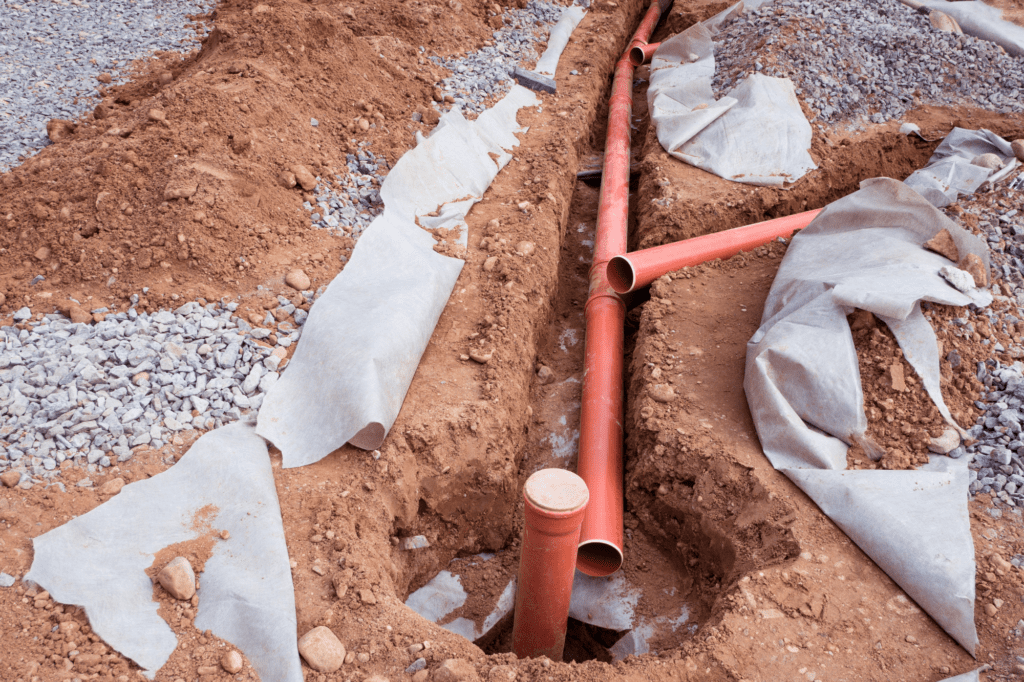
Install the Drainage Pipes
Once the drainage pipes are in place, it’s time to connect them to the main sewer line. Proper installation of drainage pipes is crucial for effective drainage and preventing water accumulation. To ensure the safety of your drainage system, follow these guidelines for installing the pipes.
First, determine the correct pipe placement. The pipes should be laid in a sloping manner, with a minimum slope of 1/8 inch per foot, to allow for proper water flow. This will prevent water from pooling and causing potential damage.
Next, dig a trench wide enough to accommodate the pipes. The width should be sufficient to allow for easy installation and maintenance. It is important to follow local building codes and guidelines regarding the depth and width of the trench.
Once the trench is dug, carefully position the drainage pipes in the trench. Make sure the pipes are aligned properly and securely connected to each other. To ensure a tight seal, use appropriate fittings and connectors. A strong and secure connection will prevent leaks and ensure efficient water flow.
To help you understand the proper installation process, refer to the table below:
| Pipe Placement | Proper Pipe Placement |
|---|---|
| Slope of Pipes | Minimum slope of 1/8 inch per foot |
| Trench Width | Follow local building codes and guidelines |
| Pipe Alignment | Proper alignment and secure connections |
| Fittings and Connectors | Use appropriate fittings for tight seals |
Following these guidelines will ensure a successful installation of your drainage pipes, providing efficient and safe drainage for your property.
Backfill the Trench
To properly fill in the trench, you’ll want to use soil that’s free of rocks or debris. This is crucial for ensuring proper drainage and preventing any future issues.
When backfilling the trench, it’s important to use the right techniques to achieve optimal results. Start by placing a layer of soil at the bottom of the trench, ensuring it’s evenly distributed. Then, compact the soil using a hand tamper or a plate compactor, making sure it’s firm and well-packed.
Continue backfilling the trench in layers, compacting each layer before moving on to the next. This helps to prevent settling and ensures that the soil is properly compacted. As you backfill, be mindful of any existing pipes or utility lines in the trench. Take extra care to avoid damaging them during the backfilling process.
Proper soil compaction is key to a successful drainage system. It helps to prevent soil erosion and maintains the integrity of the trench. Avoid overcompacting the soil, as this can lead to poor drainage. On the other hand, undercompaction can result in settling and uneven ground. Aim for a firm, but not overly compacted, soil surface.
By following these backfilling techniques and ensuring proper soil compaction, you can create a well-functioning drainage system that’ll effectively remove excess water and protect your property from potential water damage. Remember to always prioritize safety and take the necessary precautions when working on any construction project.
Finish the Trench
To finish the trench, cover it with soil or sod, creating a smooth and even surface. This will help to blend the trench with the surrounding landscape and prevent erosion.
Additionally, make sure to create a gentle slope away from your property to ensure proper drainage and prevent water from pooling near your home. Remember to compact the soil as you go, ensuring a sturdy and long-lasting trench.
Cover the trench with soil or sod
Now that the trench is dug, it’s time to cover it with soil or sod, creating a seamless and functional drainage system for your property. Here are the steps to follow:
- Spread a layer of topsoil evenly over the trench. Make sure it covers the entire length and width of the trench.
- Use a rake or shovel to level the soil and ensure it’s compacted. This’ll prevent future settling and maintain proper drainage.
If you choose to use sod, lay it over the soil, making sure the pieces fit tightly together. Trim any excess sod to fit the trench.
Lightly water the sod or soil to help it settle and establish contact with the ground.
Remember, safety is crucial during this process. Use proper lifting techniques to prevent strain on your back. Also, be cautious of any underground utilities or pipes when digging or covering the trench.
By following these steps, you’ll have a well-covered trench that effectively directs water away from your property.
Create a gentle slope away from your property
Once the soil or sod is in place, make sure there’s a gradual incline away from your property to divert water effectively. This is crucial for preventing water from pooling around your home and causing damage. To achieve this, use proper grading techniques to create a gentle slope that encourages water to flow away. By doing so, you can effectively channel water towards appropriate drainage areas, such as a storm drain or a dry well.
Additionally, this slope will help prevent soil erosion, as water won’t be able to accumulate and wash away soil particles. Remember to regularly inspect and maintain the slope to ensure it’s effective in diverting water and preventing any potential safety hazards.
Maintain the Drainage System
Ensure the drainage system stays in optimal condition by regularly maintaining it. Here are a few essential steps you can take to prevent water pooling and ensure the effectiveness of your drainage system:
- Clear debris: Regularly remove any leaves, twigs, or other debris that may accumulate in the trench. These can block the flow of water and lead to overflow or pooling.
- Check for clogs: Inspect the drainage system for any clogs or obstructions. Use a plumbing snake or a high-pressure water jet to clear any blockages that may have formed over time.
- Monitor the slope: Keep an eye on the slope of the trench to ensure that it is still effectively directing water away from your property. Over time, the ground may settle, causing the slope to become less steep. Adjust it as necessary to maintain proper drainage.
- Repair any damage: Regularly inspect the drainage system for any signs of damage or wear. Replace any cracked pipes, damaged grates, or broken connections to keep the system fully functional.
Regular maintenance of your drainage system is crucial to prevent water pooling and ensure the safety of your property. By following these steps, you can keep your drainage system in optimal condition and avoid potential issues in the future.
Frequently Asked Questions
How deep should the trench be for proper drainage?
To ensure proper drainage, dig a trench at least 12 inches deep. Use digging equipment like shovels or trenchers and follow proper trenching techniques. Remember to prioritize safety by wearing protective gear and being cautious of underground utilities.
What type of drainage pipes should be used?
To choose the right size for drainage pipes, consider different materials such as PVC or corrugated plastic. Ensure the pipes can handle the water flow and prevent clogs for effective drainage. Safety is crucial, so consult a professional if needed.
How often should the drainage system be maintained?
To ensure the safety of your drainage system, it’s important to maintain it regularly. Check for signs of problems like blockages or standing water, and schedule maintenance at least once a year to prevent major issues.
Can I install the drainage pipes at an angle for better water flow?
Yes, you can install the drainage pipes at an angle for better water flow. However, it is recommended to install them vertically to maximize their efficiency. Using perforated drainage pipes offers the benefits of improved water infiltration and reduced soil erosion.
Are there any specific safety precautions to follow while digging the trench?
When digging a trench for drainage, it’s crucial to prioritize safety. Wear proper safety equipment like gloves, goggles, and steel-toed boots. Be aware of the risk of trench collapse and take necessary precautions to prevent accidents.
Conclusion
In conclusion, you’ve successfully learned how to dig a trench for drainage. By assessing your property’s drainage needs, planning the route, and gathering the necessary tools, you’ve taken the first steps towards ensuring proper water flow.
With careful digging and installation of drainage pipes, followed by backfilling and finishing the trench, you’ve created an effective drainage system. Remember to maintain the system regularly to prevent any future issues.
Now, your property will be protected from excess water and potential damage. Well done!