When it comes to protecting your home from water damage and improving overall drainage, properly burying downspouts is key. By directing water away from your home’s foundation and landscaping, this simple step can make a big difference in preventing issues caused by pooling water.
Installing downspouts underground not only enhances the aesthetic appeal of your yard but also ensures that rainwater is channeled away effectively. By burying downspouts, you can improve the overall drainage system of your property, reducing the risk of erosion, foundation damage, and basement flooding. It’s a small investment that can have significant long-term benefits for your home.
Whether you’re planning a downspout installation as part of a new construction or simply upgrading your existing system, understanding the process is crucial for optimal results. In this comprehensive guide, we will walk you through the essential steps and key considerations for burying downspouts effectively.
From planning and mapping the downspout route to digging the trench and installing the downspout system, each stage is crucial for achieving proper drainage and preventing water damage. We will provide you with expert tips and insights to ensure that your downspout burial project is a success.
Whether you’re a DIY enthusiast or hiring a professional, this guide will equip you with the knowledge and confidence to tackle your downspout installation project. So, let’s dive in and discover how to bury downspouts effectively for improved drainage and enhanced home protection.
Planning and Mapping the Downspout Route
The first step in burying downspouts is to carefully plan and map out the route you want the water to take. This is a crucial step in ensuring effective water channeling and preventing future drainage issues.
Start by determining the discharge point for the downspouts. This point should be located far away from your home to ensure proper drainage and prevent water from pooling near the foundation. By directing the water away from your home, you can protect it from potential water damage.
When planning the route, it is essential to consider the slope of the terrain. The slope will determine how efficiently the water flows through the downspouts. You need to calculate the necessary slope for optimal water flow and ensure that the route is downhill from the downspout outlet, allowing gravity to assist in water channeling.
Proper planning also helps avoid issues such as drainage bellies and potential obstructions along the route. By carefully mapping out the downspout route, you can identify any potential obstacles like trees, shrubs, or existing structures that may hinder water flow. By taking these factors into account, you can ensure a smooth and unobstructed drainage system.
Remember to pay attention to the terrain and slope calculation while planning the downspout route. By considering these factors, you can design an effective system that efficiently directs water away from your home, preventing water damage and ensuring proper drainage.
- Start by determining the discharge point, which should be far from your home.
- Calculate the necessary slope for efficient water flow.
- Avoid drainage bellies and potential obstructions along the route.
Digging the Trench and Installing the Downspout System
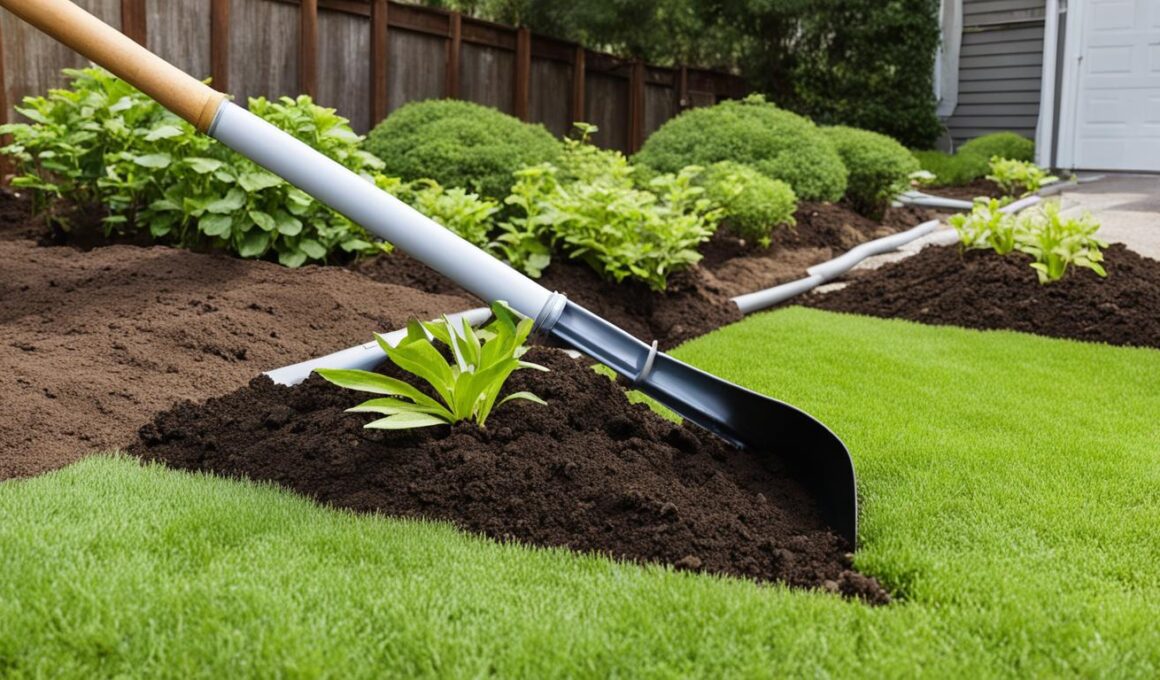
Once you have planned the downspout route, it’s time to start digging the trench where the downspout pipe will be installed. This is a crucial step in ensuring proper drainage and preventing water damage to your home.
The first consideration when digging the trench is its depth. The trench should be deep enough to accommodate the downspout pipe and allow for the necessary slope. A slope of 1/16 inch per foot is generally recommended for efficient water flow.
Before you start digging, it is essential to call 811 or check with your local utility company to identify the location of underground utility lines. This step is crucial for your safety and to prevent any damage to existing lines.
Once you have confirmed the safety of the digging area, you can proceed with digging the trench. Ensure that the trench follows the planned route, keeping in mind the necessary slope for proper drainage.
After the trench is dug, it’s time to install the downspout system. This includes inserting the downspout pipe into the trench, connecting it to the existing downspout, and positioning catch basins strategically along the route to collect excess water.

- Start by placing the downspout pipe into the trench, ensuring it is securely in place.
- Connect the downspout pipe to the existing downspout, ensuring a watertight seal.
- Position catch basins at intervals along the trench to collect excess water.
- If necessary, install pop-up emitters at the end of the downspout system to allow water to disperse away from your home.
Once the downspout system is fully installed, the next step is to backfill the trench with soil. Carefully fill the trench, ensuring that the soil is firmly packed around the downspout pipe and catch basins to prevent any movement or shifting.
Proper soil backfilling is crucial to provide stability to the installed system, maintain the desired slope, and help with water flow. Use a compactor or hand tamper to compact the soil as you backfill the trench.
When the trench is fully backfilled, ensure that the soil is evenly leveled and compacted. This will provide a smooth surface and prevent any tripping hazards.
By following these steps for trench digging and installing the downspout system, you can ensure proper drainage and protect your home from potential water damage. Take the time to plan the route, dig the trench with the necessary slope, and install the downspout system correctly. With efficient water channeling and proper soil backfilling, you can enjoy a dry and well-protected home.
Conclusion
Burying downspouts is an essential step in improving your home’s drainage system and protecting it from water damage. By properly burying downspouts, you can ensure effective water channeling and prevent issues caused by pooling water.
To begin, it’s important to check local regulations regarding downspout burial to ensure compliance. Next, carefully plan the downspout route, considering factors such as discharge points and the slope of the terrain. This will promote efficient water flow away from your home.
When it’s time to install the downspout system, dig the trench with the necessary slope to facilitate proper drainage. Before digging, always contact your local utility company to identify the location of underground utility lines. Install the downspout pipes, catch basins, and pop-up emitters as needed. Finally, backfill the trench with soil to complete the burial process.
By following these expert tips and taking the necessary precautions, you can enhance your home’s curb appeal while ensuring optimal drainage and protection against water damage. Take charge of your home’s downspout burial for a more secure and water-resistant property.
Can Removing Rocks from Yard Help Improve Drainage and Prevent Water Damage?
Yes, removing rocks from yard can greatly improve drainage and prevent water damage. Rocks can impede the flow of water, leading to pooling and erosion. By clearing the yard of rocks, water can flow freely, reducing the risk of water damage to structures and landscapes.