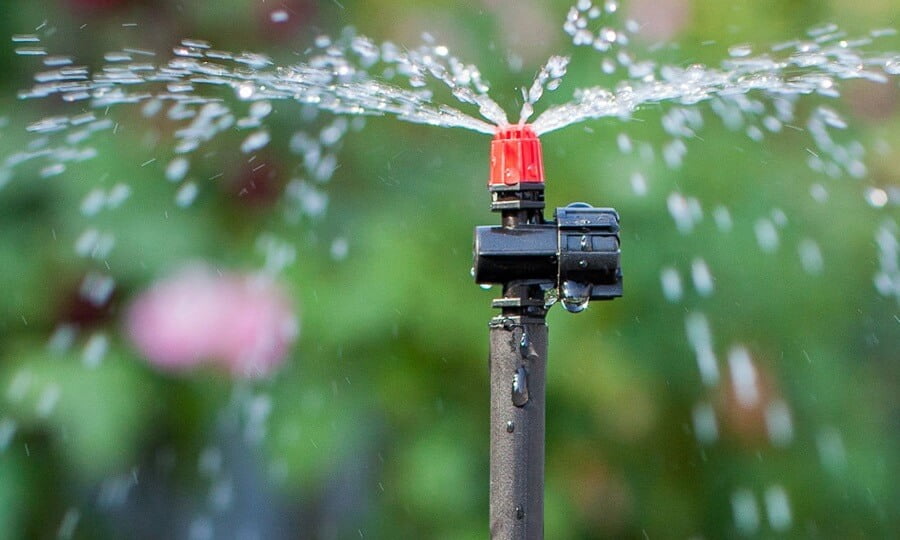
Drip irrigation delivers water slowly near plant roots through tubing and small outlets called emitters. It can reduce watering of paths and bare ground, but it saves water only when the layout, flow and running time suit the plants. A leaking line or an overlong timer cycle can still waste water.
Which type of irrigation should you choose?
Individual drip emitters
Point-source emitters let you position outlets beside separate pots, shrubs or widely spaced vegetables. Choose compatible emitters with a stated flow rate, and add outlets as the root zone expands. One outlet against a mature tree trunk will not wet its whole root system.
Inline drip tubing and drip tape
Inline tubing has outlets at regular intervals and works well along planted rows or across beds. Thin-wall drip tape is another option for vegetable rows, but its pressure limits and handling requirements differ from thicker tubing. Match spacing to the crop and the way water spreads in your soil; do not assume every product uses the same pressure.
Soaker hoses
A porous soaker hose wets a strip along its length. It can be a simple choice for a short bed, although output may be uneven on long runs or slopes. Follow its length and pressure limits. It is not the same as a hose with individually rated emitters.
Micro-sprays
Small spray heads cover a wider surface and may suit densely planted areas, but wind and evaporation affect the spray. Keep them on a suitable separate zone rather than assuming they can share the same schedule as drip outlets. Ordinary garden micro-sprays should not be relied on for frost protection.
Install a small garden system in four stages
1. Draw the layout and divide watering zones
Mark beds, containers, paths and the water connection. Group plants with similar watering needs: a sunny pot may dry much faster than an established shrub in the ground. Leave access for weeding and harvesting, and plan where each line will end so it can be flushed.
Measure the supply pressure and available flow using the kit maker’s method. Add up the intended emitter flow on each zone and keep within the system’s capacity and maximum tubing length. A larger pump or more outlets cannot compensate for an undersized supply line.
2. Choose compatible connection parts
Use the backflow protection required by your water supplier, together with the specified filter and pressure regulator. Their order and installation depend on the equipment and local requirements. A timer is optional; a manually operated system can work well if you reliably turn it off.
Pressure regulation is not something to add only above an arbitrary 40 psi threshold. For example, Rain Bird’s riser connection kit incorporates filtration and regulation for its compatible drip equipment. Other products, especially tape, have different requirements. Buy fittings for the actual tubing dimensions, not simply a similar-looking nominal size.
3. Lay out, connect and flush
Lay the supply and watering lines along the plan without stretching or sharply kinking them. Use the correct punch and connectors for individual emitters. Secure tubing where tools or feet are unlikely to damage it. Surface tubing can be concealed under mulch; bury only products designed for that use and follow their instructions.
Flush open line ends as directed before closing them, then run the assembled system and check every connection and outlet. Repair leaks immediately. Keep the filter and end closures accessible instead of burying the parts you will need to service.
4. Test the wetted root zone
After a trial cycle, check soil moisture beside and between outlets. A wet surface spot does not prove that water reached the roots. Increase coverage or adjust runtime according to what you find. Record the setting so you have a starting point for later adjustments.
Set a schedule that actually saves water
Use rainfall, soil moisture, plant size and weather to decide when to run the system. Do not copy a fixed daily schedule from another garden. Water should soak in without pooling or running out of the bed. Containers need separate checks because their small root volume can dry quickly.
Iowa State Extension’s drip irrigation guide explains planning, zones and checking wetting depth. For a row-based vegetable system, Maryland Extension’s guide also illustrates why filtration and product-specific pressure matter.
Maintenance and common problems
- One plant stays dry: inspect its outlet for blockage or damage before increasing the whole zone’s runtime.
- The end of a line waters poorly: check pressure, total flow demand, kinks and maximum run length.
- Water pools: reduce delivery, use shorter cycles where appropriate, and check whether the soil is already wet.
- Seasonal shutdown: follow the manufacturer’s draining and storage directions, particularly where water can freeze. Inspect stored tubing for damage before restarting.
Clean the filter and flush lines at the recommended intervals, and walk the system while it is operating. The main advantage of drip irrigation is controlled delivery—not a guarantee of a particular percentage saving.