Are you looking for a cost-effective and efficient way to grow a lush and vibrant lawn? Look no further than DIY hydroseeding. With the right tools and materials, you can successfully hydroseed your own lawn and achieve professional results.
Hydroseeding, also known as lawn seeding, is a popular method used by professionals to establish new lawns. But now, you can harness the power of hydroseeding in the comfort of your own home with DIY hydroseeding.
To begin your DIY hydroseeding project, you’ll need a few essential tools and materials. These include soil test results, a hydroseeder or hydroseeding equipment, hydroseeding slurry materials, grass seeds, mulch, fertilizer, water, tackifier (optional), green dye (optional), rake, yard leveler, topsoil, compost, and sulfur or lime (optional).
Proper preparation is key to achieving a successful hydroseeded lawn. Clearing the ground, marking sprinkler heads, grading the soil, applying topsoil, compost, and soil additives, and re-grading and leveling the lawn are essential steps in preparing the lawn for hydroseeding.
But where can you get the necessary equipment for your DIY hydroseeding project? There are a few options available. You can rent hydroseeding equipment, make your own DIY hydroseeder, or purchase a DIY hydroseeding kit. Choose the option that best fits your needs and budget.
When it comes to mixing the hydroseeding slurry, it’s crucial to follow specific ratios of seeds, fertilizer, mulch, and water. These ratios may vary depending on the area you’re spraying, so be sure to read and follow the instructions provided with your hydroseeding equipment.
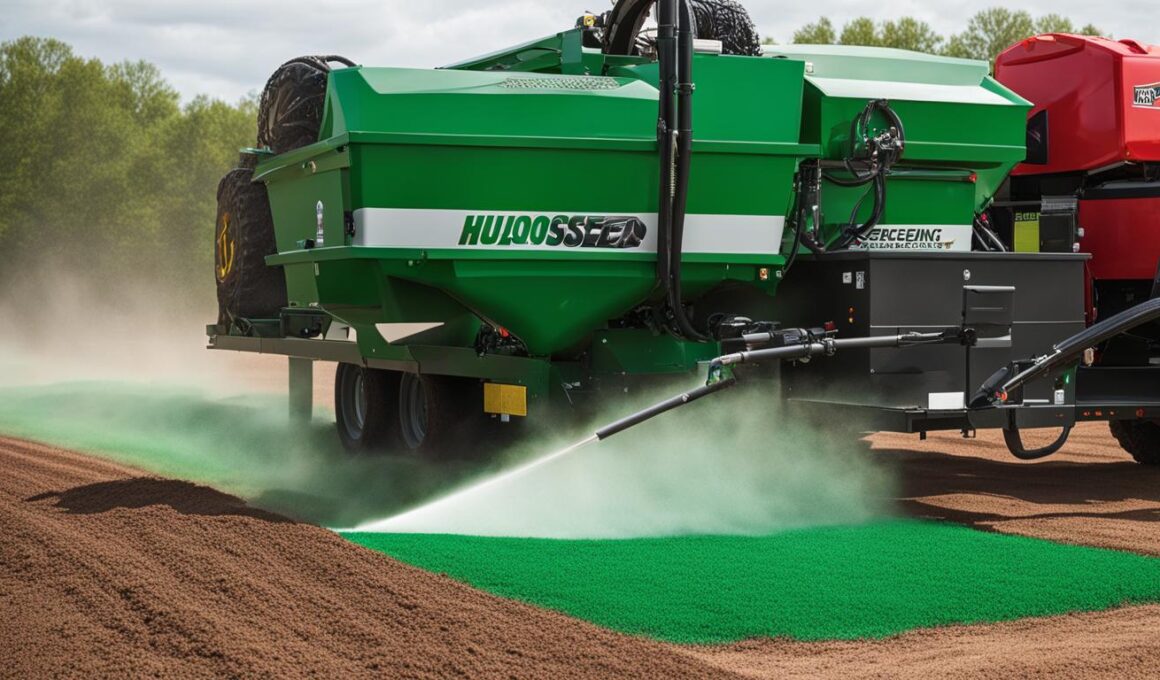
Now that you’re ready to start hydroseeding, it’s important to pick a calm and cool day for the task. Wear protective equipment, plan a path to avoid stepping on newly-sprayed areas, and spray slowly and evenly for optimal results.
With the right materials and a little bit of effort, you can achieve a beautiful and healthy lawn with DIY hydroseeding. Stay tuned for our next section, where we’ll share essential tips for maintaining your hydroseeded lawn.
Tips for Maintaining Your Hydroseeded Lawn
After hydroseeding your lawn, proper maintenance is crucial for its growth and health. Here are some essential tips to help you maintain your hydroseeded lawn:
- Watering Schedule: Water your lawn frequently, especially during the first month after hydroseeding. Aim to water your lawn two to three times a day for short durations. This will help keep the soil moist and promote germination. Remember to avoid walking on the lawn during this period to prevent damage to the growing grass.
- Mowing: After four to six weeks, when the new grass reaches a height of 3 to 4 inches, it’s time to mow the lawn. However, be sure to cut no more than 1/3 of the turf’s height at a time. This gradual approach will prevent stress on the newly established grass.
- Fertilizing: Consider fertilizing your hydroseeded lawn after 30 days. Choose a starter fertilizer or a slow-release fertilizer that provides the necessary nutrients for continued growth. This will help your lawn thrive and stay healthy.
- Weed Control: While it might be tempting to tackle weed control immediately, it’s best to wait for three to four months before using any weed killers. This waiting period allows the new lawn to establish itself fully, reducing the risk of damage from weed treatments.
Following these tips will ensure that your hydroseeded lawn remains lush, healthy, and weed-free. Keep a regular maintenance routine to enjoy a beautiful lawn year-round.
Benefits of Hydroseeding
Hydroseeding offers numerous benefits compared to traditional seeding methods. Whether you are tackling a small residential project or a large commercial endeavor, hydroseeding proves to be a cost-effective way to establish a new lawn, especially for larger areas.
One of the key advantages of hydroseeding is its ability to promote fast seed germination. With hydroseeding, the seeds are encapsulated in a protective slurry, ensuring optimal conditions for germination. This accelerates the growth process, resulting in a beautiful and lush lawn in a shorter time frame.
Another benefit of hydroseeding is its ability to create a more uniform appearance for your lawn. By using a hydroseeding mixture that includes the appropriate grass seeds and mulch, you can achieve a consistent and even distribution of the seeds, resulting in a visually appealing and well-blended lawn.
Hydroseeding is also an effective solution for controlling soil erosion. Soil erosion can be a significant issue, especially in areas with heavy erosion or steep slopes. The hydroseed mixture helps to bind the soil, preventing erosion and promoting the establishment of a stable and healthy lawn.

Additionally, hydroseeding offers the flexibility to customize the seed and mulch composition according to your specific requirements. This allows you to select the appropriate grass species and mulch types that are suitable for your climate, soil conditions, and desired lawn appearance.
Overall, hydroseeding provides a range of benefits, including cost-effective lawn seeding, fast seed germination, uniform lawn appearance, and soil erosion control. Whether you are looking to rejuvenate an existing lawn or establish a new one, hydroseeding is a reliable and efficient method that delivers impressive results.
Conclusion
Do It Yourself Hydroseeding is a practical and cost-effective solution for homeowners who want to establish a new lawn. By following the proper steps and investing time in preparation and regular maintenance, you can achieve successful results and a beautiful lawn. DIY hydroseeding offers a range of benefits, including fast seed germination, a uniform lawn appearance, and effective soil erosion control. With DIY hydroseeding, you have the opportunity to save money and have complete control over the process.
Remember to carefully follow the hydroseeding tips provided throughout this article, such as preparing the lawn correctly, renting or buying the necessary equipment, and mixing the slurry according to recommended ratios. Additionally, maintaining the hydroseeded lawn is crucial for its growth and health. Be sure to water it frequently, especially during the first month, and avoid walking on it to prevent damage to the growing grass. After the initial period, consider fertilizing and mowing the lawn to ensure proper growth and appearance.
With DIY hydroseeding, you can enjoy the benefits of a cost-effective lawn seeding method that provides fast and consistent results. By taking care of your hydroseeded lawn, you can have a lush and healthy outdoor space for years to come. So, why wait? Take on the challenge of DIY hydroseeding and enjoy the satisfaction of creating a beautiful lawn through your efforts and dedication.
Can I Use Hydroseeding to Propagate Wisteria?
Yes, you can use hydroseeding as a method for propagating wisteria plants at home. This technique involves mixing wisteria seeds with a slurry of mulch and fertilizer, then spraying the mixture onto the desired area. It provides an effective way to establish new wisteria plants in your garden.